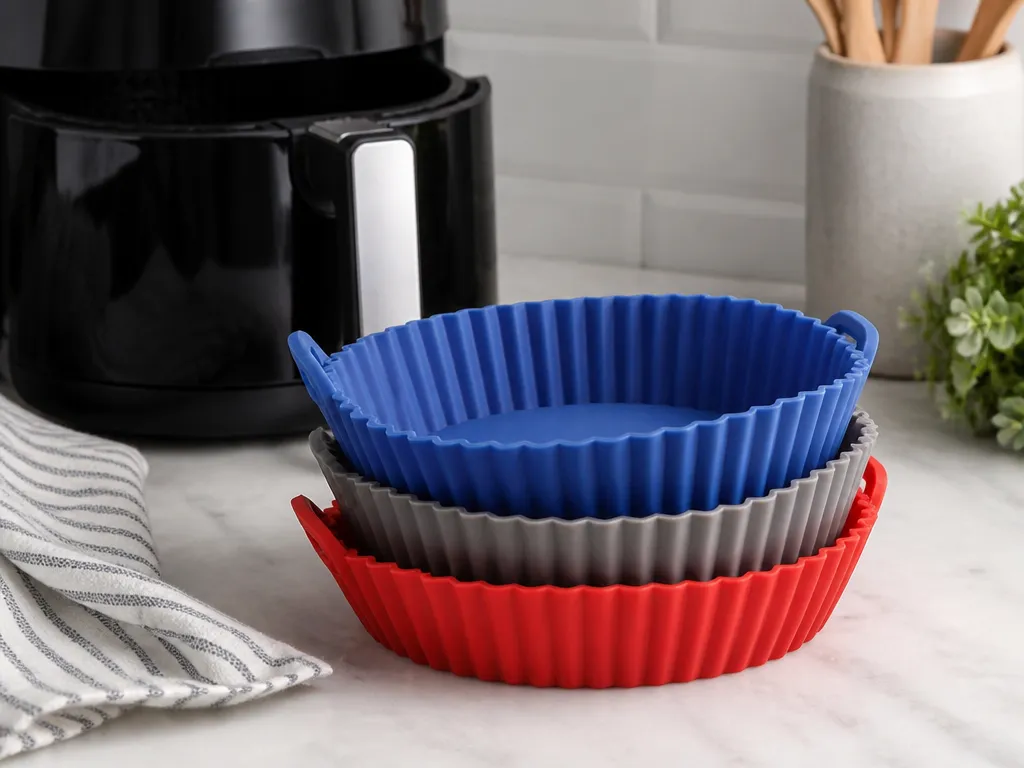
How To Clean Air Fryer Silicone Inserts
Clean an air fryer silicone insert by rinsing off loose oil, soaking it in hot, soapy water for 10 minutes, scrubbing gently, and rinsing until no slippery residue remains. Plan on 2-5 minutes of scrubbing after the soak. For sticky or baked-on oil, soak for 20 minutes and repeat the process if needed. Use high heat or a dishwasher only if the care label allows it.
A clean insert has no greasy marks or tacky film, and it does not retain the smell of cooking oil. Silicone is forgiving, but residue can bake on and leave a rubbery or oily odor if it sits too long.
Key Takeaways
- Soak first. Hot, soapy water loosens oil before you scrub.
- Scrub gently. Use a soft sponge or nylon brush to protect the silicone surface.
- Rinse fully. Rinse until the insert no longer feels slippery or smells strongly of soap or oil.
- Avoid harsh tools. Metal scrubbers can scratch silicone and create places where grease collects.
- Use baking soda carefully. It helps with stubborn spots, but do not grind a gritty paste into the insert.
- Check the label. Some inserts are dishwasher-safe, while others require hand-washing.
Before You Clean the Silicone Insert
Let the insert cool to warm or room temperature before washing it. Cleaning a hot insert can spread oil and may warp certain plastics or accessories around it.
Check the care label for the maximum temperature and approved cleaning method. Silicone blends vary, and not every insert tolerates hot water, dishwasher detergent, or high-heat drying in the same way.
Then assess the mess. A light film usually comes off after a warm rinse and short soak. Sticky spots need more soaking time. Dark marks may be baked-on oil, but they may also be color left by spices or browned seasonings. If the insert feels clean and the rinse water is clear, scrubbing harder may not change those stains.
What You Need
- Hot water
- Mild dish soap
- A soft sponge or nylon brush
- A towel or drying rack
- Baking soda and a little water for stubborn spots
Mild dish soap is the default cleaner. Avoid metal scrubbers and aggressive abrasive pads, which can roughen the silicone surface and make it easier for future grease to cling.
Step-by-Step: Cleaning an Air Fryer Silicone Insert
1. Remove the Insert and Let It Cool
Take the silicone insert out after cooking and let it cool to warm or room temperature. Do not clean it while it is hot.
2. Rinse Away Oil and Crumbs
Run warm water over the insert to remove loose oil and crumbs. Rinsing first keeps the soapy water from turning into a greasy paste.
3. Soak It in Hot, Soapy Water
Fill a sink or basin with hot water and add dish soap. Soak the insert for 10 minutes for routine cleaning. If it has sticky or baked-on areas, soak it for up to 20 minutes.
The insert should look less glossy and feel less sticky after soaking, even before you scrub it.
4. Scrub Gently
Use a soft sponge or nylon brush to clean the ridges, edges, corners, and underside, especially if the underside faced the heating element. Concentrate on dark or tacky spots.
Keep scrubbing time to 2-5 minutes. Once the soak loosens the grease, heavy pressure should not be necessary.
5. Rinse Until the Surface Feels Clean
Rinse the insert under warm water until no bubbles or slippery feeling remains. Slide a clean finger over the surface. It should feel smooth rather than tacky.
Clear rinse water and a grease-free feel are better cleanliness cues than appearance alone.
6. Dry It Completely
Dry the insert with a towel or place it on a rack. Storing it while damp traps cooking odors and can make the next cooking session smell off.
If the insert still smells after cleaning, dry it completely first, then run a second cleaning cycle with fresh soapy water.
Match the Cleaning Method to the Mess
Light grease responds well to the basic soak, gentle scrub, and rinse. Sticky residue needs a longer soak and extra attention around edges and ridges. Baked-on oil usually responds better to two soaking cycles than to aggressive scrubbing.
For a stubborn spot, mix baking soda with a little water to make a paste. Dab it on the area and let it sit for 5-10 minutes before gently scrubbing. If the paste feels gritty as you rub, add more water and use less pressure. Baking soda works best as a targeted treatment, not as a rough abrasive for the entire insert.
If the insert is dishwasher-safe, dishwasher detergent can clean it effectively, especially when you wash it regularly. Check the care label first. Place the insert where it will not be blasted by the hottest drying cycle if it seems to soften over time.
Keep Air Fryer Inserts Easier to Clean
Clean the insert after every use when you cook oily foods. Waiting a few days gives the residue time to bake on, which means a longer soak or stronger spot treatment later. Treat the insert like a nonstick accessory rather than something you can deep-clean whenever you get around to it.
Use these habits:
- Avoid high heat unless the label allows it. Some inserts tolerate hot water or dishwasher cleaning, but the manufacturer’s care instructions matter.
- Do not use metal pads. Scratches create microscopic rough spots where grease sticks.
- Rinse after oil-based cooking. Marinades and sauces can smear across the surface and leave odors when residue remains.
- Dry fully before storage. Damp silicone holds cooking smells.
- Separate stacked inserts. Place a paper towel or silicone-safe cloth between them to prevent trapped moisture and odor transfer.
Cleaning Mistakes That Leave Grease Behind
Skipping the soak and relying on hard scrubbing is the most common mistake. Scrubbing dry grease can push residue into texture and corners instead of removing it. If the insert feels sticky, soak it before using a brush.
Metal scrubbers cause a second problem. They can scratch silicone and leave a rougher surface that collects future grime. The insert may look permanently dirty even when the main issue is residue trapped in those rough spots.
Do not soak the insert indefinitely in very hot, highly concentrated soapy water if the care label warns against it. Many inserts tolerate hot water, but harsh detergent and prolonged soaking can affect the surface feel over time. When in doubt, use a normal soak duration and repeat the cleaning cycle instead.
Faster Ways to Remove Grease and Odor
For routine maintenance, clean the insert as soon as it cools slightly. Rinse it and swish it in hot, soapy water before the grease sets. This reduces scrubbing and limits odor buildup.
For heavy grease, use this sequence:
- Soak for 10 minutes.
- Scrub gently.
- Soak again for 5-10 minutes.
- Rinse and dry completely.
Two shorter cycles often work better than one long soak followed by aggressive scrubbing because the second soak loosens oil that was lifted but not fully dissolved.
For a stubborn odor, dry the insert thoroughly and air it out in a well-ventilated area for 1-2 hours. Persistent odor usually means residue remains in the insert’s micro-texture.
Use a nylon brush for perforated or ridged inserts. A soft sponge works well on flat areas, while a brush reaches grease hidden in narrow channels.
Cleaning Options by Mess Level
| Mess level | Best method | Time | What you should avoid |
|---|---|---|---|
| Light film | Warm rinse plus 10-minute soapy soak | ~10-15 minutes | Skipping the soak if you want odor-free results |
| Sticky spots | 20-minute soapy soak plus gentle scrub | ~20-30 minutes | Metal pads that scratch silicone |
| Baked-on oil | 20-minute soak, scrub, then repeat the soak for 5-10 minutes | ~30-40 minutes | Over-scrubbing without a second soak |
| Dark staining | Baking soda and water spot paste, then gentle scrubbing | ~10-20 minutes | Treating color like grease and scrubbing endlessly |
| Lingering odor | Full cleaning, complete drying, then air out for 1-2 hours | ~15-25 minutes, plus 1-2 hours air-out | Storing the insert while damp |
FAQ
How do I clean an air fryer silicone insert without damaging it?
Soak the insert in hot, soapy water for 10 minutes, then scrub gently with a soft sponge or nylon brush. Rinse until the surface feels free of residue, then dry it completely. Avoid metal scrubbers and abrasive pads because scratches make future grease harder to remove.
Can I put air fryer silicone inserts in the dishwasher?
Use the dishwasher only if the care label says the insert is dishwasher-safe. Place it in a safe rack position and skip extra-heat drying if the insert seems to soften or warp. If the label is unclear, wash it in the sink.
How long should I soak a greasy silicone insert?
Soak it for 10 minutes for routine grease. For sticky or baked-on residue, soak it for 20 minutes, then scrub and repeat with a second soak of 5-10 minutes if needed. If the insert still feels tacky after rinsing, repeat the soak cycle rather than scrubbing harder.
What is the best way to remove stubborn stains from a silicone insert?
Make a small paste with baking soda and a little water. Apply it to the stain and let it sit for 5-10 minutes. Scrub gently with a soft tool and rinse well.
Why does my silicone insert still smell after washing?
The odor usually means residue or moisture remains. Rinse until the insert no longer feels slippery, dry it fully, and air it out for 1-2 hours before storing it. Persistent odor may mean residue remains in the insert’s micro-texture.
For the fastest clean, rinse the insert first, soak it in hot, soapy water for 10-20 minutes, scrub gently, and rinse thoroughly. Cleaning it after each oily cook usually keeps the basic method from turning into a deep-cleaning job.