How To Fix A Coffee Maker That Is Not Brewing
A coffee maker that will not brew usually has one of four problems: the machine is not entering brew mode, water is not reaching the heater, the heater or pump is not receiving power, or scale and coffee residue are blocking the flow path. Start with the quickest safe test: fill the reservoir with water only, leave the coffee and filter out, and run a brew cycle. Listen for the pump and check whether water drips into the basket.
Fix problems in this order: reseat the reservoir, confirm the brew button and outlet work, check the filter and grounds load, then descale and clean the spray head and outlet valve.
Start With These Checks
- Watch for water movement: Listen for the pump and look for dripping into the basket.
- Reseat the reservoir: Push it firmly into place until it locks or sits flush.
- Check power: Verify the outlet, plug, brew button, and any user-accessible safety reset.
- Correct the filter and grounds: Use the right paper filter, avoid overfilling, and keep the grounds level.
- Descale blocked passages: Mineral buildup can cause slow dripping, sputtering, or no flow.
- Clean the spray head: Coffee oils and fines can block the outlet and leave grounds dry.
How to Fix a Coffee Maker That Is Not Brewing
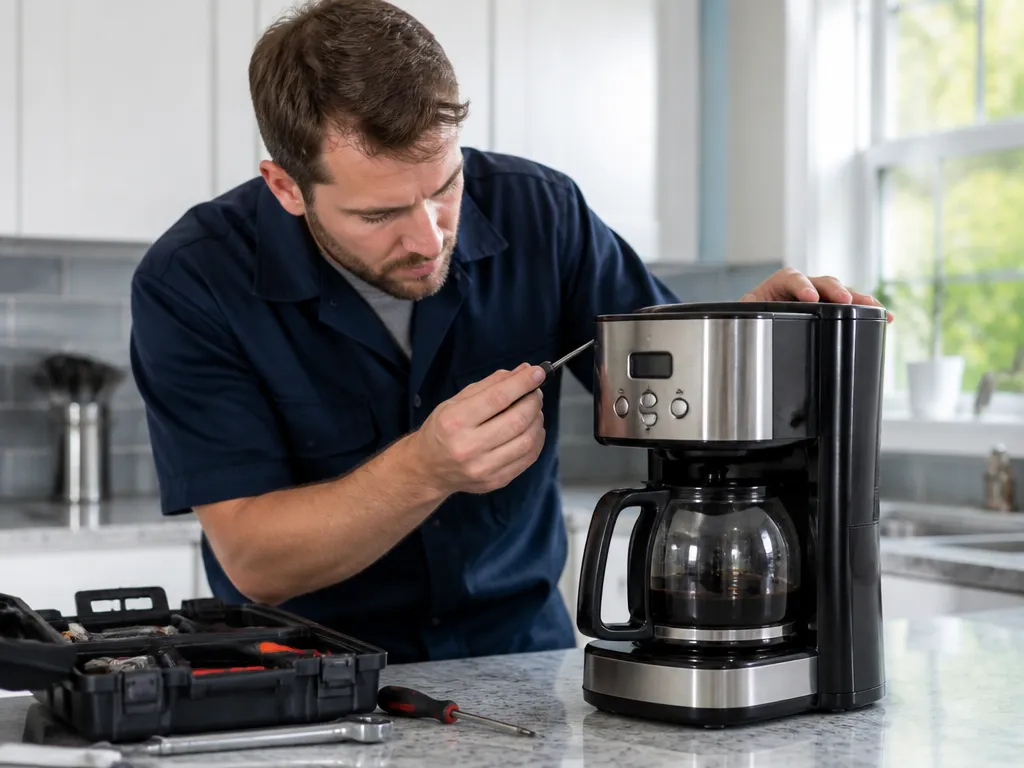
Unplug the machine before removing parts or cleaning it, and never work on internal components while it is connected to power. For the first test, fill the reservoir with water only, remove the coffee grounds, and run the brew cycle with an empty filter basket.
No dripping or only a few dribbles points to a water-path problem, such as a poorly seated reservoir, an airlock, a pump issue, or a clog. If water flows normally during this test, the filter, grounds load, or coffee residue is more likely responsible.
Start with the reservoir and power checks because they take seconds. Move to filter adjustments, descaling, and cleaning only after those simple causes are ruled out.
Why Your Coffee Maker Won’t Start Brewing
Most coffee makers fail to brew for one of four reasons: the machine never enters brew mode, the heater and pump are not receiving power, water cannot leave the reservoir, or scale and residue have blocked the flow path.
The symptom narrows the search:
- No lights or sounds: Check the outlet, plug, brew control, and any reset procedure.
- Lights come on but no water drips: Check the reservoir valve, airlock, pump, and internal flow path.
- The machine starts and then stops: Look for a partial clog or airlock.
- Water flows slowly or unevenly: Descale the machine and clean the spray head.
- The grounds stay dry: Check the filter fit, grounds load, and spray head.
Before deeper troubleshooting, confirm that the reservoir is filled above the minimum line, the basket is seated fully, and the machine is not waiting for a clock or “auto start” setting. A delayed brew setting can make a working machine appear faulty.
Reseat the Water Reservoir
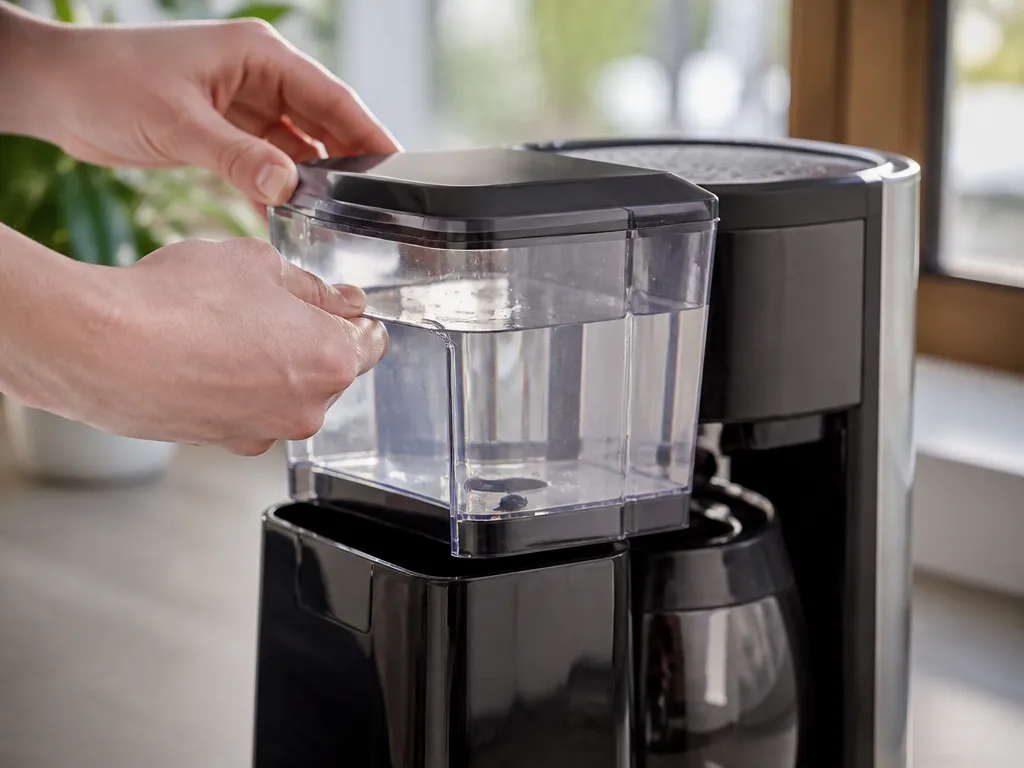
A reservoir that is slightly out of position may fail to open the internal valve. Remove it, fill it with fresh water, and reseat it firmly until it locks in place or sits flush with the machine. If the tank has a float or linkage on the bottom, check that it moves freely and is not stuck.
If water starts dripping after you reseat the tank, the problem was valve alignment. If there is still no flow, continue with the power and control checks, then consider an airlock if the coffee maker has been stored or left empty.
Check the water-level display if your model has one. An “empty” indicator can remain active when the sensor detects too little water, preventing the heater and pump from starting. Fill above the minimum mark and test again.
Check the Brew Button and Power Supply
When the brew button does nothing, check the power path before attempting to descale the machine. Plug a phone charger or small lamp into the wall outlet to verify that the outlet works. Then reconnect the coffee maker and press brew while watching for lights, sounds, or other indicator changes.
Some machines have a safety thermostat or thermal cutoff that requires a reset after the unit overheats, runs dry, or encounters a heavy clog. Look for a “reset” button or follow the manual’s reset procedure. The control may be near the bottom of the machine or under a panel.
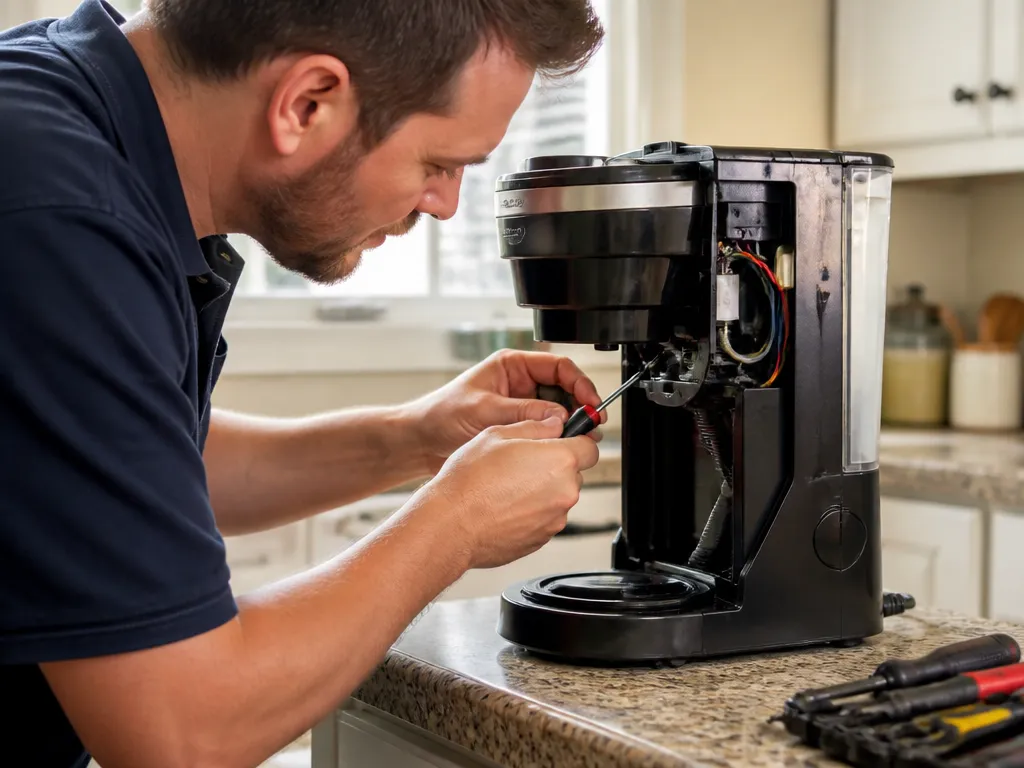
If the lights come on but the pump never moves water, the brew switch, control board, or pump may have failed. Do not open the machine unless you are qualified to work safely around a 120V appliance. After checking the outlet, plug, and user-accessible reset, limit DIY work to cleaning and external troubleshooting.
Correct the Filter and Grounds Load
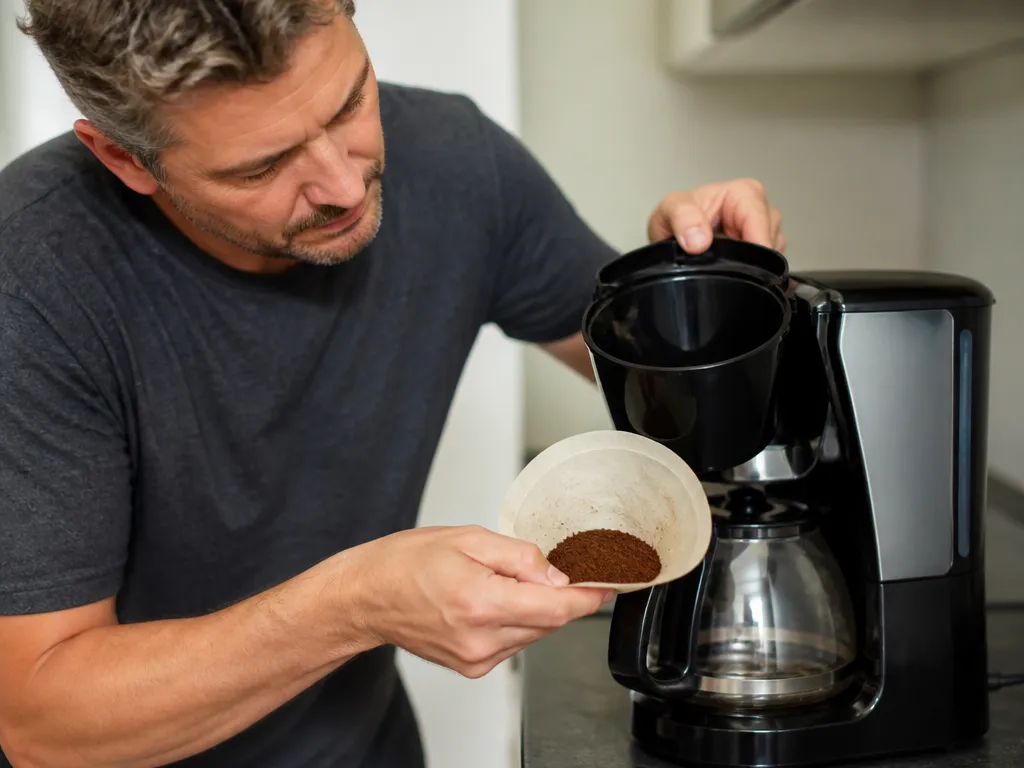
An incorrect filter or an overfilled basket can cause slow dripping, uneven brewing, or a cycle that starts and then stops. Use the paper filter size specified for your model, and make sure it sits flat inside the basket. A filter with folded edges or a rim that rises above the basket can let water flow around the grounds instead of through them.
Fine grounds compact more easily, especially when the basket is overfilled. Keep the grounds level and below the shower head rather than forming a mound. If you use a reusable metal filter, clean away residue from previous brews before testing again.
If water flows normally without coffee, the problem is probably the filter, grounds load, or coffee-oil buildup near the outlet. Adjusting the filter and dose takes seconds, so do that before moving to descaling.
Coffee Maker Troubleshooting
| What you see when you press Brew | Most likely cause | What to try first |
|---|---|---|
| No lights, no sound, no dripping | Outlet or brew control not receiving power | Verify outlet, plug, and any user reset |
| Lights come on, but no dripping at all | Reservoir valve not opening or flow path blocked | Reseat reservoir, then check for scale or clogs |
| Drips a little, then stops | Partial clog in spray head or outlet valve | Descale, then clean spray head and outlet |
| Brews, but slow and uneven | Scale buildup or blocked shower head | Descale and clean the spray head |
| Grounds end up dry, no soak | Filter channeling or overfilled basket | Use the correct filter, level the grounds, and reduce the dose |
Descale the Coffee Maker When Flow Is Weak
Mineral scale narrows the passages through the heater and water lines. The result can be slow dripping, sputtering, or no brewing at all, particularly when the machine uses mineral-heavy water.
Use a commercial descaler or vinegar-based method only if it is compatible with your machine. Follow the product or manufacturer directions for the mixture, soak time, and rinse cycles. If you do not have instructions, take the conservative approach: use the product directions exactly, then run plain-water cycles until the smell of vinegar or descaler disappears.
Remove the filter and grounds before descaling. If the machine supports a water-only reservoir cycle, run the solution through the system and then complete two to three water-only rinses. Let the machine sit between cycles when the directions call for a soak; this gives the solution time to loosen deposits in low-flow areas.
Stop and seek expert help if descaling does not restore flow, especially if the pump sounds strained or the heater never seems to energize. Those symptoms point to a mechanical or electrical fault rather than ordinary mineral buildup.
Clean the Spray Head and Outlet Valve
Coffee oils and fine particles can cake around the spray head and outlet valve, blocking water even when the reservoir and heater work correctly. With the machine turned off and unplugged, remove the brew head or shower-head cover only if your model allows easy access.
Soak removable parts in warm, soapy water and scrub them gently with a non-metal brush. Avoid scratching the surfaces that distribute water; roughened plastic or scored metal can make water channel through the grounds unevenly.
Clean the outlet valve with a soft brush and flush it with clean water. If the valve uses a small opening or slit, remove loosened residue without forcing a sharp object into it. Wipe away the buildup and reinstall every part securely.
Steady, even dripping means the plumbing path is open. Once flow is restored, use the correct filter and grounds load for the next coffee cycle.
FAQ
Why does my coffee maker start but stop brewing?
A partial clog is the usual cause when a coffee maker stops during the cycle. Mineral scale can narrow the internal passages, while coffee-oil residue can block the spray head or outlet valve. These areas should be cleaned when the machine stops after starting.
How long does it take to fix a coffee maker that won’t brew?
Most quick fixes take under 10 minutes, including reseating the reservoir and checking outlet power. Descaling usually takes 30 minutes to an hour, depending on the soak time and required rinse cycles. Cleaning the spray head and outlet often takes another 15 to 30 minutes.
Is it safe to troubleshoot a coffee maker that won’t brew?
External checks are generally safe: inspect the outlet and plug, reseat the reservoir, check the filter and grounds, and follow any user-accessible reset procedure. Do not open the machine if doing so exposes internal mains wiring. Unplug it before removing parts, and stop DIY work if the pump, control board, or thermal cutoff may need replacement.
What is the fastest repair if water is not coming out?
Begin with the reservoir and power checks because they require no disassembly. Persistent loss of flow after those checks suggests scale, residue, or an internal mechanical fault that needs cleaning or professional inspection.
What common mistake makes the problem worse?
Using the wrong filter or overfilling the basket can cause channeling and clogs that resemble mechanical failures. Running only coffee cycles is another mistake because it never confirms whether the plumbing itself works. Restore steady flow before brewing coffee with the correct filter and grounds load.