How To Use An Induction Cooktop Properly
The best induction cooktop depends on the cookware and meals you use most:
- Best for most households: A mid-range cooktop with clear power levels and dependable low-heat control.
- Best for small kitchens: A single-zone or small-zone model with straightforward pan detection.
- Best for large cookware: A cooktop with multi-zone linking for stockpots, griddles, and irregularly shaped bases.
- Best for sauces and eggs: A model with stable simmer control rather than a large number of high-power settings.
- Cookware compatibility – the burner must be able to detect and heat the pan.
- Accurate placement – centering the pan promotes more even heating and reliable detection.
- Controlled power changes – medium-first heating reduces scorching and overshoot.
- Appropriate burner size – the cooking zone should match the pan base as closely as possible.
- Clean, flat contact – water, grease, debris, and warping can interfere with induction coupling.
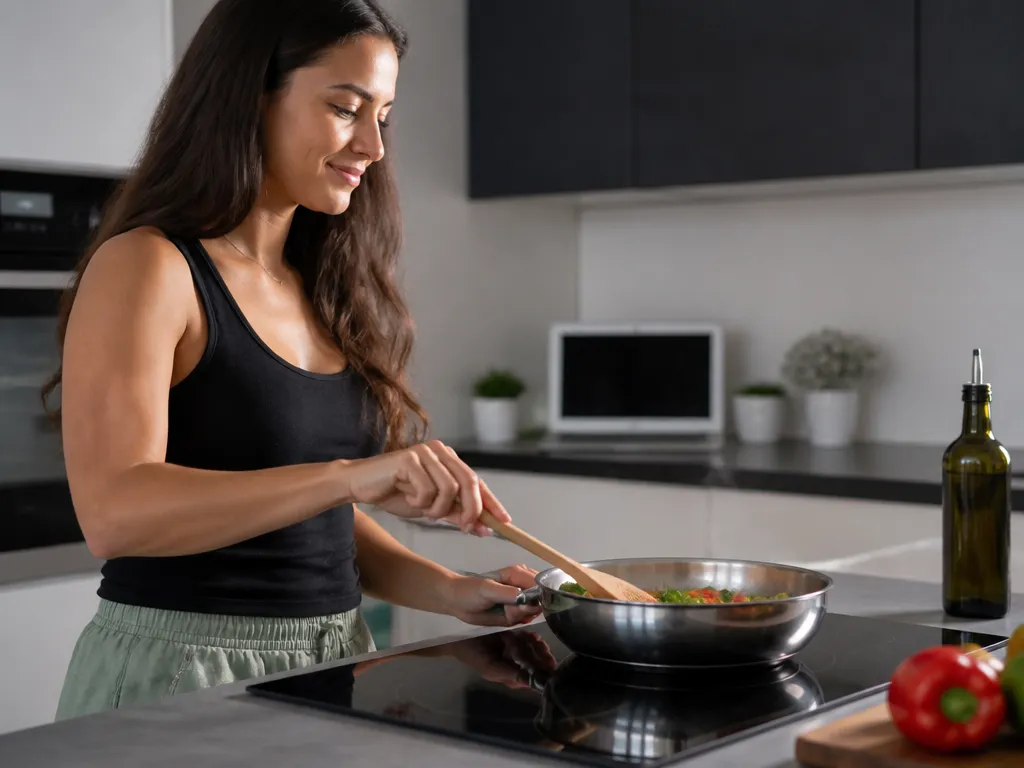
- Center the pan over the burner circle.
- Dry the base so the pan sits flat and makes consistent contact.
- Preheat on medium for 30 seconds to 2 minutes, depending on the pan size and food.
- Add oil once the pan is stable. Adding oil immediately and then selecting maximum power can cause rapid splattering or burning.
- Adjust after the first change. Light sizzling or shimmering may call for more heat; smoking means the setting is too high.
- Preheat the pan.
- Cook at the setting that suits the food.
- Maintain the required temperature without continuing to add unnecessary heat.
- Searing meat: Start at medium-high. Increase the setting only if the surface is not browning after a short preheat.
- Boiling water: Use higher power to reach a boil quickly, then reduce the setting to maintain a steady boil and limit boil-overs.
- Simmering sauces: Start low and increase gradually. Thin sauces can overshoot quickly on induction.
- Eggs and delicate proteins: Preheat gently. Medium is usually safer than maximum power, followed by controlled heat as the food cooks.
- Stay within arm’s reach while the pan is heating.
- Turn handles inward and move cookware carefully.
- Keep children and pets away from the cooktop during and immediately after cooking.
- Treat the glass as hot until it has cooled fully.
- Wipe away loose debris.
- Scrape cooked-on residue with a glass-safe cooktop scraper.
- Clean remaining grease or marks with a mild cleaner.
- Wipe again.
- Dry the surface.
| Best portable option: A single-zone induction burner for travel, backup cooking, RVs, or extra capacity. | Cooktop Type | Key Priority | Best For | Main Trade-Off |
|---|---|---|---|---|
| Single or small-zone induction | Clear pan-size behavior | Small kitchens and apartments | Limited cooking space | |
| Mid-range induction with power levels | Reliable step-by-step control | Most households cooking daily | More expensive than basic portable units | |
| Induction with multi-zone linking | Zones that adapt to pan shapes | Large cookware and irregular pot bases | Higher cost and more complicated controls | |
| Induction with strong simmer control | Stable lower-power behavior | Sauces, eggs, custards, and gentle heating | May sacrifice some maximum power | |
| Portable induction burner | Flexible single-zone cooking | Travel, backup cooking, and RVs | Usually heats one pan at a time |
I would rank reliable cookware detection and predictable control above decorative features or extra cooking modes. A cooktop that recognizes your pans and holds low heat steadily makes proper use much easier. If you cook mostly with stainless steel and cast iron, prioritize detection and simmer control. If you use small pans, look for zones that recognize smaller bases reliably. If you regularly use large stockpots, multi-zone flexibility is worth considering.
The Best Way to Use an Induction Cooktop
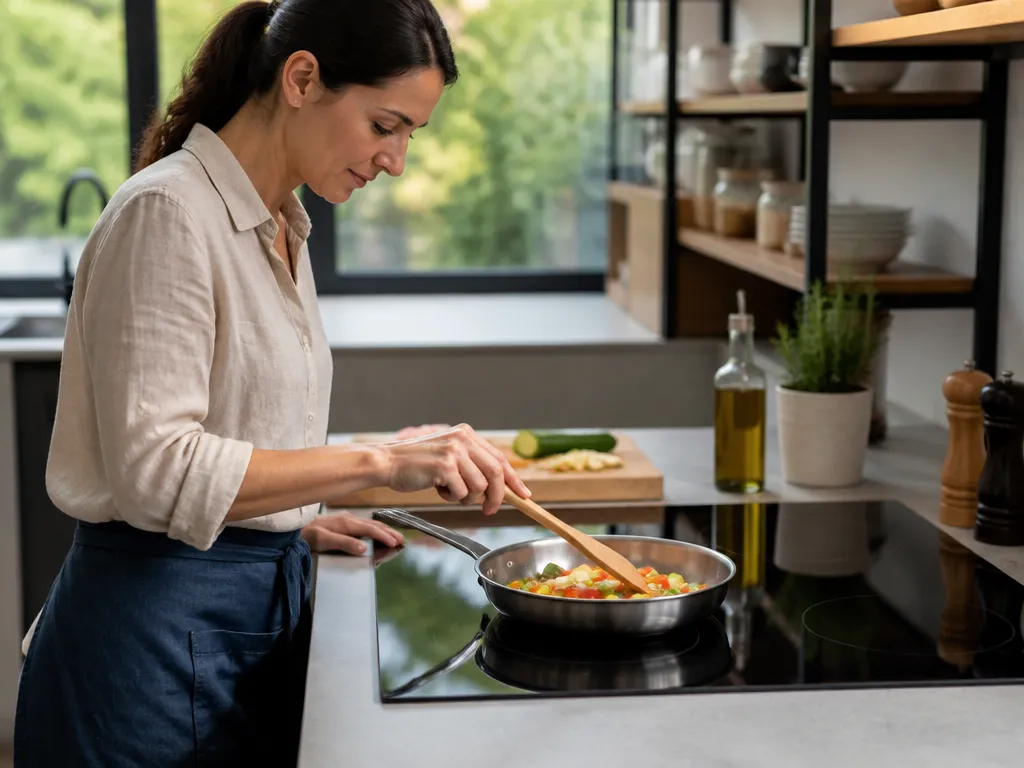
Start with the pan, not the burner. Induction creates heat only where its magnetic field can couple with the cookware, so a compatible, flat base is essential. If a burner flashes, clicks, cycles, or refuses to heat, the pan may be incompatible, too small, warped, off-center, wet, or dirty underneath.
Choose a pan you already own, confirm that a magnet sticks to its base, and place it in the center of the closest-size burner. Begin at medium power, let the pan heat, then raise or lower the setting based on how the food reacts. Induction responds quickly, which helps with boiling and stir-frying but can scorch oil, eggs, and sugary sauces when you start at maximum power.
My practical ranking for proper use is:
How Induction Cooktops Detect Compatible Cookware
An induction cooktop detects cookware by sensing whether its coils can couple with magnetic metal in the pan base. A pan made from glass, aluminum, or nonmagnetic stainless steel may not register unless it has a magnetic layer built into the bottom.
Most induction-friendly cookware uses a ferromagnetic base, such as cast iron or magnetic stainless steel. Compatibility can still vary between burners. A pan may work on one zone and fail on another if the base is too small, warped, or uneven for that zone.
Individual Cooktop-Type Reviews
#### Single or Small-Zone Induction
A single-zone or small-zone cooktop suits apartments, compact kitchens, and occasional cooking. Its simpler layout makes it easier to understand which pan sizes work, and a portable version can provide extra capacity when the main kitchen is busy.
The compromise is cooking space. You may need to prepare one pan at a time, and a large stockpot can extend beyond the effective heating area. Choose this type when flexibility and a small footprint matter more than cooking several dishes simultaneously.
#### Mid-Range Induction With Power Levels
For most households, a mid-range cooktop with clearly spaced power levels is the most sensible choice. It gives you enough control to preheat on medium, increase power for searing or boiling, and reduce heat for simmering without relying on vague on-and-off behavior.
This category works well for daily cooking because predictable control matters more than maximum wattage for most meals. Look for dependable lower-power operation if you make sauces, eggs, or delicate proteins. The trade-off is a higher purchase price than a basic portable burner.
#### Induction With Multi-Zone Linking
Multi-zone linking helps when you use large cookware, griddles, or pans with irregular bases. Linked zones can heat a broader area than a single circular burner, reducing the need to force a large pan onto a zone that is too small.
This flexibility is useful, but it does not make incompatible cookware work. The base still needs magnetic material, and the pan should sit reasonably flat. Linked-zone controls can also take more time to learn, so prioritize clear settings over a long list of automated modes.
#### Induction With Strong Simmer Control
A cooktop with stable low-power behavior is the better choice for sauces, eggs, custards, cream-based dishes, and gentle reheating. Induction can overshoot quickly when a thin sauce heats, so smooth lower settings are more useful than extra-high maximum power.
The trade-off is that a cooktop designed around gentle control may not feel as aggressive when you are trying to sear or boil quickly. For cooks who regularly prepare delicate food, that is usually a worthwhile exchange.
#### Portable Induction Burners
A portable burner works well for travel, backup cooking, RVs, or adding a temporary second cooking zone. Its small footprint makes storage easy, and it can keep one task going while the main cooktop is occupied.
Most portable units heat one pan at a time and may offer less even control than a larger built-in cooktop. Check the pan-size requirements carefully, especially if you plan to use small saucepans or large stockpots.
Start an Induction Cooktop Without Hot Spots
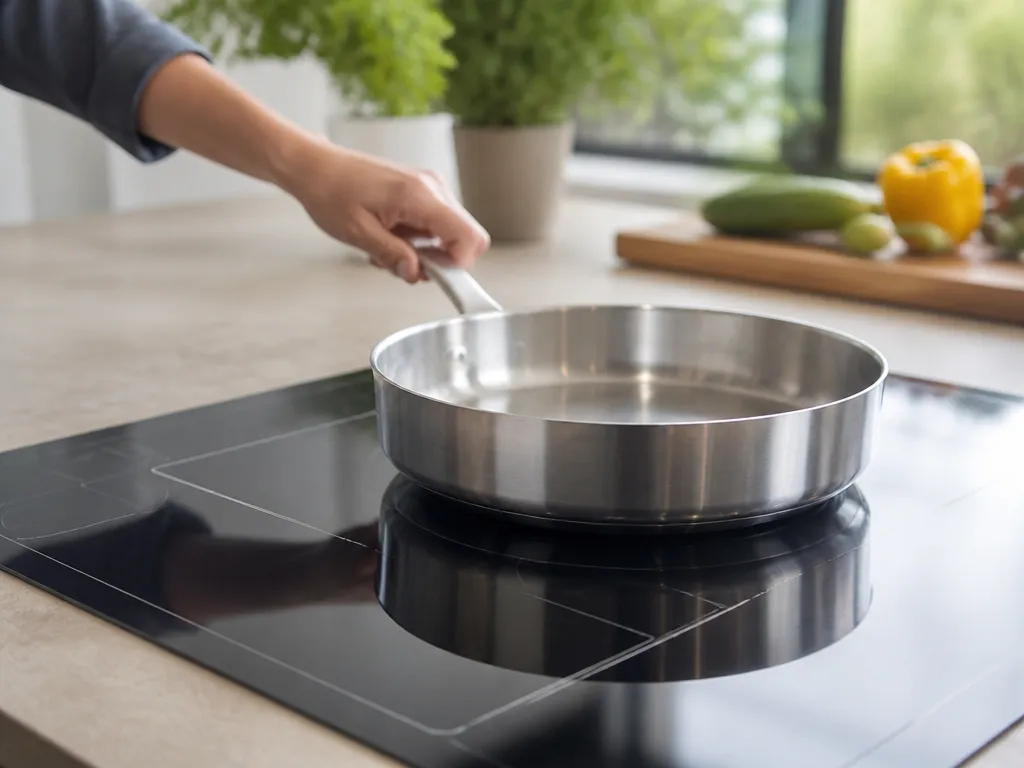
Induction is not completely set-and-forget. A deliberate start prevents uneven heating, burnt oil, and scorched sauces.
Hot spots usually come from an uneven pan bottom, partial contact, or a burner that is too large for the pan. A small pan on a large zone can heat more strongly in the center than around the edges, causing butter to foam in one area while the rest of the pan lags. Use the closest-size burner when your cooktop offers multiple zone sizes.
If hot spots appear, lower the power and allow more time. Lower power with a longer preheat often produces more even results than a short burst at maximum power, especially with stainless steel pans and saucepans.
Set Power Levels for Different Foods
Induction cooktops generally use either a power scale, often 1-10, or temperature-like settings. The correct number depends on the pan, the food load, and the thickness of the pan bottom. The same setting can heat a heavy cast-iron skillet very differently from a thin stainless-steel saucepan.
Think in three stages:
Use these starting points:
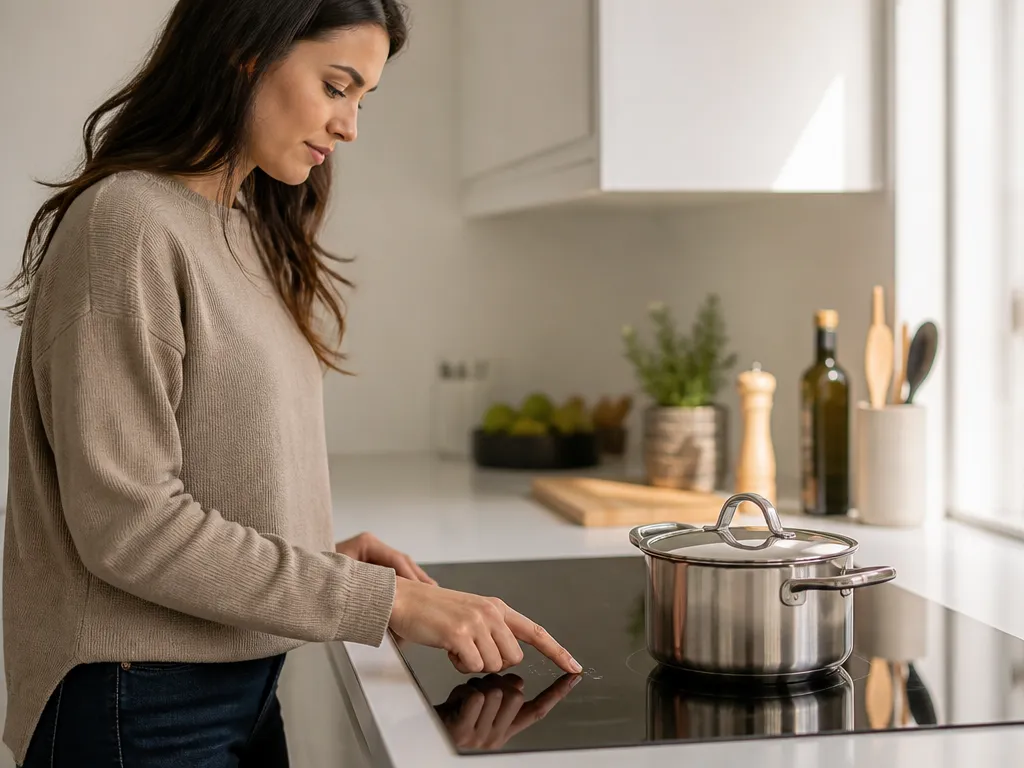
If your cooktop has a boost function, use it as a temporary tool. Boost can bring water or a pan up to temperature quickly, but it also raises the risk of scorching a dry pan, oil, spices, or sauce. Boost briefly, then lower the setting once the cooking process is underway.
Fix a Burner That Will Not Recognize the Pan
A burner that refuses to recognize cookware usually has a compatibility, placement, size, or pan-base problem rather than an unexplained electronic failure.
First, perform the magnet test. If a magnet does not stick to the bottom, the pan will probably fail to heat or will warm only very slightly. If the magnet sticks, re-center the pan and make sure the base is clean and dry.
Next, check the pan diameter against the burner. Some zones require a minimum base size for reliable detection. An induction-compatible pan can still fail on a large zone if its base is too small. If the cooktop has multiple zones, test the same pan on another burner to determine whether the issue is limited to one zone.
A warped pan may register briefly and then cause power cycling because the cooktop cannot maintain consistent coupling. Look for rocking or wobbling. You can also place the pan on a flat surface and check for a visible gap beneath the base.
Best Induction Techniques by Use Case
Boiling Water and Fast Liquids
Use higher power to bring water up to temperature, then reduce it once boiling begins. Induction heats quickly, so leaving the burner at maximum power can create a violent boil and increase the chance of a boil-over. A pan with enough capacity and a controlled reduction in power usually works better than constant maximum heat.
Searing and Stir-Frying
Preheat the pan to a stable hot level before adding oil. Higher power can help with aggressive browning, but reduce the setting once the food begins to react. Otherwise, oil, spices, and thin sauces can burn before the ingredients finish cooking.
Sauces, Eggs, and Delicate Foods
Use lower power for a longer period. Induction transfers energy efficiently, so a saucepan can pass the target temperature quickly. Medium-low heat is often a safer starting point for eggs, custards, and cream-based sauces than maximum power.
Simmering and Slow Reduction
Start low and increase gradually. If a sauce becomes too thick, reduce the power and stir more often. Induction responds to small setting changes, so it rewards frequent adjustments during slow reductions.
The central trade-off is speed versus forgiveness. Induction reaches temperature quickly, but it gives you less of the lag found with slower electric heating. A medium-first ramp makes the process easier to control.
Safety Around Children and Pets
Induction usually leaves the glass surface cooler than radiant or coil electric cooking because the pan receives most of the heat. The surface can still become hot from residual heat and contact with a hot pan, and cookware, steam, oil, and sauce can cause burns.
Keep children and pets away from the cooking area while the cooktop is operating. Use back burners when possible so handles and hot pans are harder to reach. After cooking, treat the glass as hot until it cools, especially if your model does not display residual heat clearly.
Pets can create a separate hazard. Cats and small dogs may investigate because the surface appears cooler than a conventional burner. A spill, hot handle, or rising steam can cause an accident quickly.
Use these habits:
Clean and Maintain the Glass Top
Clean the cooktop once it has cooled, preferably the same day as the spill. Sugar, grease, and sauce residue become harder to remove after repeated heating, and aggressive scrubbing can scratch the glass.
Wipe loose debris away with a damp cloth. For cooked-on residue, use a scraper designed for glass cooktops. A mild cleaner is usually enough for general grease; wipe the surface again and dry it thoroughly to avoid streaks.
Avoid abrasive pads, gritty cleaners, and harsh particles that can haze or scratch the glass. Do not use steel wool on hard-water spots. Gentle, glass-safe cleaning and patience are safer for the surface.
Use this cleaning order:
If sugar-based sauce spills while cooking, stop the process and clean it promptly after the surface cools. Sugar can bond quickly to glass and leave what looks like a permanent stain if ignored.
Final Recommendation
For most households, choose a mid-range induction cooktop with reliable pan detection, clearly defined power levels, and stable low-heat control. Those features support the technique that produces the most consistent results: use a compatible pan, center it on the closest-size zone, preheat at medium power, and adjust after the food begins reacting.
Choose a small-zone or portable model when space and flexibility matter most. Choose multi-zone linking for large cookware. Choose especially stable simmer control if you cook sauces, eggs, custards, or other delicate foods often.
FAQ
How do I know if my cookware works on induction?
Check whether a magnet sticks to the pan’s bottom. If it does, the cooktop should usually recognize it. Some zones also require a minimum pan size and a flat bottom.
What power level should I use for boiling water on induction?
Use a higher power setting to reach a boil quickly, then reduce it to maintain a steady boil. Leaving maximum power on after boiling starts can increase boil-overs. If your cooktop has a boost mode, use it only until boiling begins.
Are induction cooktops safe for kids and pets?
Induction usually keeps the glass cooler than radiant or coil heating, but the cooktop, cookware, oil, and steam can still burn. Use back burners when possible, keep children and pets out of reach, and wait for the glass to cool before touching it.
Why does my induction cooktop click or turn off during cooking?
Clicking or power cycling often means the cooktop cannot maintain consistent coupling with the pan. A base that is too small for the zone, a warped bottom, or moisture and debris can cause this behavior.
What is the most common induction cooking mistake?
Starting at maximum power and walking away causes many problems. Induction heats quickly, so oil, eggs, and sauces can overshoot before you react. Sugar-based spills can also bond to the glass if they are ignored. Preheat at medium power, then adjust based on the pan’s actual response.