How To Choose Drawer Dividers For Kitchen
Kitchen drawers stay organized when each utensil has a specific place that matches the way you cook. The right drawer dividers keep tools easy to grab without wasting space or forcing you to dig through a jumbled drawer.
Choose dividers that fit the drawer’s usable width and depth, adjust when your inventory changes, and resist moisture near sinks and dishwashers. Leave enough room for handles and odd-shaped tools, and use modular or stackable designs when you expect your storage needs to change. Measure first, then build a layout around the tools you reach for most.
Kitchen Drawer Divider Essentials
- Measure the drawer inside. Use the usable inner width and depth, not the drawer front or front lip.
- Choose adjustable dividers when needed. Adjustable lengths help accommodate irregular utensil sizes and frequent layout changes.
- Prioritize moisture resistance. Avoid bare particleboard, and favor sealed plastic, coated metal, or fully sealed wood.
- Group compartments by category. Give each type of item a specific home so tools return to the same place.
- Allow clearance for handles. Space dividers wide enough for cookware handles and textured grips.
- Choose a layout you will maintain. Start with a simple arrangement and add sections if the drawer’s contents change.
How to Choose Drawer Dividers for Kitchen Storage
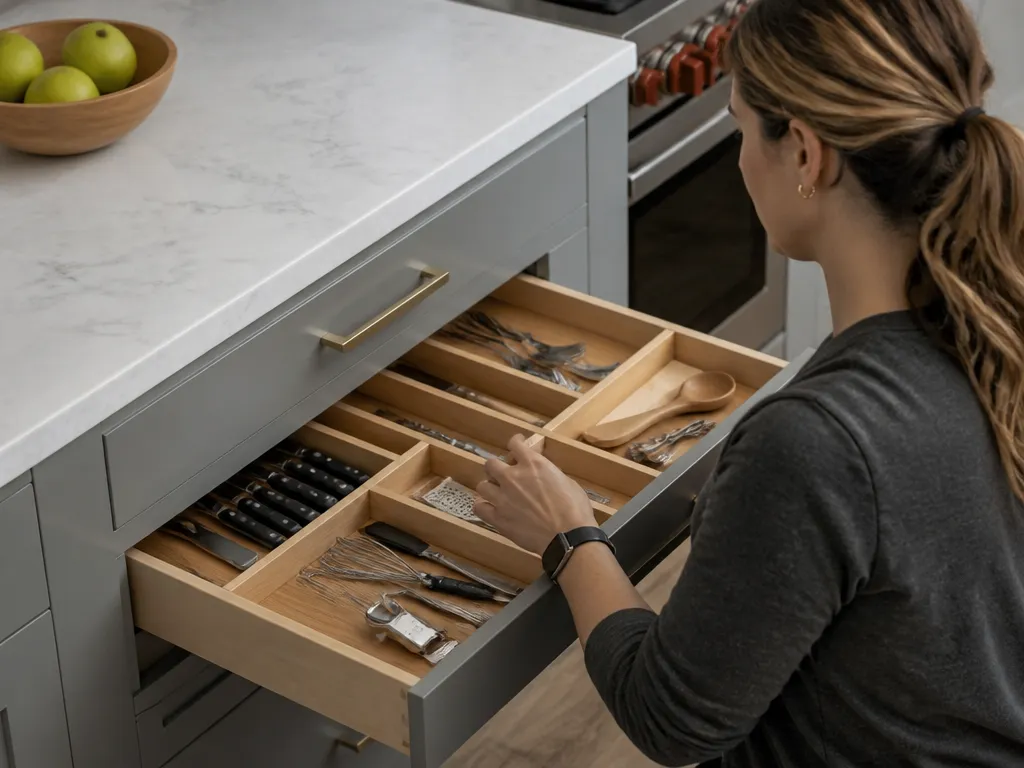
The best kitchen drawer dividers match the drawer’s usable dimensions and your grabbing habits. If you regularly reach across the drawer, use compartments that keep similar items aligned so your hand does not catch neighboring tools.
Treat the project as a layout problem before treating it as a product search. Map your top 3 categories, such as utensils, measuring tools, and “random but must live here” items. Complicated systems do not solve a poor layout. A simple divider arrangement that fits your actual tools will work better than an elaborate grid that reflects a showroom.
Use this order when choosing a system:
- Decide your categories first: utensils, baking tools, prep gadgets, lids, or other groups.
- Choose the divider type next: fixed, modular, or stackable.
- Select materials based on moisture and cleaning needs.
- Confirm spacing for handles, long tools, and bulky items.
When Adjustable Divider Lengths Make Sense
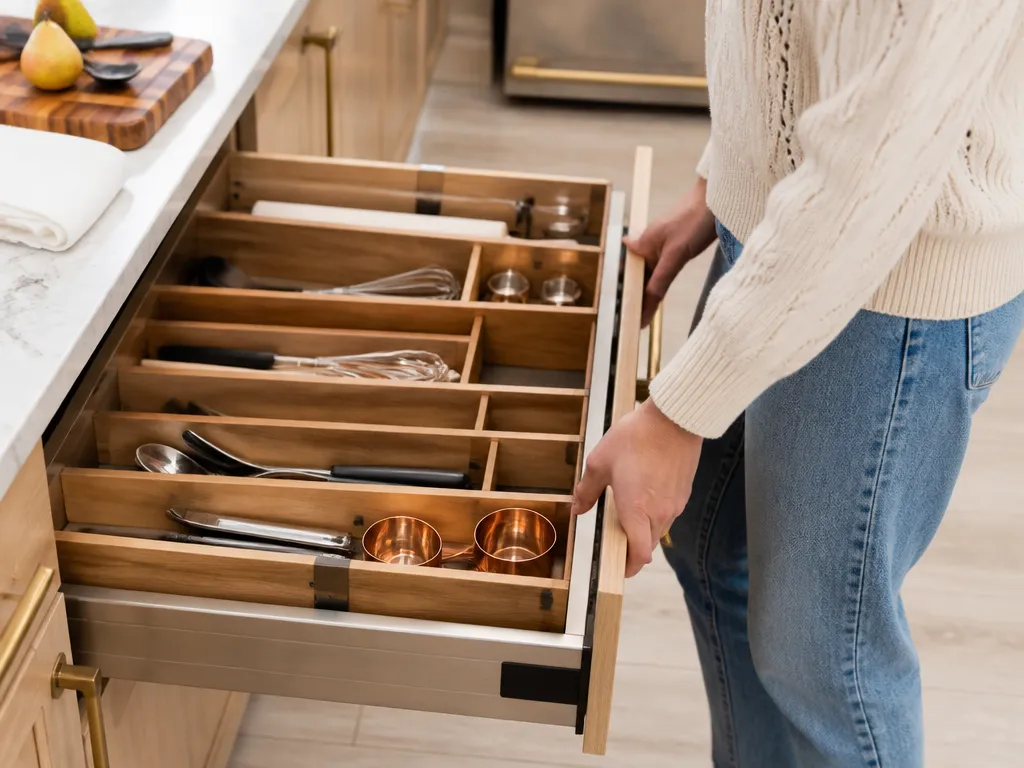
Adjustable divider lengths are useful when the drawer interior does not match standard organizer dimensions or when your tools vary widely in width. A mix of slim spoons and small spatulas alongside bulky tongs, ladles, or narrow cutting tools can leave awkward gaps with fixed dividers. Those gaps quickly become clutter because nothing fits securely.
Adjustable lengths also help when the drawer’s contents change with the season. Baking season may add measuring cups, specialty spatulas, and cupcake tools that do not belong in a rigid everyday utensil grid. Adjustable dividers let you change the sections without replacing the entire system.
Use adjustable dividers when:
- Your drawer width is an awkward size and does not match common organizer dimensions.
- You are dividing tools with very different shapes.
- You expect to add new tools or remove bulky ones.
- You want one drawer to support multiple uses, such as daily cooking and holiday baking.
Test the need for adjustability by laying your tools on the drawer bottom like a floor plan. If a tool forces a divider to sit “almost” where you want it, an adjustable system is worth considering. Otherwise, you may end up with wasted space or a section that is too tight.
Materials and Finishes That Handle Kitchen Moisture
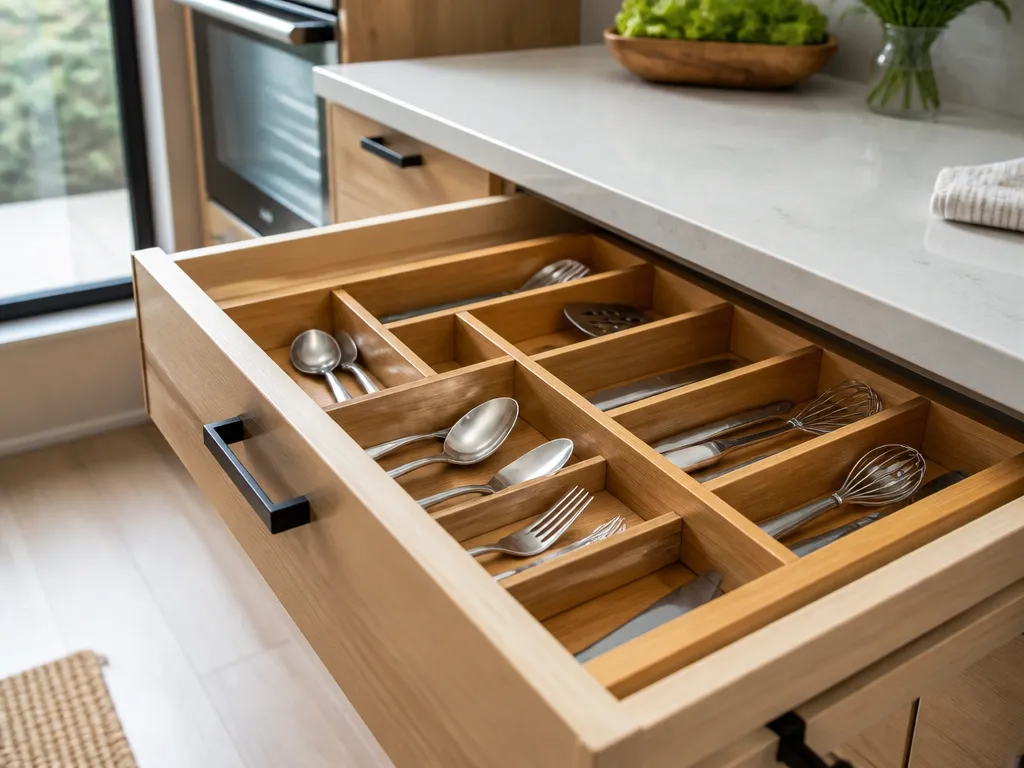
Kitchen drawers can collect moisture from splashes, steam, wet dish towels, and condensation. Water trapped in seams or absorbed by unfinished boards can make dividers swell, warp, or stick.
For most kitchens, choose rigid plastic, coated metal, or sealed engineered wood with a wipe-clean finish. If you choose wood-based dividers, check that every surface is sealed, including the edges. Exposed edges are common entry points for moisture.
Avoid:
- Unsealed or bare particleboard, which absorbs water and can break down over time.
- Raveled fabric or untreated porous surfaces, especially in drawers near wet access areas.
- Finishes that cover only the top, leaving the sides or edges exposed.
Use this material guide:
- Near sinks or dishwashers: favor plastic, coated metal, or fully sealed units.
- In central drawers away from splashes: sealed wood can work if the finish is wipe-clean.
- For frequent deep cleaning: choose materials that tolerate repeated damp wiping without swelling or peeling.
The finish should also withstand routine cleaning. A matte surface can hide minor scuffs, but avoid anything that becomes tacky or peels after repeated wiping. If you plan to use disinfecting wipes, choose a system designed for that type of cleaning or test the product in a less visible area first.
How Many Compartments Your Utensils Need
You need compartments that keep related tools together, not a separate divider for every item. Too many small sections force tools into the wrong spaces and make the drawer frustrating to use.
Base the layout on how you reach for tools while cooking. During prep, you may grab a spoon, whisk, peeler, and measuring set in sequence. During cooking, you may reach for tongs, a ladle, and spatulas. Arrange compartments around those tasks rather than dividing the drawer according to every item you own.
Group tools by:
- Task: prep, cooking, and serving.
- Size: small tools together, with long tools separated.
- Overflow needs: reserve one catch-all compartment for odd shapes.
A practical layout for many kitchens includes:
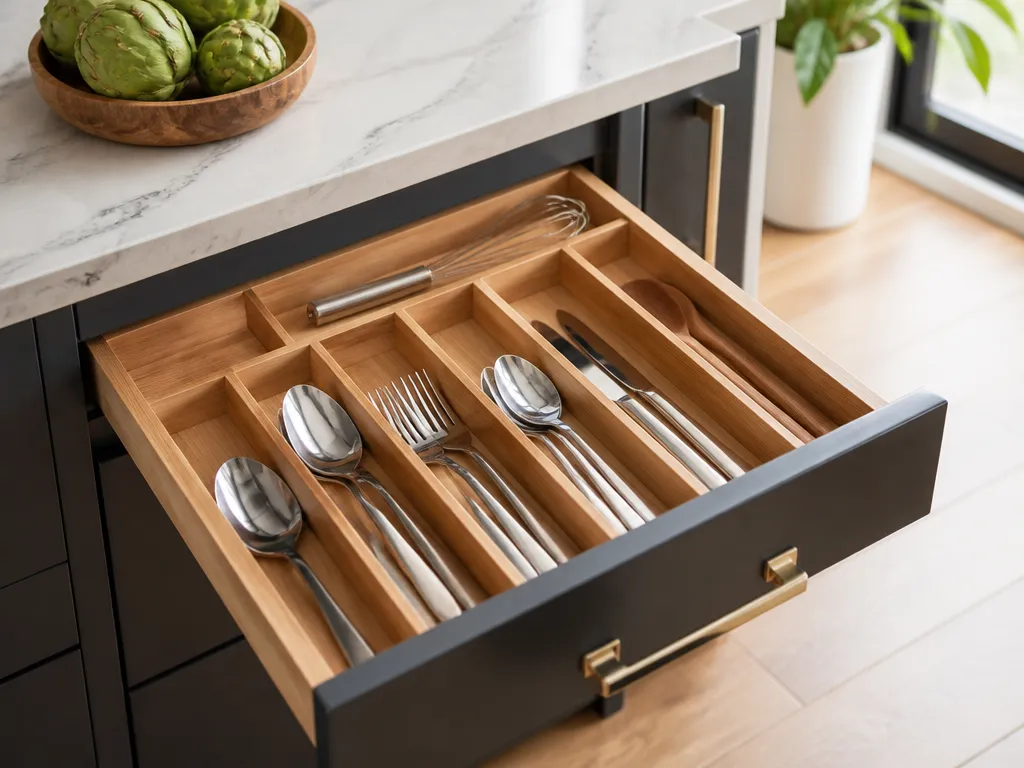
- 1 section for spatulas and spoons, with handles facing one direction
- 1 section for whisks and small beaters
- 1 section for measuring tools, including cups and spoons
- 1 section for tongs and ladles with long handles
- 1 section for peelers, cutters, and small gadgets
If the drawer is already overflowing, adding more compartments will not solve the problem. Remove redundant tools or move rarely used items elsewhere, then build sections around the remaining everyday set.
Fixed, Modular, or Stackable Dividers?
Fixed dividers suit drawers with stable contents and a layout you do not expect to change. They are usually simpler and less fiddly, and they work well when your utensils have consistent sizes.
Modular dividers are better when you want to rearrange sections without buying a new system. You can swap parts, change section widths, and add separators as your collection changes. They suit kitchens where people add cooking tools, batch cook, or reorganize drawers by meal type.
Stackable dividers add vertical storage in a shallow drawer. They work well for baking tools, measuring cups, and smaller items that would otherwise occupy the full drawer depth. The trade-off is access: deeper items can become harder to reach when they sit below another level. Keep the most-used tools on the top or most accessible layer.
| Divider Type | Key Spec / What It Does | Best For |
|---|---|---|
| Fixed dividers | Pre-sized compartments, no reconfiguration | Stable utensil sets and permanent drawer layouts |
| Modular dividers | Adjustable sections you can rearrange | Growing kitchens and tools with mixed shapes |
| Stackable dividers | Multiple levels in the same drawer footprint | Shallow drawers and small items that need vertical separation |
If you are unsure, modular dividers are the lowest-regret choice. They adapt as your kitchen inventory changes, so a new tool does not immediately make the layout obsolete.
Divider Slot Spacing for Cookware Handles
Slot spacing should provide enough clearance for tools to slide out without snagging. Tongs, ladles, pasta tools, and other handled accessories need enough room for their widest grip point, including textured surfaces and silicone sleeves.
Spacing that is too tight makes you pull dividers out of alignment or lift tools awkwardly. Spacing that is too wide allows tools to clump together and wastes drawer space.
Measure the widest point you actually catch with your hand, not only the narrow part of the handle. Then leave enough clearance for quick insertion and removal, even if the drawer has slight misalignment over time.
Check two dimensions:
- Handle clearance: enough space between dividers for the widest handle point.
- Tool depth: enough room for items to clear the drawer back and front lip.
Do a test fit before committing to the final layout. Place the dividers in the drawer, then slide the handles in and out at the speed you would use while cooking. If a handle scrapes, binds, or requires an awkward angle, widen the section or choose a system with more suitable spacing.
Measure the Drawer and Plan the Layout
Measure the drawer interior as carefully as you would measure for a shelf. Pull out the drawer if possible, then measure the usable insert area and note anything that could affect the fit, such as drawer slides, outlet cutouts, ridges, or curved corners. These details determine whether dividers sit flat or wobble.
Write down four measurements:
- Inside width at the narrowest point
- Inside depth from front to back where the dividers will sit
- Inside height if you are considering stackable dividers
- Any obstructions, including ridges, slide hardware, and cable cutouts
Plan from the most-used tools outward. Put daily utensils in the easiest-to-reach compartments, and give long handles their own zone so they do not twist into neighboring sections.
Make a cardboard mockup before buying or installing the dividers. Tape a grid onto cardboard to match the drawer dimensions, then place cardboard cutouts of your largest tools inside it. This exposes cramped sections, wasted width, and slots that are too narrow for real handles.
FAQ
How do I choose drawer dividers for kitchen utensils without wasting space?
Choose divider widths based on the widest handle and item in each category, not on average utensil sizes. Start with 4 to 6 compartments for your main categories, then add one catch-all section for odd tools. This keeps sections useful without forcing every utensil into its own space.
What size drawer do I need for adjustable dividers?
Adjustable dividers work well when the drawer interior is close to standard sizes but not an exact match, or when the tools vary significantly in width. Measure the usable inside width and plan around the widest handle. If the drawer is unusually narrow, choose a system with a wide adjustment range or use fewer compartments to prevent cramped slots.
Are plastic or wood dividers better for kitchen drawers?
Plastic dividers generally tolerate moisture better because they do not absorb water. Sealed wood can also work if every surface and edge is fully wipe-clean. For drawers near the sink, favor sealed plastic or coated metal to reduce the risk of swelling and warping.
How do I stop utensils from tipping over inside dividers?
Align handles in one direction and keep long tools in their own section. If tools tip over, the compartments may be too wide or too shallow for the tools’ center of mass. Narrow the sections with a modular layout, then test the arrangement with the utensils you use most.
What common mistake should I avoid when choosing drawer dividers?
Do not choose dividers based only on the number of sections you want. Build the layout around the tools you own and the way you reach for them. If handles snag or you must angle tools to remove them, the layout will fail during everyday cooking.