
How To Organize Kitchen For Meal Prep
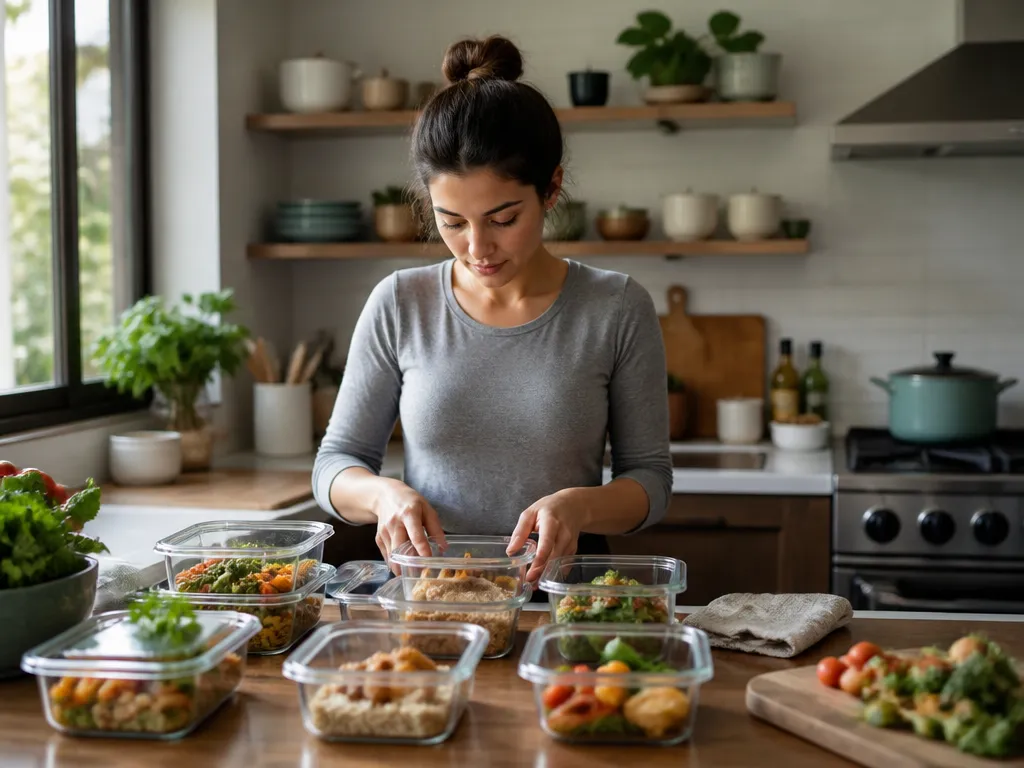
Meal prep works best when your kitchen follows the order of the work: grab, cook, portion, chill, label, and clean. Give each tool, ingredient, and container a consistent home, and assembly takes minutes instead of guesswork.
A practical setup needs at least 1 clear spot per meal type, prep tools within arm’s reach of the cutting area, and labels ready before food goes into the fridge. With those pieces in place, you can portion 3 to 5 meals in one session without hunting for lids or scoops.
Meal Prep Organization at a Glance
- Use a workflow-first setup. Arrange tools and storage around how you cook, portion, and store food.
- Give every tool one home. Keep knives, boards, strainers, and measuring tools near your main prep spot.
- Create work zones. Separate “mix,” “cook,” and “portion” areas so the counter stays manageable.
- Label every container. Add the meal name and date before storing food.
- Choose stackable containers. Use a set that nests, seals tightly, and fits your fridge shelves.
- Restock weekly. A reset that takes under 15 minutes keeps the next meal-prep session moving.
Build a Kitchen Layout Around Your Meal Prep Workflow
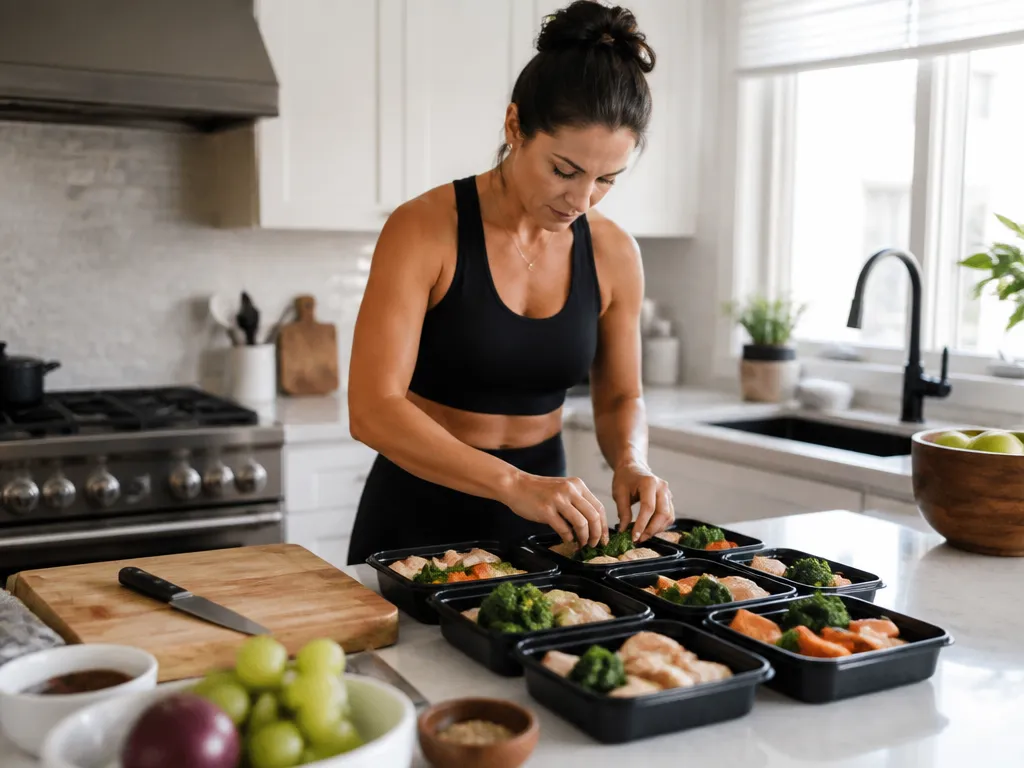
Arrange the kitchen around the fastest path from ingredients to finished meals. Meal prep is organized work, so treat it like a repeatable system rather than a special event. Hunting for lids, wiping an oily counter halfway through portioning, or scrambling for baggies all signal that the layout is working against you.
Map your typical cooking day first. For most people, the sequence is:
- Pull recipes and ingredients.
- Wash and portion food.
- Cook in batches.
- Cool food safely.
- Portion it into containers.
- Label and store it.
- Clean and reset the kitchen.
Once that sequence is clear, place tools and storage where they reduce unnecessary movement. Keep raw and ready-to-eat steps separate whenever possible, especially when you handle raw meat.
Prerequisites Before You Reorganize
- Pick your prep station, the counter where you chop and mix most often.
- Decide whether you cook in batches, such as sauces, grains, and proteins, or prepare one recipe at a time.
- Choose your container plan first. The number and shape of your containers will determine how you organize the fridge.
Set Up the System Once, Then Maintain It
- Create a small prep pull zone for items you use every time, rather than tools you need once a month.
- Separate the raw-handling path from the ready-food path, even if they are two areas on the same counter.
- Keep portioning supplies together so you can start packing meals without another search.
A Chicken, Rice, and Vege
If you usually cook chicken, rice, and vegetables, arrange the station so chopped ingredients move toward the cooking area and cooked food moves directly to portioning. Keep a colander and a second cutting board within reach so you can rinse rice or drain vegetables without carrying wet items across the kitchen.
Prevent These Workflow Breakdowns
Meal prep kitchens usually become frustrating for two reasons: tools are stored vaguely “somewhere near the kitchen,” and containers come in too many incompatible sizes. The first problem makes you stop and search. The second creates lid piles, unstable stacks, and wasted fridge space.
Put Prep Tools Within Reach of the Main Workstation
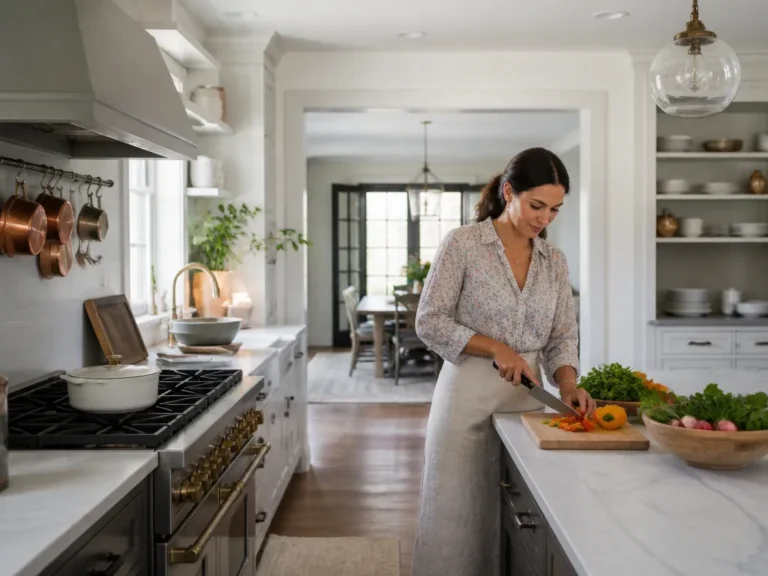
Store prep tools according to the distance you travel for your most common tasks. If you chop on the left side of the counter, keep cutting boards, knives, strainers, and measuring tools there. Switching between distant stations creates extra movement and dirties more surfaces.
A prep drawer and prep shelf combination works in most kitchens. Use the drawer closest to your station for measuring cups, measuring spoons, a can opener, zesters, whisks, and tongs. Store cutting boards, a colander, and your most-used cooking-safe containers on a shelf or in a bin directly beside or above the station.
A Practical Tool Map
- Near cutting and mixing: knives or a knife block, cutting boards, a peeler, grater, and mixing bowls.
- Near rinsing and draining: a colander, fine mesh strainer, salad spinner if you use it, and dish rack.
- Near portioning: a portion scoop, ladle, funnels if you use them for sauces, and trays for moving cooked food.
Keep special-occasion tools elsewhere. A large food processor or spiralizer can stay in a cabinet until a recipe calls for it instead of taking up space in your weekly prep path.
Test Whether Tools Are Close Enough
Stand at your prep station and place a container where you would normally begin. Without moving your feet, reach for the three tools you use most often to start: a knife and board, a bowl, and a scoop. If you have to stretch, reach across the sink, or cross the cooking zone, move those tools closer.
Use the same test for raw and ready-to-eat equipment. If you prepare raw meat and then assemble cooked food in the same area, establish a clear cleaning and reset routine between steps. Otherwise, store raw-focused items, such as a meat-specific board, in a separate raw-tools bin.
Divide the Counter Into Meal Prep Zones
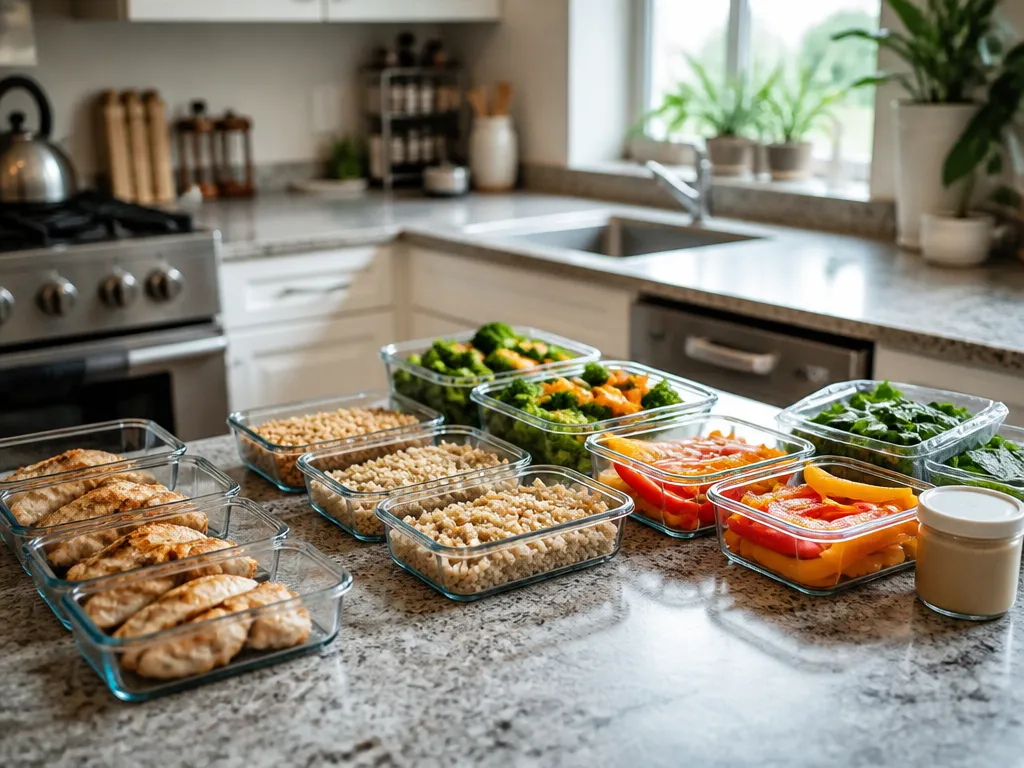
Zones stop ingredients and equipment from becoming one overlapping pile. Give each area one job: mixing and preparation, cooked-food transfer, or portion staging. If the kitchen is small, those zones can be three sections of the same counter – left, middle, and right.
Match Each Zone to a Prep
- Mix zone: unpack ingredients, open bags, wash produce, chop, and measure.
- Cook-transfer zone: hold raw batches briefly, then move cooked food through a separate path.
- Portion zone: place containers, labels, and lids here before cooking so packing does not stop.
A baking sheet can serve as a tray barrier. A cutting board turned sideways or a drawer organizer can create another clear boundary. The goal is visual separation: when each item has a visible destination, you are less likely to mix steps.
Group Ingredients by Their Next Use
Keep ingredients that cook together in the same staging area, such as the ingredients for roasted vegetables. Hold ingredients that go on at the end, such as fresh herbs and toppings, away from the portion station until assembly day.
For rice bowls with a fresh topping, keep herbs and fresh greens separate from the main meal containers. Pack them separately or add them when you assemble the meal so they do not wilt in the fridge.
Fix Zones That Still Feel Messy
A cluttered zone usually contains too many “almost ready” items. Remove anything you will not use in the next step. Keeping extra ingredients on the counter “just in case” makes meal prep less predictable.
Shrink oversized zones as well. When a zone spreads across the whole counter, visual grouping loses its value. Use fewer items per zone, and stack or tray-stage anything you will not touch yet.
Choose Containers and Labels That Support Fast Storage
Your storage system should make the next meal easy to identify and retrieve. Mismatched containers, loose lids, and delayed labeling lead to repacking, spills, forgotten food, and unnecessary waste.
Choose one container family you can use consistently. You do not need every size, but the lids should fit reliably and the shapes should stack together. Measure your fridge shelves before buying more containers so they sit flat without creating unusable gaps.
Build a Container Setup That Reduces Waste
- Buy containers for the number of meals you usually prep, such as 5 meals.
- Include at least one sauce-friendly container that is tall enough for marinades, soups, or pasta sauce.
- Keep lids in a small organizer so they do not spread across multiple drawers.
- Use freezer-safe containers if you regularly freeze food.
For different versions of a meal, such as spicy, mild, or dairy-free, account for that difference in your storage plan.
Use the Same Label Format Every Time
A consistent format removes one more decision from meal prep:
- Meal name
- Date in YYYY-MM-DD or Month-Day format
- Optional notes, such as “no sauce” or “spicy”
For freezer items, add “freeze” and a rough window, such as “freeze for 1-2 months,” only when that matches your own storage plan. The label should answer two questions: what is this, and when did I prepare it?
Match Container Shapes to Storage Locations
| Container Type | Best For | Place In System |
|---|---|---|
| Flat rectangular (stackable) | Sandwiches, meal components | Middle fridge shelf |
| Round or tall (lids fit well) | Soups, chili, pasta bowls | Back of fridge (most temp-stable) |
| Small portion cups | Snacks, sauces, toppings | Door or top shelf in a bin |
| Freezer-safe containers | Bulk proteins, cooked grains | Freezer top drawer/bins |
Solve Common Container Problems
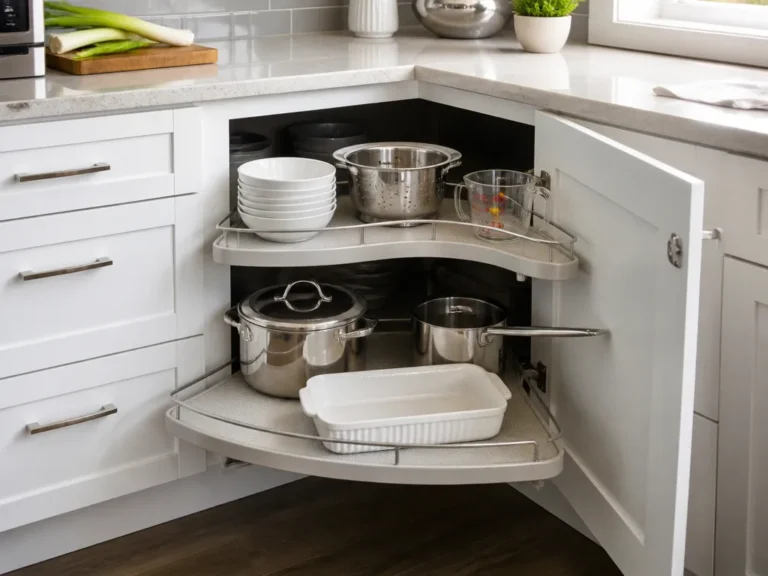
If lids are scattered, the problem is usually storage rather than the containers themselves. Use one bin for lids and group them by size or shape.
If containers do not fit your fridge, portioning and labeling will not solve the problem. You will either cram them into the shelves, risk spills, or leave food in bags. Replace the least useful shapes first with containers that match your shelf depth.
Arrange the Pantry and Fridge for Quick Meal Assembly
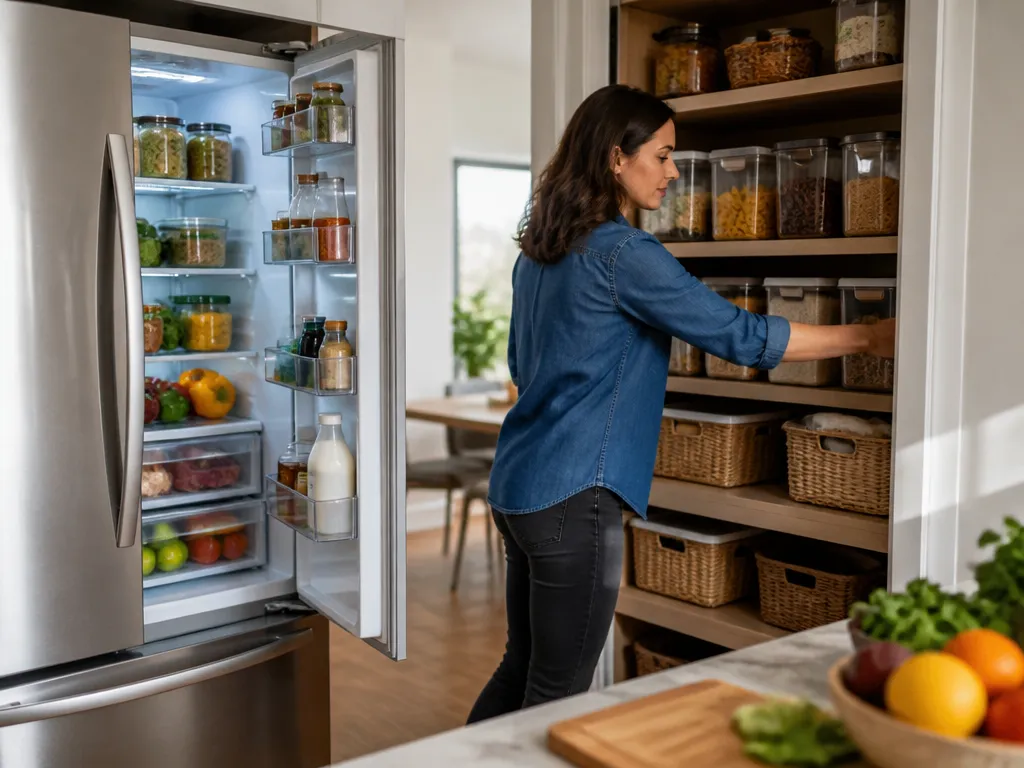
Group foods according to how you use them, not simply by ingredient category. If lunch usually consists of protein, grain, and vegetables, keep those components in nearby fridge and pantry zones so you do not empty the shelves to assemble one meal.
Use the Fridge Shelves for Visibility
- Top or middle shelves: ready-to-eat meals and containers you assemble often.
- Bottom shelf: raw items, using the most stable placement rules for your fridge.
- Door: sauces, dressings, toppings, and other small items stored in bins.
Keep ready-to-eat containers at eye level when possible. Meals buried behind newer jars are easy to forget, which can push them past the point when you planned to eat them.
Create a Pantry “Meal Kit Spine”
Keep the staples for your regular recipes in consistent locations:
- Grains such as rice, pasta, and quinoa
- Canned vegetables
- Beans or lentils
- Broths, sauces, and seasonings
- Cooking oils
If you cook several cuisines, group ingredients by meal type or by the recipe framework you use most often instead of spreading every category evenly across the shelves.
Assemble a Meal in Under 5 Minutes
- Grab a labeled container with the main base, such as a grain or protein.
- Add vegetables or a quick topping.
- Add sauce at the end to preserve texture.
For a meal of rice, chicken, and roasted vegetables, keep all three components in consistent containers and retrieve them in the same order. That turns assembly into a fixed sequence instead of a series of decisions.
Fix Fridge and Pantry Layout Problems
Double-buying ingredients usually means labels are hard to see or similar items are spread across too many locations. Face labels toward you and use a small basket for ingredients that need to be used soon.
Check the depth of your fridge shelves against your container sizes. Containers that sit flat and remain visible are easier to rotate than those that get stuck behind taller items.
Use a first-in, first-out rule to reduce waste: place newer meals behind older ones in the same shelf or bin. The shelf order determines whether you actually use meals in time.
Create a Cleaning and Restock Routine That Resets the Kitchen
Meal prep becomes harder when cleanup is postponed. The problem is more than a sink full of dishes: missing tools, sticky containers, and empty supplies make the next session less appealing. Reset the system rather than simply tidying the room.
Use two short phases: finish and reset immediately after cooking, then complete a restock sweep 1 day later. The delay gives some items time to cool and air out before storage.
Finish and Reset During the Cooking Session
- Wash or load cookware as soon as it cools enough to handle.
- Wipe the prep and portion zones before storing food.
- Rinse and dry sticky lids and scoops, especially after using sauces.
- Bag the trash and wipe the sink area so raw-to-ready contamination does not linger.
These steps prevent the one sticky task that makes you avoid portioning the next time you cook.
Complete a 15-Minute Restock Sweep
Check meal-prep consumables rather than attempting a full grocery trip:
- Labels, a marker, and tape or sticky labels
- Enough containers, lids, and portion scoops
- Paper towels and cleaning wipes if you use them
- Freezer bags if you freeze food
- A bin for freezer-safe containers
Make Cleanup Less Tedious
If cleaning causes you to skip meal prep, reduce the number of items that need special attention. Parchment or foil liners can simplify sheet-pan cleanup, and a designated portion tray gives you one surface to clean the same way each time.
Inconsistent food quality can also point to a delayed cooling and storage process. Stage containers so food moves into the fridge without unnecessary waiting. Follow appropriate time and temperature practices for the foods you prepare.
Use a Weekly Meal Prep
A short checklist replaces improvisation with a repeatable routine. Organize it around the timeline of your week: planning and prep, cooking, packing, and restocking.
Weekly Checklist Template
Prep day (10-20 minutes)
- Choose recipes and confirm the meal count.
- Pull containers, lids, labels, marker, and portion trays.
- Clear the prep station so you start with clean space.
Cook day (as needed)
- Wash and chop in the mix zone.
- Use the cook-transfer zone for cooked items only.
- Portion food into containers immediately.
Pack and store
- Place ready containers on the designated fridge shelf or in the freezer bin.
- Clean the portion zone before the counters become sticky again.
- Complete a restock sweep for labels, supplies, and tools.
Keep the Checklist Where You Cook
Place it where meal prep starts, not in a paperwork folder. A clipboard on the fridge door or a note in your phone can work as long as you can reach it when you begin.
If one container size regularly runs out, add “confirm container count” on the day you choose your meal plan.
Fix a Checklist You Ignore
An ignored checklist is usually too long or too vague. Replace “clean kitchen” with a specific action such as “wipe prep station and portion zone.” If the list still feels burdensome, shorten it further and attach it to a trigger: “Before you cook, set supplies on the portion tray.”
Make the Meal Prep System Stick
A useful kitchen organization system survives ordinary weekly use. Test the layout during one full prep session and note every point of friction. Hesitating usually means a tool is too far away, a storage spot is confusing, or a supply is missing.
Run a One-Week Workflow Test
Track three things during the week:
- How many times you reach for an item and find it somewhere else
- How many extra minutes you spend cleaning during the session
- How often you assemble meals from the wrong storage spot
After the week, change one thing at a time. Move the container bin closer, consolidate tools, or simplify a zone, then test the adjustment the following week. The goal is a dependable routine, not a showroom kitchen.
A Starter Setup for Small Kitchens
Limited counter space does not require a complete cabinet overhaul. Start with:
- One cutting board and one mixing bowl that stay available during prep
- One bin for portioning tools such as a ladle, scoop, labels, and marker
- One tray that defines the portion zone
- One fridge shelf reserved for ready meals
That setup creates the main workflow without requiring every cabinet to be reorganized.
FAQ
How do I organize a kitchen for meal prep if I have very little counter space?
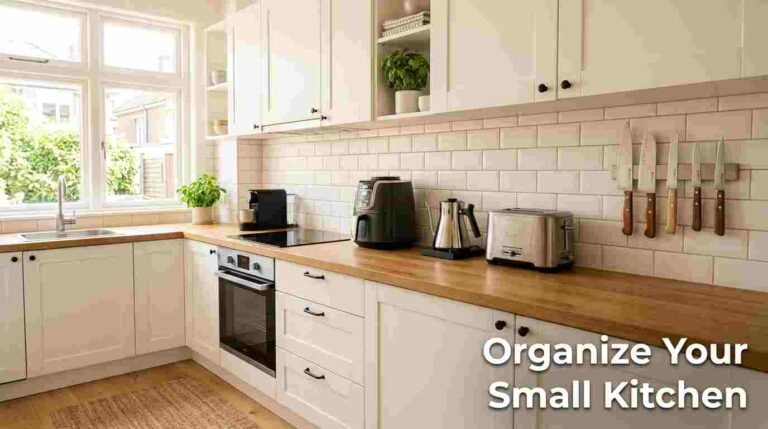
Use trays to create portable zones. Keep containers, lids, labels, and a marker on one portion tray, then clear the counter into a single mix zone when you start chopping. Store knives and boards on the most reachable wall or shelf. You will have less mid-prep clutter because every task begins from the same staging surface.
What containers are best for meal prep, and how many should I buy?
Choose containers that match your routine: stackable shapes for fridge shelves and freezer-safe options if you freeze meals. Buy enough for the number of meals you typically prepare in one session, plus a few extra for missing lids or unexpected leftovers. If the lids are not interchangeable, keep them together in one organizer so portioning does not turn into a search.
How long does labeling and organizing take each week?
Labeling adds a small, predictable step when you do it during portioning. Restocking labels, a marker, and container lids typically takes about 15 minutes, which keeps the next session from becoming a scavenger hunt.
What is the biggest meal prep organization mistake to avoid?
Do not store containers “temporarily.” Temporary storage becomes permanent when you forget what is inside or push the container behind newer food. Also avoid scattering prep tools across cabinets. Searching for lids, strainers, or measuring tools repeatedly breaks your cooking rhythm.
Can I meal prep without special containers or labels?
Yes, but generic containers can cost you time and create confusion. Limit yourself to a small set with consistent lid fits, and write the meal name and date on tape or directly with a marker. Without labels, you are more likely to eat meals in the wrong order or waste food because you cannot track its age.
2 Comments