
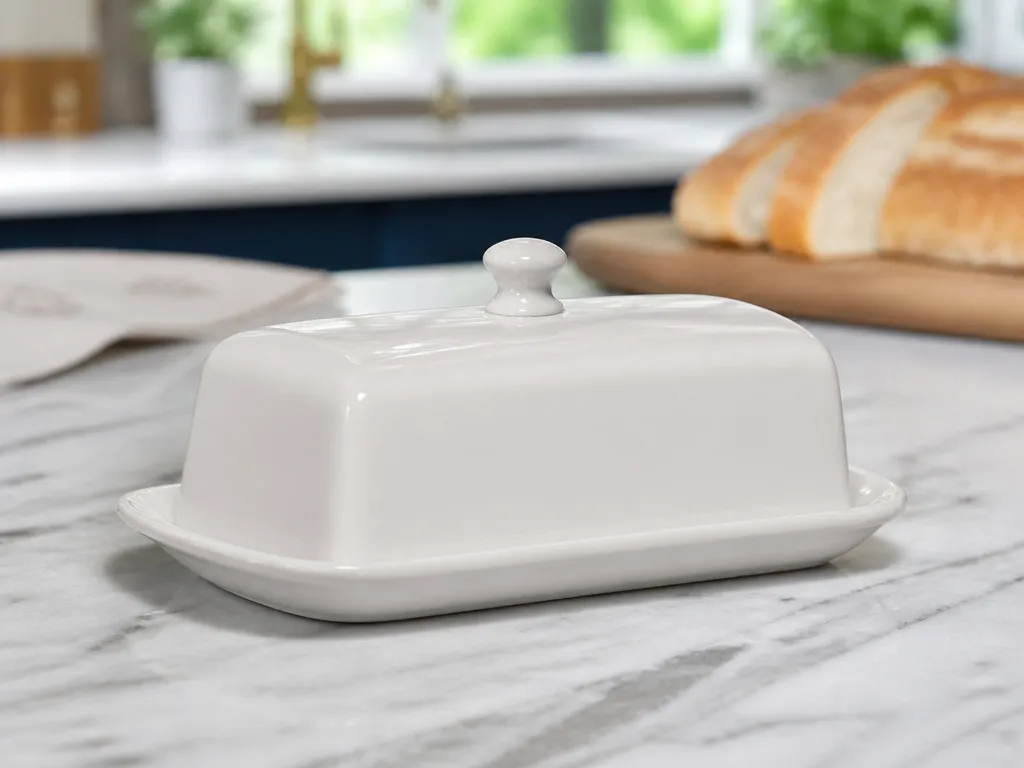
How To Use A Butter Dish
A butter dish keeps butter fresh and makes it easier to spread, but only when you use it correctly. Clean, dry storage prevents smeary grease, dried edges, and odor pickup. The basic routine is simple: place the butter in a properly sized dish, keep the dish dry, use a clean butter-only knife, and close the lid after every use.
For cold stick butter, keep the covered dish in the refrigerator and portion butter as needed. For softened butter, take out only the amount you plan to use, then return the rest to the refrigerator. Avoid scraping the same spot repeatedly, since deep grooves expose more butter to air and collect residue.
Key Takeaways
- Start clean. Wash and dry the butter dish fully before first use to prevent off flavors.
- Keep it dry. Moisture on the lid or tray makes butter smear and speeds spoilage.
- Portion smart. Cut or scoop from the top layer instead of dragging a knife through the same groove.
- Mind the lid. Close it after every use, especially in a refrigerator with strong-smelling foods.
- Control temperature. Refrigerate cold stick butter and soften only the amount you plan to use soon.
- Match the dish to your routine. Choose a dish that fits your butter size and usual serving amount.
Set Up Your Butter Dish Correctly
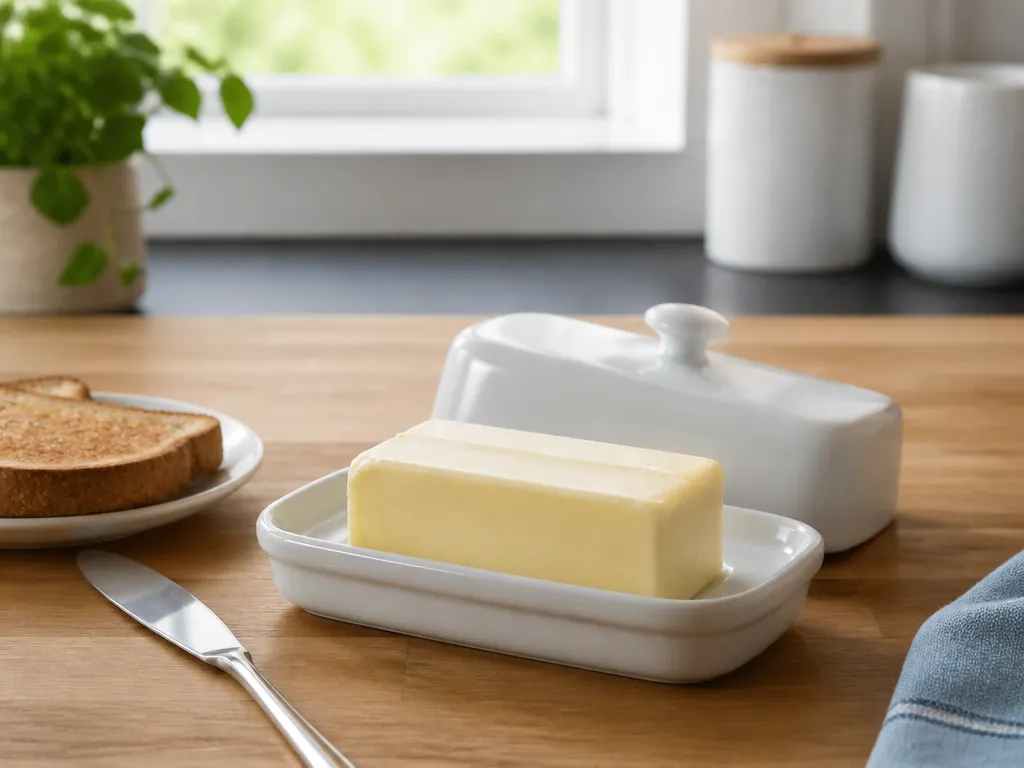
A butter dish works by shielding butter from air, crumbs, moisture, and nearby food odors. The goal is butter that spreads smoothly, stays fresher longer, and does not make the refrigerator smell like it. A covered dish also turns butter storage into a simple routine: grab the butter, spread it, and close the lid.
Check the design before filling it. Common styles include a standard lidded dish, a clamshell or hinged dish, and models with a built-in cover plate or center container. Confirm that the dish fits your butter, whether you use a standard stick or pre-portioned pieces. The lid should close fully without pressing into the butter.
You need:
- A clean, dry butter dish with no water in its seams
- A butter knife or small spreader reserved for butter
- Your butter, either as a stick or in portions
- An optional paper towel or clean cloth for quick drying
Follow the manufacturer’s care instructions if the dish came with them. Otherwise, use the basic rule: do not place butter in a wet dish, do not leave residue on the underside of the lid, and do not drag crumbs or food residue back into the butter.
How a Butter Dish Protects Butter
A butter dish is a covered storage container that limits air contact and shields butter from refrigerator odors. Your two main controls are hygiene and lid discipline. If the lid stays open while you cook, or if water and crumbs get into the dish, it can no longer protect the butter effectively.
Most people in the United States store stick butter in the refrigerator, and a butter dish works well for keeping it cold and covered. Leaving butter out to soften for long periods, then returning it to the dish, creates repeated temperature changes that can worsen the texture and increase spoilage risk.
Use a clean knife, take butter from the top, and close the lid as soon as you finish. This keeps moisture and food residue out of the butter and limits exposure to cold, dry refrigerator air, which can dry the surface.
Choose a dish that fits how you use butter. If you spread butter frequently at breakfast, easy access and enough room for the butter matter more than appearance. If you use butter mainly for occasional baking, smaller portions can reduce repeated digging and unnecessary opening.
How to Use a Butter Dish
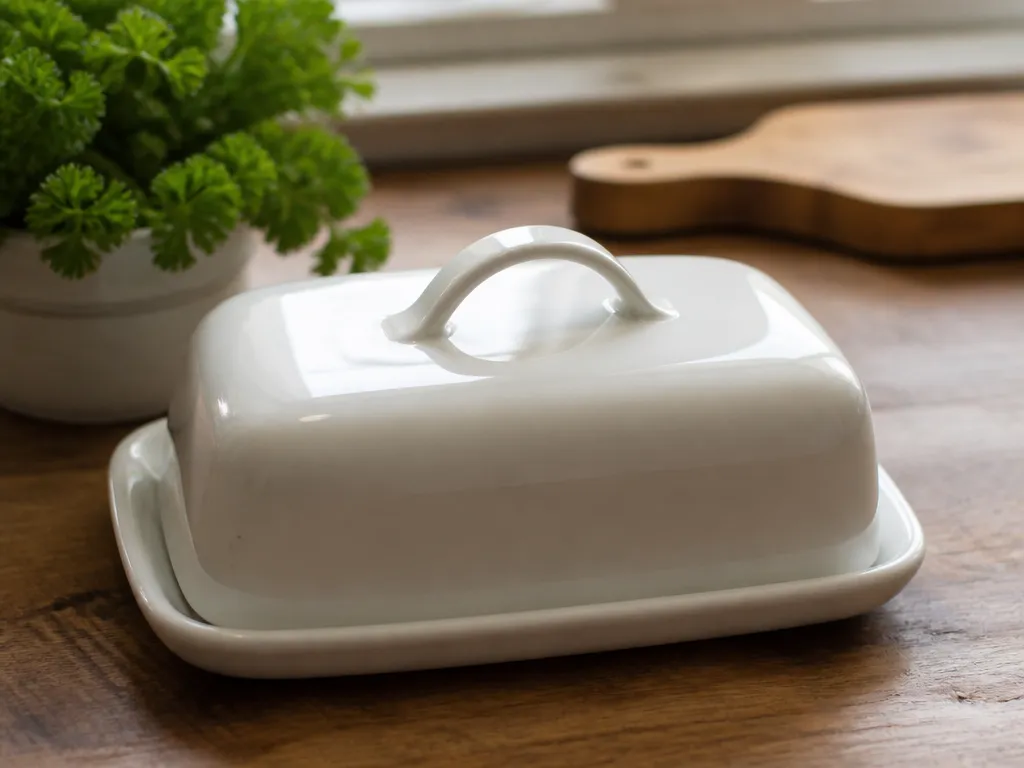
- Wash and dry the dish. Rinse it with warm, soapy water, then dry it completely. Water left in seams, grooves, or under the lid can create smears and mess.
- Place the butter correctly. Handle the butter as little as possible and center it so the lid closes fully. If the dish has a base tray, make sure the butter sits flat instead of rocking against the lid.
- Keep the butter covered. Open the lid only long enough to spread or portion the butter. Close it immediately afterward. In the refrigerator, leaving the lid open increases odor pickup and surface drying.
- Use a dedicated butter knife. Slice or scoop the amount you need instead of digging repeatedly. If the knife has touched another food, wash it before using it on the butter.
- Portion the butter. If you use it often, cut the butter into smaller sections or keep a serving-sized piece in the dish. Taking butter from the top reduces the deep groove that makes spreading uneven.
- Store it at the right temperature. Keep cold butter in the covered dish inside the refrigerator. If you soften a portion for serving, return the remaining butter to the refrigerator promptly and keep it covered.
- Clean spills quickly. Wipe butter from the lid or tray as soon as you see it. Fresh residue comes off easily; old grease becomes harder to remove.
When the Butter Is Cold and Hard to Spread
Do not leave the entire dish open while the butter softens. Take out only the amount you plan to use and let it sit briefly at room temperature until it becomes workable. Spread it, then return the rest of the butter to the dish and close the lid. This keeps the main portion cold and prevents the whole stick from warming.
When Butter Smells Like Other Foods
Butter absorbs refrigerator odors when the lid does not seal well or stays open during cooking. Keep the lid closed and make sure any internal cover plate sits over the butter completely. Wipe the underside of the lid as well, since old food residue can hold odors close to the butter.
When Butter Develops a Dry Edge
A dry edge usually comes from repeated air exposure or moisture being wiped back onto the butter. Portion the butter so you are not reopening and scraping the same lower area. Then make sure the lid closes completely after each use.
Techniques That Keep Butter Smooth and Clean
Butter reacts poorly to water, crumbs, and odors, so each serving should introduce as little contamination as possible.
Avoid “butter trenching.” If you always swipe from the center, you create a groove where air reaches the butter and residue collects. Cut the stick into smaller pieces or choose a dish sized for your usual portion. Fresh top layers are easier to spread and less likely to develop a crust.
Wipe the underside of the lid whenever butter touches it. Some designs collect condensation or smear butter as the lid comes off and goes back on. If the residue remains, it can be dragged into the butter during the next use.
Helpful pick
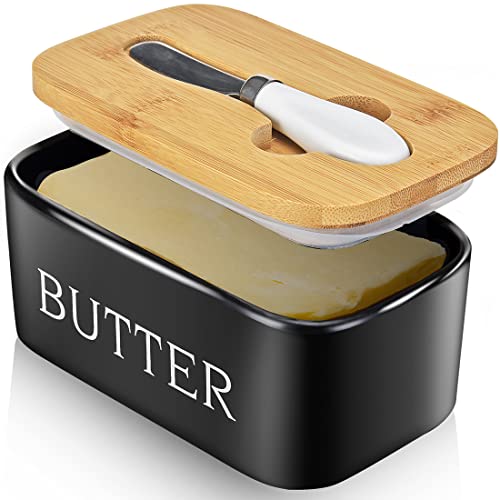
Ceramic Butter Dish with Lid and Knife & Silicone Seal for Countertop Black
This ceramic dish features a silicone seal and integrated knife, ensuring your butter stays airtight and free from cross-contamination during use.
Butter Dish Habits Worth Keeping
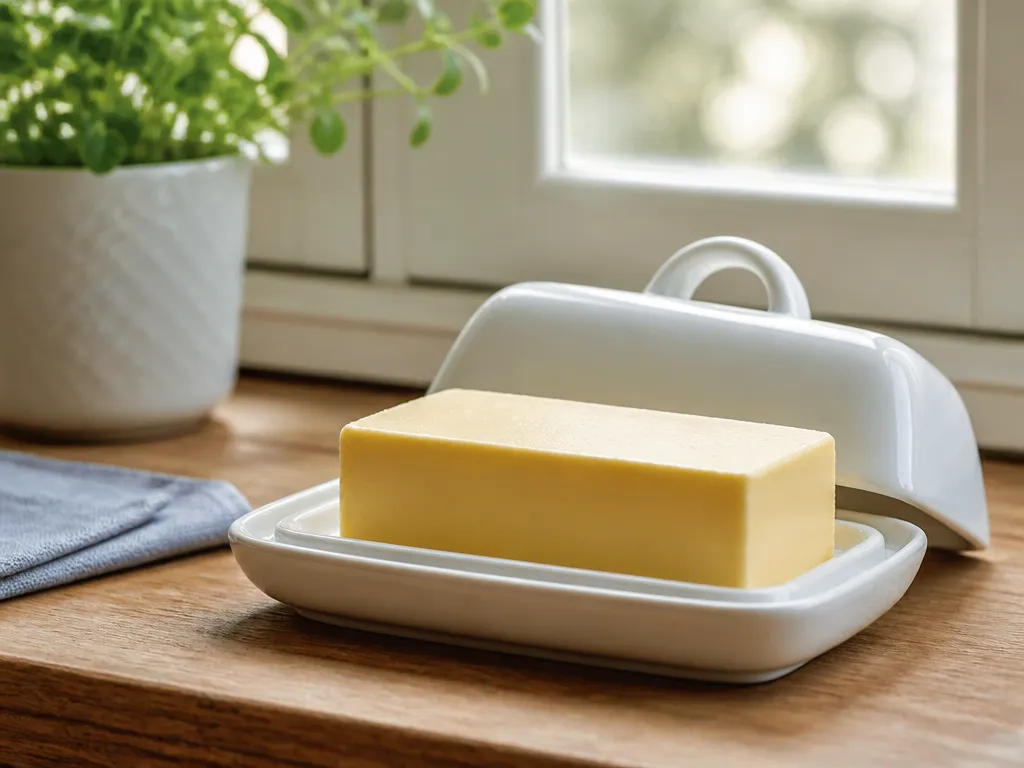
Good butter storage depends on small habits that take less than a minute. Use this routine:
- Dry the dish fully after washing. Moisture in seams works against clean butter.
- Wipe the lid early. Remove smears while they are fresh.
- Store the dish in the coldest practical spot. Keep it toward the main interior of the refrigerator rather than in the door, where temperatures cycle more often.
If you are choosing a new dish, check the lid closure and interior dimensions first. A dish that does not close fully offers less protection from air and odors, even if it looks attractive.
Butter Dish Styles for Different Routines
| Butter dish type | Key spec to check | Best for | Common downside |
|---|---|---|---|
| Standard lidded dish | Lid closure quality | Most households storing stick butter | Harder to access if the lid is bulky |
| Hinged butter dish with cover | Cover plate and fit | People who open the dish frequently | Smears can collect on the underside |
| Larger tray-style dish | Tray depth and width | Big batches or frequent spreading | Butter may warm more during access |
| Portion-friendly dish | Inner divider or size match | Small serving routines | May not fit the original stick size |
If the lid feels loose or does not shut cleanly, tighten your routine by wiping the dish and closing it faster. If that does not solve the problem, choose a dish with a better fit or a size that matches the butter you buy.

Helpful pick
KITCHENDAO One-handed Airtight Butter Dish with Lid for Countertop and Refrigerator Door Shelf, Butter Holder with One Press to Open/Close Secure Latching Buckle for West/East Coast Butter (White)
This airtight dish features a secure latching buckle that keeps your butter fresh and prevents moisture from entering the storage container.
Butter Dish Mistakes That Cause Mess and Drying
Most butter dish problems come from a few repeat mistakes:
- Leaving the lid open while cooking. Butter absorbs refrigerator odors and dries when exposed. Keep the opening short and close the dish between steps.
- Putting butter in a wet dish. Even a few droplets under the lid can cause smearing and faster quality decline.
- Using a knife that touched other food. A knife used for jam, sandwiches, or meat juices can contaminate the butter. Use a butter-only utensil.
- Digging repeatedly from one spot. This creates a trench, exposes fresh butter to air, and makes spreading inconsistent. Portioning prevents much of the problem.
- Softening the entire stick in the dish. Warm, soft butter smears more easily and can absorb odors. Soften only what you plan to use soon.
- Cleaning with abrasive materials. Some ceramic or coated dishes can be scratched or damaged, creating places for grime to collect. Wash gently and dry thoroughly.
When the Butter Dish Is Always Messy
A greasy lid underside usually means you are scooping too much or dragging the knife against the lid. Take a smaller amount, spread it, close the dish immediately, and wipe the lid after a smear. If the lid still touches the butter, the dish may be too small or the design may not fit your butter.
When the Butter Keeps Drying Out
A dry top layer or crust usually means the butter is exposed to air for too long or is left out after serving. Check that the lid closes fully and that the dish is not oversized for the butter.

Helpful pick
AISBUGUR Metal Butter Dish with Lid & Silicone Seal for Countertop White
This butter dish features a silicone seal that prevents odors and air exposure, keeping your butter fresh and perfectly spreadable.
Small Upgrades for Easier Butter Storage
- Use a shallow slicing motion. Slice a thin layer from the top or nearest edge, then smooth it onto your bread. This avoids deep grooves and keeps the butter surface more even.
- Keep one serving piece ready. If you frequently toast or bake, cut a portion you use most often. Store the rest covered, then replace the serving piece when it runs low.
- Label different butters. If you keep flavored butter or both salted and unsalted butter, a quick label prevents mix-ups and accidental flavor mixing.
- Wash removable parts separately. If the dish has a separate lid and tray, clean them apart so residue does not get pushed into the seams.
- Manage condensation. If the dish collects moisture in the refrigerator, let it air-dry longer after washing and after deep cleaning.
Serving Butter to Guests
Set out only a small portion for brunch or dinner, and let it soften briefly if needed. Keep the rest of the butter in its covered dish in the refrigerator. The smaller serving portion warms faster, while the main supply stays cold and cleanup stays manageable.
FAQ
How do I keep butter from smelling like food in the refrigerator?
Keep the butter in a covered dish, open the lid only briefly, and wipe the underside if it gets smeared. If your refrigerator contains strong odors, store the dish toward the interior rather than in the door. That also reduces temperature swings.
What is the best way to soften butter using a butter dish?
Soften only the amount you plan to use. Take out a small portion and let it become spreadable, then return the remaining butter to the dish and close the lid promptly. This prevents the whole stick from warming and becoming greasy.
Do I need to wash a butter dish every time I use it?
No. Wipe away fresh smears when they appear, and wash the dish with warm, soapy water regularly. Deep-clean it sooner if crumbs, residue, or sticky buildup collect on the tray or lid.
Can I store flavored butter in a butter dish?
Yes. Use a butter-only utensil and close the lid tightly after each use. If you store multiple types, label them and use one at a time to prevent accidental mixing. If the dish absorbs strong flavors, dedicate one dish to each type.
What is the most common butter dish mistake?
Leaving the lid open while cooking and repeatedly digging from the same spot cause many problems. Close the lid quickly and portion the butter so you can spread from fresh top areas. If the dish does not close fully, replace it with a better-fitting design.
A butter dish works best when it stays closed, stays dry, and is used with a butter-only knife. Wash and dry yours completely, portion the butter for your usual serving amount, and close the lid within a few seconds of each use.


One Comment