How To Choose A Backsplash For Kitchen: 3 Tips
Choosing the right kitchen backsplash comes down to three things you can measure and control: your layout, your materials, and your finish. A backsplash should coordinate with your countertop, withstand splashes, and fit cleanly around outlets. Those details separate a backsplash that looks good on installation day from one that stays practical for years.
Install the backsplash around 18 to 24 inches above the counter in a typical kitchen, seal grout where needed, and plan outlet locations before buying materials. If you can measure each wall run and outlet position, you can choose tile sizes, patterns, and trim without guessing.
Key Takeaways
- Measure first. Record wall width, target height, and outlet positions before buying tile or panels.
- Prioritize splash zones. Focus waterproofing and easy-clean surfaces where water and grease land.
- Choose material by upkeep. Grout needs care, slabs require precise installation, and peel-and-stick products need smooth walls.
- Match existing finishes. Coordinate color temperature and shine with countertops and cabinet paint or stain.
- Plan grout lines. Wider grout lines hide variation; smaller tiles with tight grout create a more modern look.
- Do a dry layout. Test a full-size mock layout to avoid tiny slivers at the edges.
Choose a Backsplash That Fits Your Kitchen Layout
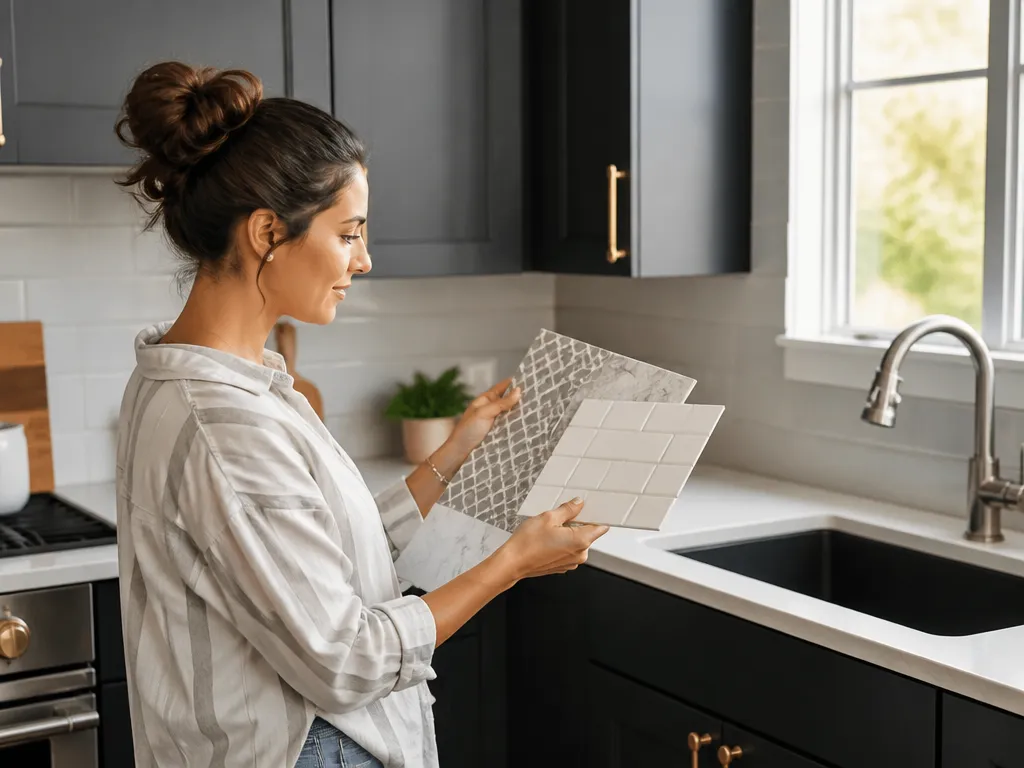
Your kitchen layout determines the backsplash height, corner treatment, and installation challenges around outlets. Measure the continuous wall run between corners first. That measurement tells you whether a repeating pattern will align cleanly or drift toward the ends.
Identify the kitchen’s main splash zones. Standard practice is to cover the area behind the countertop and under the upper cabinets, commonly around 18 to 24 inches above the counter. Match the exact height to the space between your countertop and cabinets. A range with a hood or microwave usually deserves extra coverage because it receives more grease, steam, and splatter.
Treat these details as fixed requirements:
- Center full tiles, sheets, or panels on a focal point such as the sink or range.
- Decide how to finish exposed edges, cabinet ends, and outside corners.
- Confirm that the wall suits your installation method. Peel-and-stick products require a particularly flat, clean surface.
Corners and end walls can add cost and visual complications. Subway tile still needs a plan for turning corners and finishing where the counter ends. Large-format tile or a single-piece slab-style panel requires careful planning for seams, trim, and outlet openings.
Before choosing a color or pattern, make a paper layout. Mark the backsplash height and outlet locations on the wall with painter’s tape. Dry-fit the top row using the actual tile or panel dimensions. If the layout leaves narrow cuts, shift the starting point or choose a different size before installation begins.
Match the Material to Your Style and Maintenance Tolerance
Tile, slab-style panels, and peel-and-stick sheets can all create an attractive backsplash, but they require different levels of preparation and care.
Tile works best when you want design flexibility. Ceramic and porcelain tiles come in mosaics, subway shapes, geometric patterns, and mixed materials. Individual tiles can be cut around outlets and replaced if damaged. The trade-off is grout, which needs cleaning and may require sealing, especially with porous grout types or colored grout.
Slab-style options, including natural stone and large-format surfaces, create a minimalist look with fewer visible seams. Properly sealed surfaces can resist stains well, but the appearance depends heavily on installation accuracy. An uneven wall or poorly planned seam will stand out because large pieces leave fewer places for imperfections to hide.
Peel-and-stick backsplash sheets suit renters and quick refreshes when the wall is smooth, solid, clean, and free of grease. They also offer a low-commitment way to test a color or pattern before installing permanent tile. Their weaknesses are adhesion and heat tolerance, particularly near a range or on textured walls with peeling paint.
Use this style-to-material match:
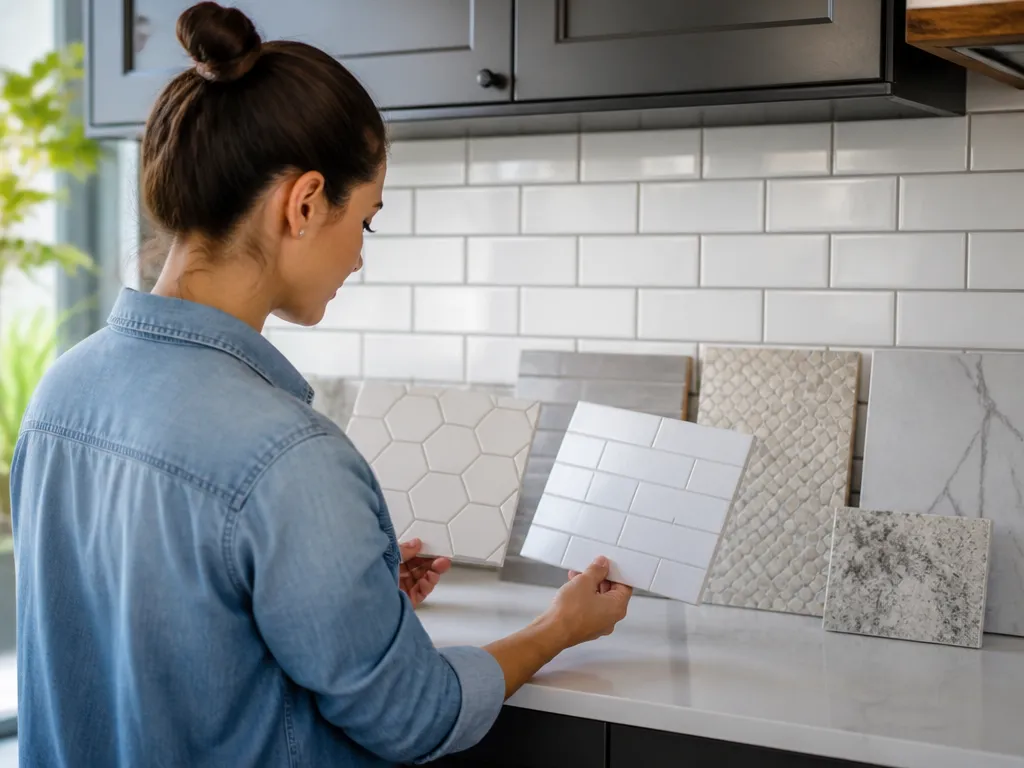
- Classic, versatile, detailed: Ceramic or porcelain tile, especially traditional shapes or patterned mosaics.
- Modern, clean, seamless: Large-format porcelain, slab-look panels, or natural stone.
- Budget refresh or temporary: Peel-and-stick backsplash sheets designed for kitchens.
Your cooking habits should influence the choice. Frequent frying and simmering create more steam and splatter, so favor surfaces that wipe clean easily. If you dislike regular maintenance, a non-porous surface with minimal grout lines usually makes more sense than a small-tile design with extensive grout.
Wall condition matters too. Peel-and-stick products can emphasize dents, texture, and paint damage. Intricate tile patterns require more cutting and planning around outlets, so they take longer to install in a kitchen with many interruptions.
Tile vs. Slab vs. Peel-and-Stick: Pros and Cons
Compare these materials by surface-preparation requirements, tolerance for visible seams, and maintenance. The most attractive option is not always the easiest one to live with.
Tile offers the most flexibility. It handles complex outlet layouts and allows you to replace individual damaged pieces. Its main drawback is grout, which requires cleaning and, in some installations, sealing to reduce staining.
Slab-style surfaces provide a clean appearance with fewer seams and often good stain resistance when properly finished and maintained. Their drawbacks are cost and installation precision. Uneven walls create problems, and cutting a large piece around outlets is less forgiving than cutting individual tiles.
Peel-and-stick products are quick, inexpensive to install, and easy to update. They are also sensitive to wall condition, heat, and moisture. A textured, dirty, or peeling wall can cause edges to lift sooner than expected.
| Option | Key Spec / Installation Reality | Best For | Main Trade-off |
|---|---|---|---|
| Tile | Many grout lines; you can cut small sections | Detailed looks, complex outlet layouts | Grout upkeep and sealing needs |
| Slab / Large-format | Fewer seams; larger pieces require accurate fitting | Modern minimalist or premium look | Wall flatness and installation precision |
| Peel and stick | Adhesive panels/sheets need smooth, clean wall | Fast refresh, rentals | Adhesion durability and heat tolerance |
For long-term durability, tile or slab installed on a properly prepared wall usually outperforms peel-and-stick. Peel-and-stick makes sense when speed, reversibility, or a low upfront cost matters more than maximum service life. Choose a kitchen-rated product and follow its preparation instructions; adhesion failures usually trace back to grease, texture, moisture, or uncured paint.
Fix Common Backsplash Installation Failures
- Lifting edges on peel-and-stick: Clean the wall using the product-recommended method, remove all grease, and make sure the surface is fully cured and dry.
- Grout staining on tile: Use grout suited to wet exposure, seal it if recommended, and wipe spills promptly.
- Uneven slab seams: Correct wall flatness before installation and plan seam locations at corners and ends.
Coordinate Color and Finish for a Cohesive Look
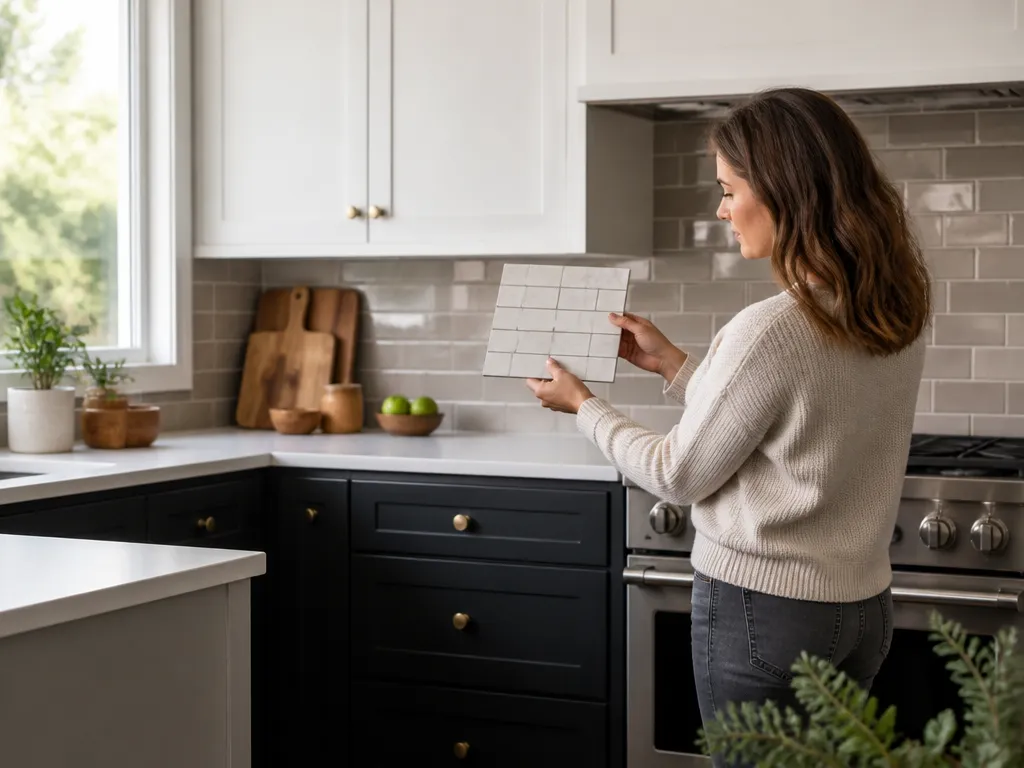
The backsplash should coordinate with the countertop and cabinets rather than compete with them. A reliable approach is to match one visual trait, such as warm or cool tone, while varying another, such as texture or sheen.
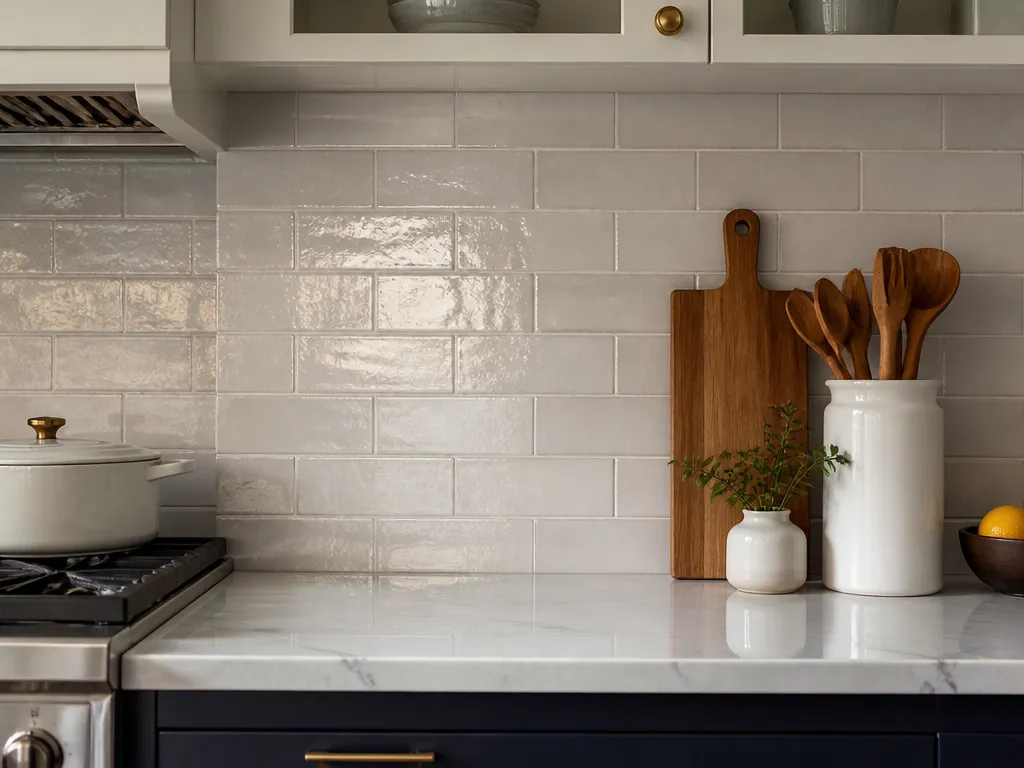
Start with color temperature. Warm cabinets in oak or honey tones generally pair well with warm whites and creamy stones. Cool painted cabinets, including shaker-style whites with gray undertones, tend to work better with crisp whites, cool grays, and stainless-friendly accents. Check samples in both daylight and nighttime lighting because artificial light can change the appearance of white and gray finishes.
Finish gives you another way to balance the room. Glossy tile and polished stone reflect light and can make the kitchen feel brighter, but they show water spots and smudges more clearly. Matte finishes hide fingerprints better and are more forgiving in busy kitchens. For frequent cooking, matte or satin surfaces are usually the easier choice.
Use these finish guidelines:
- For light and contrast: Choose a lighter backsplash with a satin or glossy surface, and keep the grout close in tone.
- For a calm, lower-maintenance look: Use a matte surface and matching or blending grout.
- For depth and warmth: Choose a textured or stone-look finish, but limit the number of colors so the wall does not look busy.
Consider the amount of texture already in the room. A countertop with veining or speckles usually pairs best with a simpler backsplash. A plain countertop gives you more room for subtle texture or a repeating tile pattern.
Hardware and fixtures should also feel compatible. Chrome, brushed nickel, and brass do not need exact backsplash matches, but the materials should not appear disconnected. A backsplash with warm highlights usually relates better to brass hardware than a cold gray with no warm tones.
Choose Tile Size, Pattern, and Grout Carefully
Tile size and pattern affect the apparent scale of the kitchen and the quality of the edge cuts. Small tiles add detail and visual complexity. Large tiles create a more streamlined surface, but both can look poorly planned if the layout ends in awkward slivers.
A backsplash height around 18 to 24 inches is typical in most kitchens. Bold patterns can feel busy on a short run, while longer runs give repeating designs room to read as a focal point. For a classic subway-tile look, a horizontal running-bond layout is often more forgiving than a diagonal grid.
Center the pattern on a visual anchor such as the sink or range. Starting wherever the wall happens to begin can create misalignment near corners and outlets. Decide where the pattern will land before making cuts.
Grout color changes both the appearance and the maintenance burden:
- Choose grout close to the tile color for a smooth, uniform surface.
- Choose contrasting grout for crisp geometry and stronger tile definition.
- Select a grout type, finish, and sealing approach that suit the amount of cleaning the backsplash will receive.
Confirm the tile orientation before buying. Subway tile can use a running bond, vertical stack, or herringbone layout. Each arrangement changes the direction of the grout lines and the way the wall relates to the rest of the kitchen.
Catch Layout Problems Before Installation
- Tiny slivers on both ends: Shift the starting row so a full piece lands near one edge.
- Pattern drift near outlets: Create a cut map and keep the pattern aligned across the wall.
- Uncertain grout contrast: Test a small section with the exact tile and grout color under the kitchen’s lighting.
Match the Backsplash to Countertops and Cabinets
Use an existing kitchen feature as the bridge between the backsplash, countertop, and cabinets. That bridge might be a cabinet undertone, a countertop color band, or a metal hardware finish. Build the backsplash around it with one supporting detail rather than introducing several unrelated colors.
A solid, neutral countertop gives you room to use more color, texture, or pattern on the backsplash. A countertop with strong veining or several tones usually calls for a simpler backsplash in a related palette. When the stone is visually busy, fewer backsplash colors create a calmer result.
Cabinet undertones deserve close attention. Greige and warm off-white paint can shift noticeably depending on the backsplash. Stained wood cabinets are more complicated because the grain can contain both warm and cool elements. Match the dominant undertone, then use grout to connect the cabinet and backsplash colors.
Lighting can settle close decisions. Warm bulbs may make cool whites appear yellow, while cool daylight can make warm tones appear rosy. Check samples under both everyday and daytime lighting before committing.
Use this matching framework:
- Choose a backsplash base color from the countertop’s color family or select a complementary neutral.
- Decide whether to blend with the cabinet tone or create a distinct separation.
- Choose grout and trim that connect the backsplash and countertop without adding a third competing neutral.
Hardware and fixtures can serve as the final connection. Brass hardware generally works well with warm backsplash highlights. Matte black fixtures can pair with charcoal or dark gray tile, provided the rest of the palette has enough lighter tones to keep the kitchen from feeling heavy.
A cohesive kitchen usually has one visual focal point. Let either the countertop or the backsplash carry the strongest pattern or movement. When both are loud, the room can feel crowded even if each finish looks appealing on its own.
Measure Coverage and Plan Around Outlets
Accurate measurements prevent two common problems: running out of material and ending with unattractive edge cuts. Measure every wall run and outlet before buying materials so the layout can account for interruptions.
Begin with the coverage height. Mark your target height, commonly around 18 to 24 inches above the countertop, with painter’s tape. If the upper cabinets end at a specific height, use their underside as the guide so the finished line remains straight and consistent.
Measure the width of each backsplash run from corner to corner. Treat a framed window, appliance recess, or vertical trim line as a separate zone rather than including it in one uninterrupted measurement.
For outlets, measure from a stable reference point such as the top of the countertop to the center of each outlet box. Record the box width and height if visible. If the box is difficult to measure, estimate from standard dimensions and confirm the fit with the actual cover plate after removing it.
Create a cut map on paper or in a notes app. Sketch each wall run, mark outlet locations, and note where tile joints or panel seams will land. This plan helps you place openings between grout lines where possible and prevents random-looking cuts.
Include waste in your material calculation. Cuts around outlets, edge trimming, corners, and damaged pieces all increase material use. Plan extra material for cuts and replacements. Complex patterns and mixed tile sizes require even more allowance.
Avoid Outlet Layout Mistakes
- Outlet height drift: Measure from the countertop top rather than the floor. Floors are not level enough to use as a reliable reference.
- Insufficient cover clearance: Dry-fit pieces around outlets and confirm that the backsplash thickness allows the covers to sit correctly.
- Pattern misalignment: Keep the pattern grid consistent across the wall, then adjust the starting point so outlet openings land between grout lines where possible.
Turn Your Kitchen Layout Into a Finished Backsplash Plan
A backsplash looks intentional when it follows the kitchen’s visual rhythm: cabinet ends, range placement, sink location, corners, and outlet positions.
Align heights and transitions. If the backsplash stops at cabinet height, keep the line straight and continuous. If you want extra height behind the range or hood, create a clean transition with a consistent cut line or trim.
Choose the installation method according to the wall. An uneven or textured wall may need proper preparation for tile or slab installation rather than peel-and-stick. A flat, smooth, clean wall can accept peel-and-stick for a quick refresh if the product instructions allow it.
Use this checklist:
- Measure run width, target height, and outlet centers.
- Dry-fit one full section, including a corner if possible.
- Decide how to finish exposed edges, corners, and trim lines.
- Choose a grout color that matches the maintenance level you are willing to handle.
- Verify that outlet covers will sit correctly over the backsplash thickness.
- Check the material’s suitability for heat, steam, and frequent cleaning.
Daily use should influence the final choice. If you dislike frequent cleaning, avoid finishes that show water spots or fingerprints. If the backsplash receives regular splatter, choose a surface that wipes clean without damaging the finish or grout.
Once these checks are complete, buying becomes straightforward. You are ordering materials for a measured plan rather than guessing from a color sample.
FAQ
What’s the best backsplash height for a kitchen?
Most kitchens use a backsplash height around 18 to 24 inches behind the counters. A range may need extra height up to the range hood or microwave underside because it receives more grease and splatter. Match the backsplash to the underside of the upper cabinets for a clean, even line.
How much backsplash material should I buy?
Buy extra material for cuts, outlets, corners, and replacement pieces. Waste depends on tile size, pattern complexity, and the number of outlets, so include a buffer rather than buying exactly what the wall area requires.
Is grout necessary, and can it be low-maintenance?
Grout is typical with tile and affects both appearance and upkeep. Choose a grout type and finish suited to splash zones, then seal it where recommended to reduce staining. Consistent, easy-to-clean grout lines matter more than choosing a perfect color from a distance.
Can peel-and-stick backsplash work in real kitchens?
Peel-and-stick can work when the wall is smooth, clean, dry, and in good condition. It is less forgiving near high heat and steam around the range, so check the product’s kitchen-suitability notes and follow the preparation instructions carefully.
What’s the most common backsplash mistake to avoid?
Ignoring the wall’s conditions and the material’s installation limits can lead to lifting adhesive, uneven seams, or difficult outlet cuts. Prepare the surface and follow the product instructions before installing anything permanently.
Bottom line
A successful kitchen backsplash starts with a measured layout and a clear understanding of the kitchen’s splash zones, outlets, and transitions.
Material selection involves balancing design flexibility, installation precision, durability, and maintenance. Tile, slab-style surfaces, and peel-and-stick products each suit different priorities and wall conditions.
Coordinate the chosen surface with countertop and cabinet undertones, then use finish, pattern, and grout to control the room’s visual balance and upkeep.