How To Connect A Kitchen Sink Drain In 6 Simple Steps
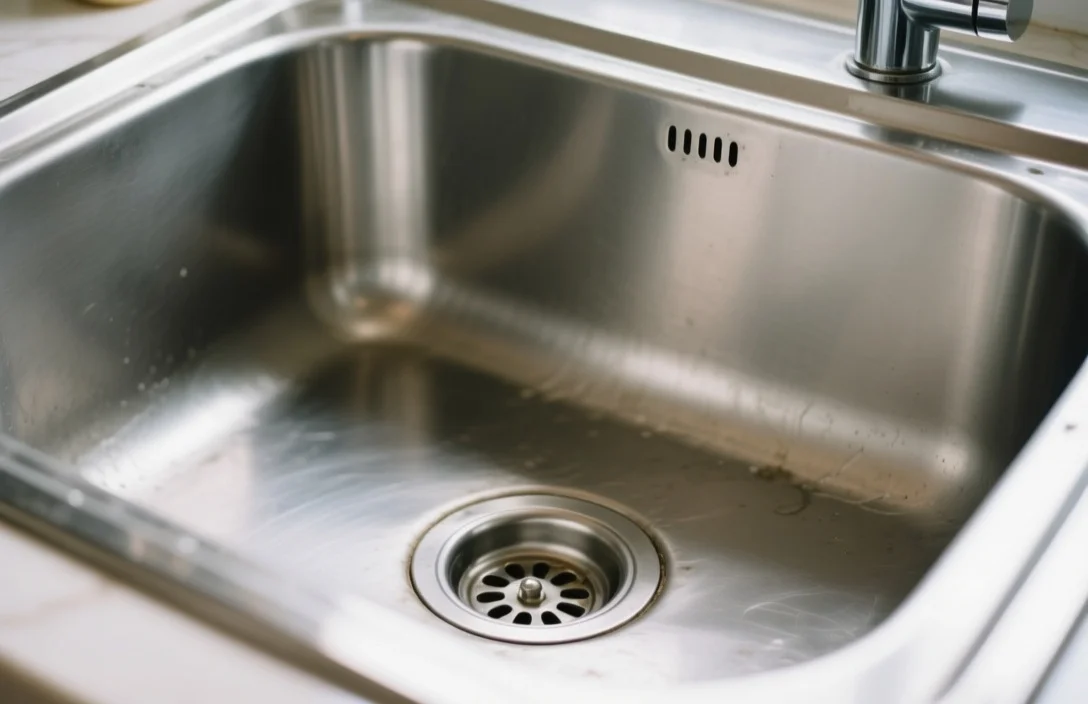
A kitchen sink that drains properly keeps water flowing and odors out. Most homeowners can connect a new drain assembly in under two hours with basic tools – no plumbing license required. The key is matching the right pipes, sealing every joint, and testing for leaks before the first meal prep.
Connecting a kitchen sink drain involves assembling a basket strainer, tailpiece, P-trap, and drain pipe in sequence. You will need a 1 1/2-inch PVC or ABS pipe kit, plumber’s putty, slip-joint washers, and a hacksaw or PVC cutter. Expect to spend about 90 minutes on the job and $25-$50 in parts.
Essential Components and Preparation
- Use the right kit. A standard 1 1/2-inch PVC or ABS drain kit fits most double-basin sinks.
- Seal the strainer. Plumber’s putty under the basket strainer flange prevents leaks at the sink base.
- Cut pipes square. A hacksaw or PVC cutter yields clean edges; sandpaper removes burrs that prevent seals from seating.
- Tighten by hand first. Secure slip nuts by hand, then add a final 1/4-turn with pliers.
- Test with water. Fill the sink to capacity, then check every joint for drips before calling the job done.
- Add dishwasher drain. Route the dishwasher hose into the tailpiece or garbage disposal inlet.
Installing the Drain Assembly
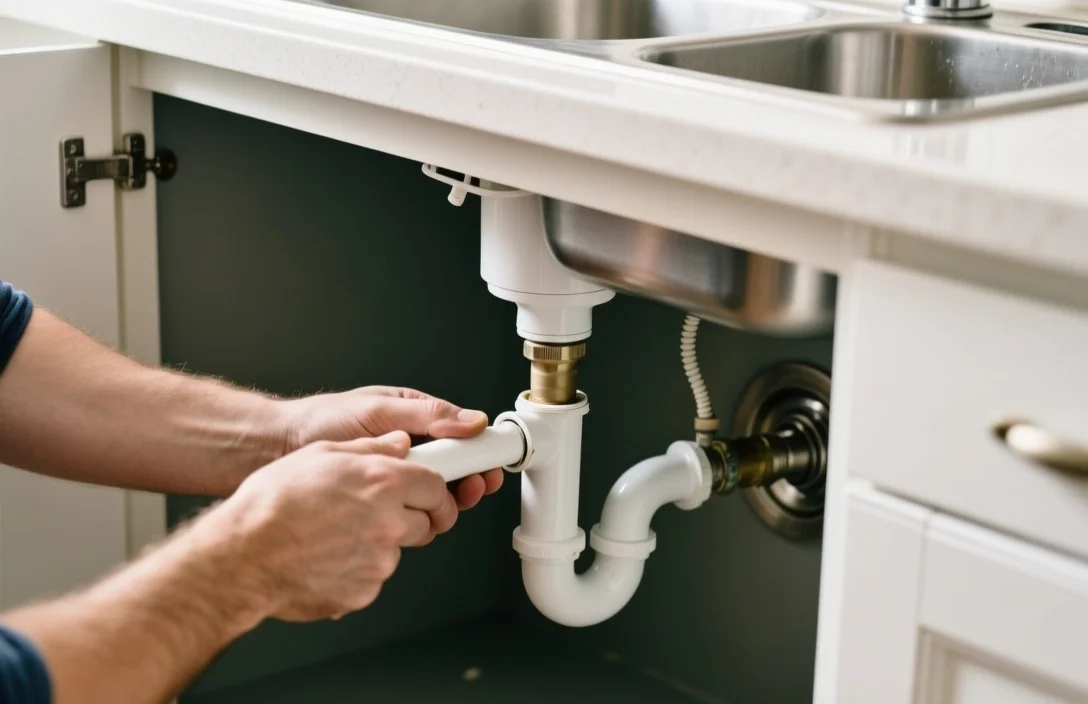
Turn off the water supply under the sink and place a bucket under the old drain. Loosen the slip nuts with channel locks and pull the old P-trap and tailpiece straight down. Clean the sink opening with a rag to remove old putty or silicone residue.
Lay out the new parts in order: basket strainer, tailpiece, P-trap, and drain pipe. Measure the distance from the sink outlet to the wall drain stub-out; most runs are 18-24 inches. If your existing pipe is too short, buy a 10-inch extension or cut a new piece to length.
Selecting Pipes and Fittings
Kitchen sinks require 1 1/2-inch drain pipes. PVC is the standard choice – it is white, affordable, and easy to cut. ABS is black, more rigid, and also code-approved. Do not mix the two materials, as the glue will not bond properly.
Purchase a kit that includes a basket strainer, a 6-inch or 8-inch tailpiece, a P-trap, and an 18-inch or 24-inch drain pipe. Check the wall stub-out diameter: if it is 1 1/2 inches, use a standard slip-joint fitting. If it is 2 inches, you must use a reducing bushing or purchase a 2-inch P-trap.
Seating the Basket Strainer
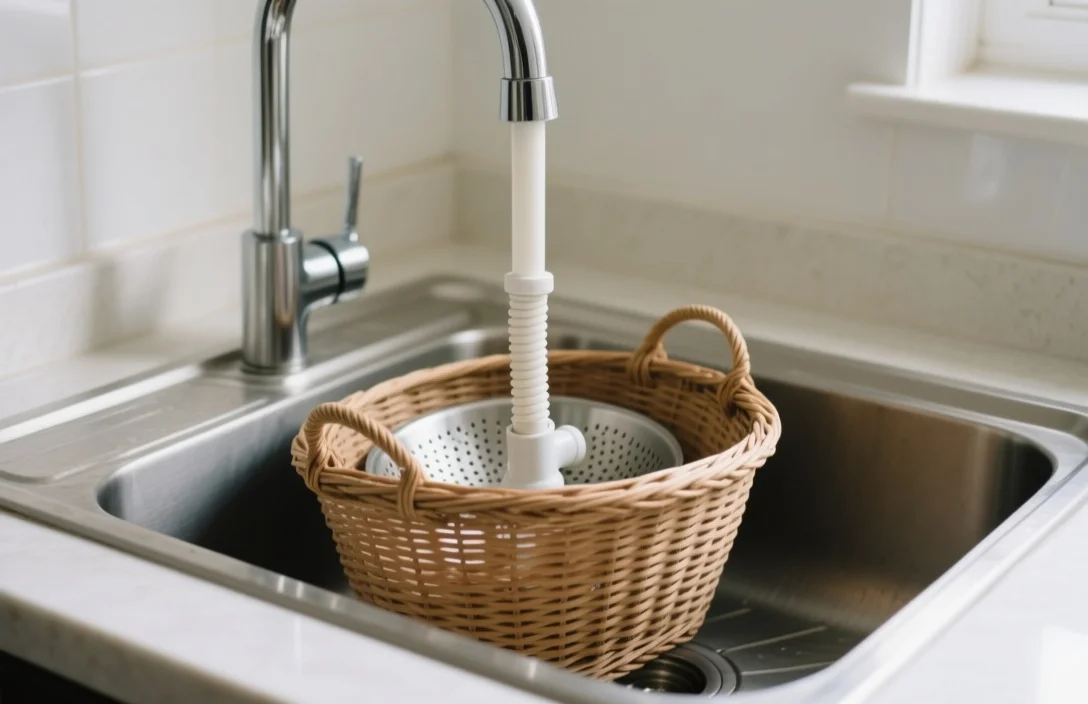
Roll a 1/4-inch rope of plumber’s putty and press it into the groove under the basket strainer flange. Drop the strainer into the sink opening from above, then thread the rubber gasket and locknut onto the tailpiece from underneath. Hand-tighten the locknut, then use channel locks to provide a final 1/4-turn. Do not overtighten, or you risk cracking the sink basin.
Wipe away excess putty with a damp rag. If you prefer silicone, apply a thin bead around the flange and let it sit for 10 minutes to “skin over” before tightening.
Connecting the Tailpiece and P-trap
Slide a slip nut and washer onto the tailpiece, then connect the tailpiece to the basket strainer. Ensure the beveled side of the washer faces the strainer. Hand-tighten the slip nut, then finish with a 1/4-turn using pliers.
Attach the P-trap to the tailpiece so the curved section points toward the wall stub-out. Slide the slip nut and washer onto the P-trap outlet and connect it to the drain pipe. Tighten by hand, then add the final 1/4-turn.
Maintaining Watertight Joints
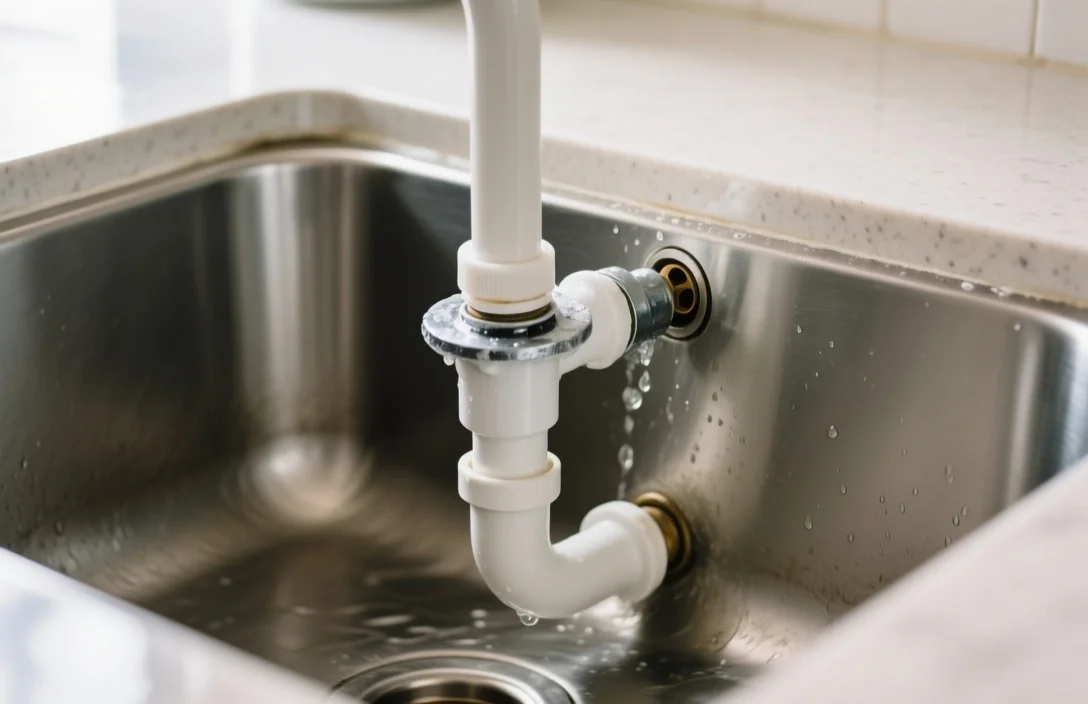
Slip-joint washers are the only seals in the system. They must be oriented with the beveled edge facing the direction of water flow – toward the drain for the tailpiece, and toward the P-trap for the drain pipe. Tighten each nut just enough to compress the washer. Overtightening warps the plastic and creates leaks. If a joint drips after testing, loosen the nut, check the washer’s orientation, and reset it.
Routing the Dishwasher Hose
If your sink has a garbage disposal, connect the dishwasher drain hose to the disposal’s side inlet. Without a disposal, route the hose into the tailpiece above the P-trap using a dedicated dishwasher drain fitting. Secure the hose with a clamp and loop it up to the underside of the countertop before it drops into the tailpiece. This high loop prevents sink water from backflowing into the dishwasher.
Testing Your Work
Fill both sink basins and let them drain simultaneously to check for leaks. Watch every joint. If you see water, tighten the slip nut another 1/8-turn. Run the dishwasher through a short cycle to confirm the hose connection is dry.
FAQ
What size pipe do I need?
Most kitchen sinks use 1 1/2-inch drain pipes. If your wall stub-out is 2 inches, buy a reducing bushing or a 2-inch P-trap kit.
Can I use silicone instead of plumber’s putty?
Yes. Silicone creates a permanent seal and will not dry out like putty, though it takes longer to set. Apply a thin bead, let it skin over for 10 minutes, then tighten.
Why does my sink smell after installation?
A missing or improperly installed P-trap is the usual culprit. The trap must hold water to block sewer gas. If it is installed backward or dry, odors will escape. Recheck the trap orientation and run water to prime the seal.
How do I cut PVC drain pipe?
Use a hacksaw or PVC cutter for a square cut. Remove burrs with sandpaper or a utility knife; a clean edge is required for the washer to seal properly.
What if the pipe does not align with the wall?
If the pipe is too short, add a 10-inch extension. If it is too long, cut it to fit. If the angle is off, use a flexible coupling or adjust the P-trap position. Never force a misaligned pipe, as it will inevitably leak.