How Many Pot Lights In A Kitchen: Optimal Spacing And Layout
Designing a kitchen lighting scheme requires balancing total output with the physical constraints of your ceiling layout. Most homeowners overestimate the number of lights needed, leading to a cluttered ceiling that feels more like an airport runway than a culinary workspace. Proper planning ensures you achieve consistent, shadow-free illumination across every high-traffic zone without overwhelming the room with unnecessary hardware.
A standard kitchen layout typically requires one recessed light for every 4 to 6 square feet of ceiling space, depending on the brightness of your chosen bulbs. For a 150-square-foot kitchen, this translates to roughly 8 to 12 lights, though you must adjust this count based on your specific ceiling height, cabinet layout, and personal preference for brightness.
Key Takeaways
- Calculate by area. Aim for one recessed fixture per 4 to 6 square feet to maintain adequate light coverage throughout the space.
- Mind the spacing. Place lights at least 3 to 4 feet apart to prevent hot spots and uneven illumination patterns on your floor.
- Focus on tasks. Prioritize light placement directly over your primary work zones, such as the stove, sink, and prep areas.
- Use beam angles. Choose 40 to 60-degree beam angles for general lighting to ensure a soft, uniform spread across the kitchen.
- Layer your light. Supplement pot lights with under-cabinet strips and pendants to eliminate shadows cast by your body during cooking.
- Install dimmers. Always use LED-compatible dimmer switches to maintain control over the room atmosphere during different times of the day.
How many pot lights in a kitchen for optimal illumination
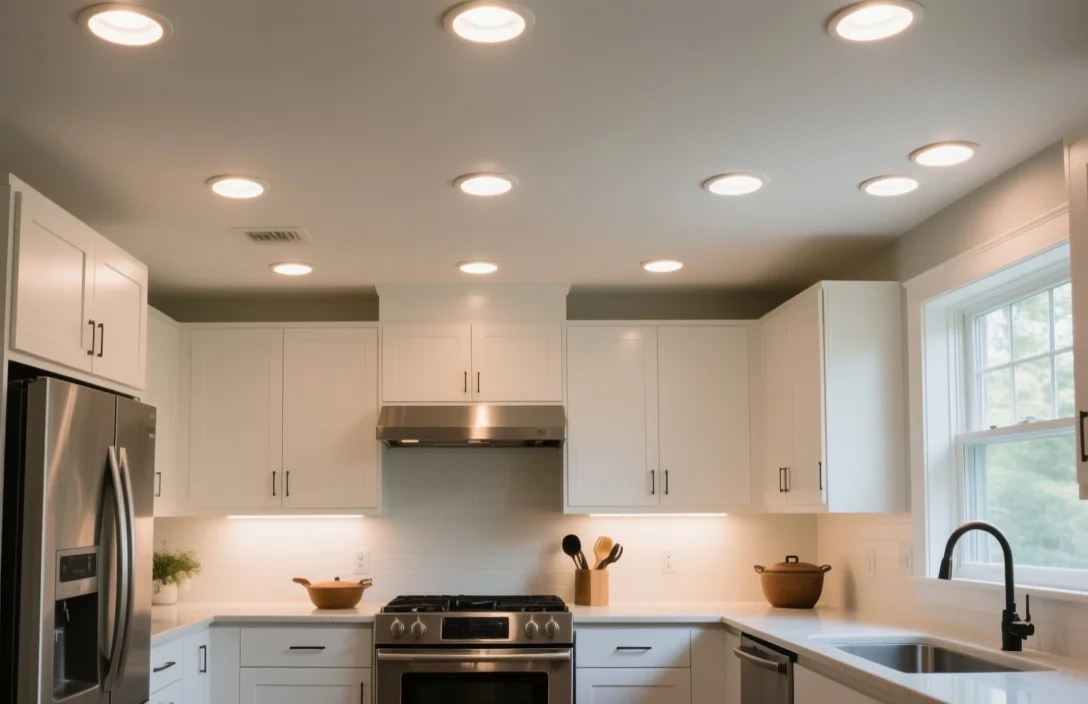
Achieving optimal illumination in a kitchen is less about hitting a specific number and more about creating a balanced grid. You want to avoid dark corners while preventing blinding glare on your countertops. The most effective approach is to divide your kitchen into functional zones and treat each area as a separate lighting requirement rather than trying to light the entire room with one uniform pattern.
Start by identifying your primary prep surfaces. These spots need the highest concentration of light, usually achieved by placing fixtures slightly closer together or using higher-lumen bulbs. Once these zones are addressed, fill the remaining ceiling space with a secondary grid to handle ambient light. This two-tier method ensures you have enough visibility for chopping vegetables without wasting electricity or creating visual noise on your ceiling.
Calculating total kitchen square footage for lighting
Determining your total square footage provides the baseline for your lighting density. Measure the total length and width of your kitchen space to find the area, but subtract the space occupied by tall cabinetry or appliances that reach the ceiling. You only need to account for open ceiling surfaces where light can actually travel to the floor or work surfaces.
Once you have your net square footage, divide that number by 5 to get a conservative estimate of the number of fixtures required. For example, in a 100-square-foot kitchen, you might start with 20 fixtures as a theoretical maximum, but then reduce this number by accounting for overlapping light cones. Always lean toward fewer lights initially, as adding an extra fixture later is significantly easier than patching and painting a ceiling hole.
Spacing requirements for recessed kitchen fixtures
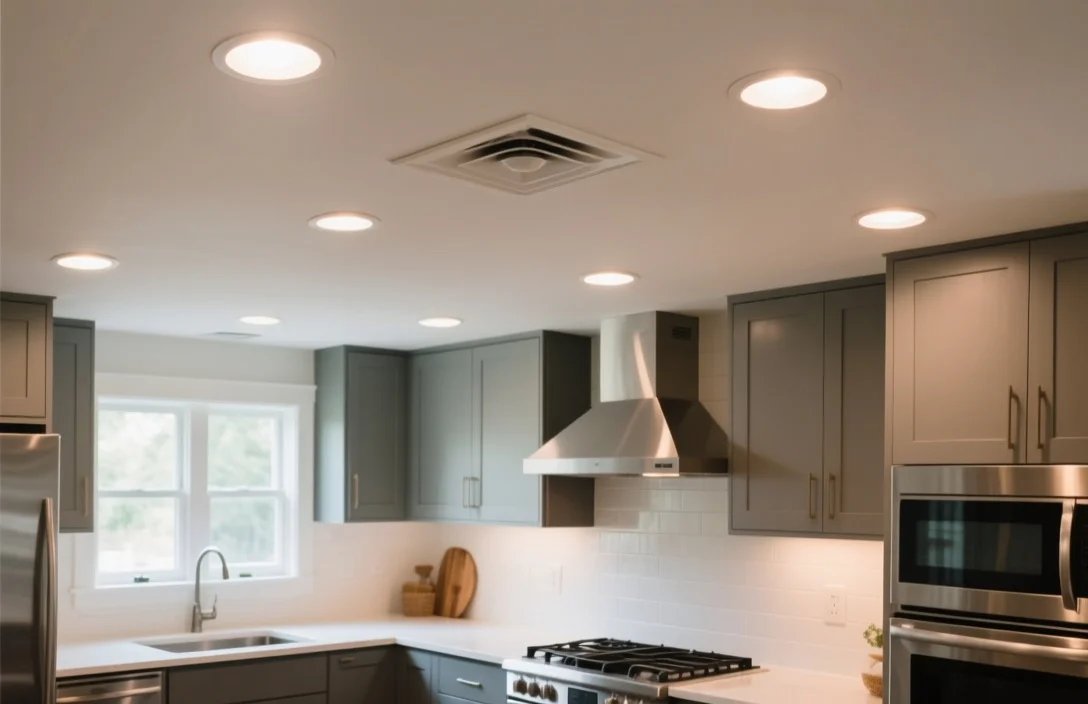
Spacing is the primary factor that prevents the dreaded swiss-cheese ceiling effect. As a general rule, you should space your recessed lights at a distance equal to half the height of your ceiling. If you have 8-foot ceilings, placing your lights about 4 feet apart is a safe starting point to ensure the light cones overlap correctly at counter height.
If you place fixtures too close together, you create hot spots where the light is too intense, which can cause eye strain and unwanted reflections on granite or quartz countertops. Conversely, spacing them too far apart creates dark voids in the middle of your kitchen. Always measure from the wall to the center of your first row, keeping that distance to half of your total spacing interval to ensure the light washes down the wall evenly.
Task lighting placement over islands and countertops
Task lighting requires precision placement to ensure your body does not block the light while you work. When installing pot lights over a countertop, position the fixtures so they are centered over the edge of the counter closest to the aisle. This placement ensures that the light hits your hands and the food you are preparing, rather than casting your shadow directly onto the cutting board.
For kitchen islands, the strategy shifts slightly depending on whether you plan to use pendant lights. If you are using pendants for style, use your recessed lights as a secondary, subtle fill source around the perimeter of the island. If the island is your primary workstation and you want a clean, minimalist look, use high-output recessed lights with a narrower beam angle to focus the light directly onto the workspace.
Choosing beam angles for uniform light distribution
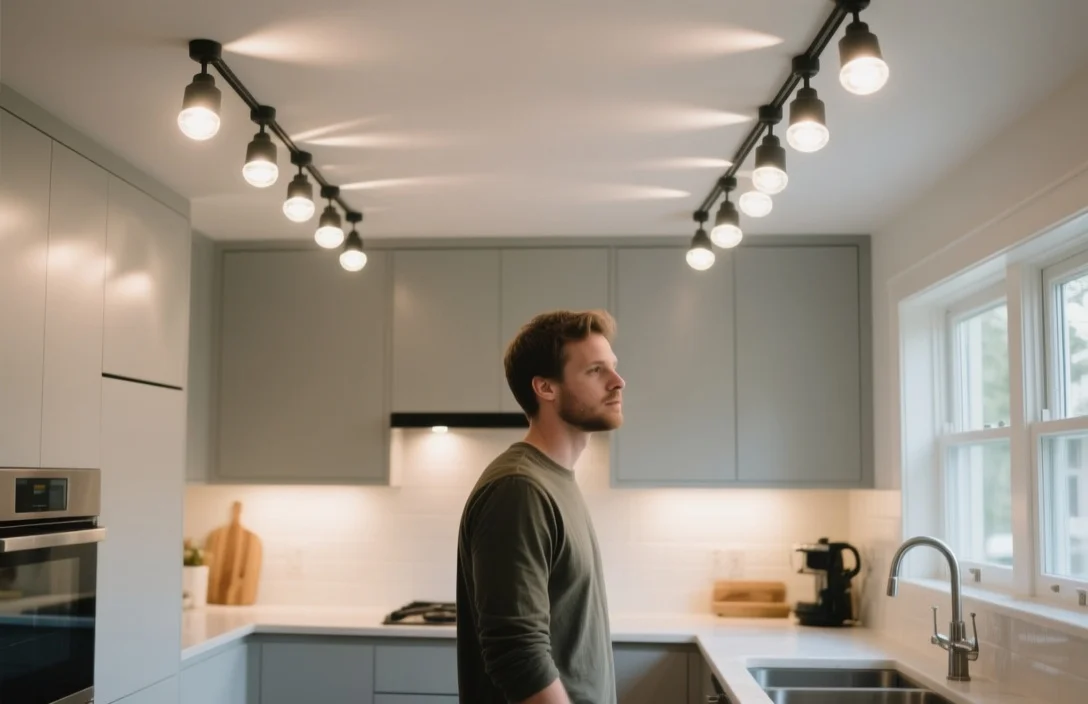
Beam angle is the measurement of how wide the light spreads as it leaves the fixture, and it dictates the quality of your kitchen environment. A wide flood beam angle, typically 60 degrees or more, is ideal for general ambient lighting because it softens the edges of the light and covers more surface area. This prevents the harsh, clinical look often associated with cheap office lighting.
Narrower beam angles, such as 25 to 40 degrees, are better suited for task-oriented areas. These concentrated beams punch through the ambient light to provide the brightness needed for reading recipes or handling sharp knives. Many modern LED recessed kits offer adjustable beam settings, allowing you to fine-tune the spread during installation based on the specific height of your ceiling and the distance to your counters.
Dimmer switch integration for kitchen ambiance
Dimmer switches are non-negotiable in a modern kitchen because they allow the space to transition from a bright, functional workspace to a soft, inviting social area. Without dimmers, you are locked into a single brightness level that often feels too harsh during late-night hours or morning coffee. Most modern LED recessed lights are compatible with standard trailing-edge dimmers, provided you verify the compatibility list on the packaging.
When selecting a dimmer, look for models that offer a wide range of adjustment without causing flickering or buzzing. Older dimmers designed for incandescent bulbs often struggle with the low power draw of LEDs, leading to poor performance. Investing in a high-quality, LED-specific dimmer ensures smooth transitions and extends the lifespan of your fixtures by reducing the thermal load on the internal drivers.
Layering recessed lights with under cabinet and pendant lighting
Layering light is the secret to a professional-looking kitchen that feels both functional and warm. Recessed lights provide the base layer, but they cannot reach areas obscured by upper cabinets, which is why under-cabinet lighting is essential. These strips provide localized, shadow-free illumination that makes your workspace safer and more aesthetic.
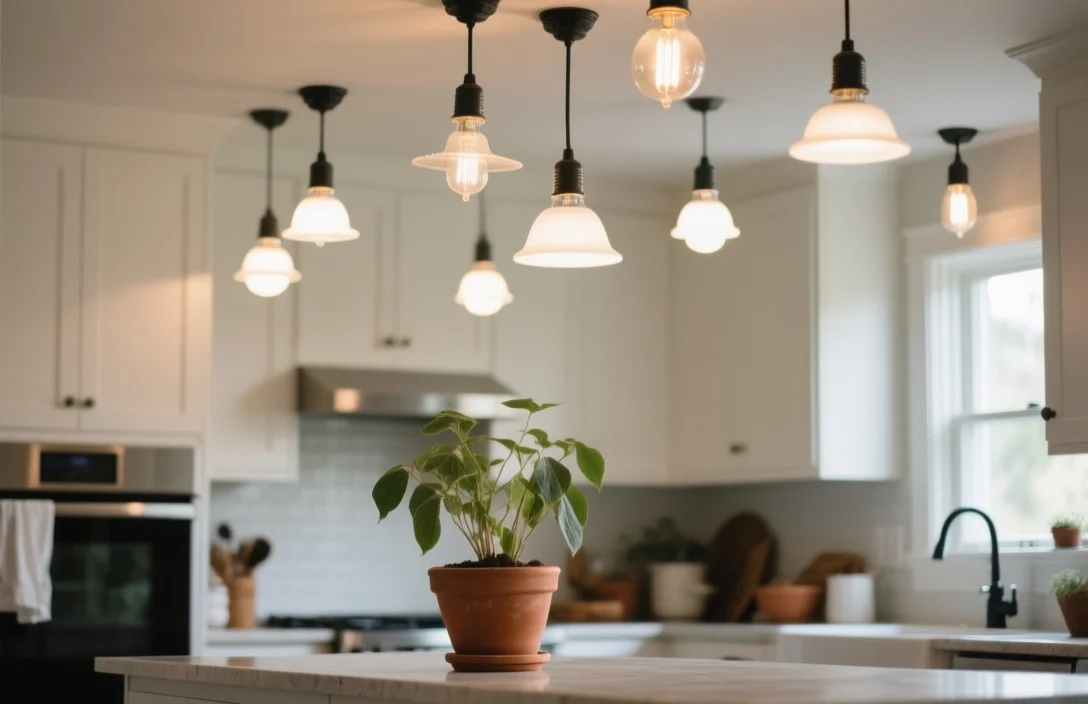
Pendant lights serve as the final layer, acting as both a visual anchor for your island and a decorative element that brings the light down to a more human scale. When these three sources work in tandem, you can achieve a sophisticated lighting scheme that highlights your backsplash, defines your workspace, and creates a welcoming atmosphere. Use your recessed lights for deep cleaning and prep, then dim them and switch to your pendants and under-cabinet lights for dinner or evening entertaining.
FAQ
How far should pot lights be from the kitchen wall?
A good rule of thumb is to place the center of the recessed light 18 to 24 inches away from the wall. This distance allows the light to wash down the wall, which highlights textures and makes the room feel more spacious while preventing dark, gloomy corners.
Do I need a specific type of LED for a kitchen?
Yes, look for LEDs with a Color Rendering Index (CRI) of 90 or higher to ensure colors appear accurate, especially when cooking. For the color temperature, 3000K provides a warm, inviting glow, while 4000K offers a crisper, more modern look that mimics daylight.
Can I install too many pot lights in my kitchen?
Yes, installing too many lights creates a cluttered ceiling and excessive glare, which can make a kitchen feel sterile. It is almost always better to install fewer, high-quality fixtures and rely on dimmers or task lighting to supplement the brightness where you actually need it.
Are recessed lights energy efficient compared to other options?
Modern LED recessed fixtures are highly efficient, typically drawing only 9 to 15 watts per unit while producing the same light as a 60-watt incandescent bulb. They generate very little heat, which helps keep your kitchen cooler and reduces the load on your HVAC system during the summer months.
Should I hire an electrician to install kitchen pot lights?
Unless you have significant experience with electrical wiring and building codes, you should hire a licensed electrician for this project. Kitchens involve complex wiring, and because you are cutting into the ceiling, you must ensure all connections are properly contained in junction boxes to meet local fire safety standards.
Planning your kitchen lighting is a balance of function and aesthetics. Start by mapping out your work zones, choose a fixture count that avoids overcrowding, and prioritize the use of dimmers to maintain control over the room. If you follow these spacing and layering principles, you will create a bright, efficient workspace that serves you well for years.