How To Update Oak Kitchen Cabinets In 6 Professional Steps
Transforming dated oak cabinets into a contemporary centerpiece requires patience, the right chemical cleaners, and a commitment to filling that signature wood grain. While the honey-toned oak of the nineties is durable, its deep pores and yellow hue often clash with modern design palettes. By following a methodical refinishing process, you can achieve a professional, smooth-painted finish that breathes new life into your kitchen without the massive cost of a full cabinet replacement.
Updating oak kitchen cabinets involves a multi-step process of deep cleaning, heavy sanding, grain filling, priming, and applying high-quality enamel paint. This sequence is mandatory because oak is a porous wood that will inevitably show its texture through thin paint layers if you skip the surface preparation phase. Expect to spend at least 4 to 6 days on the project, including drying times for each layer of material.
Key Takeaways
- Clean thoroughly first. Use a trisodium phosphate (TSP) substitute to remove decades of cooking grease before sanding begins.
- Fill the grain. Apply a high-quality wood filler or grain filler to achieve a smooth, modern, non-textured appearance.
- Use oil-based primer. Choose a shellac-based or high-adhesion oil primer to block wood tannins from bleeding through your topcoat.
- Sand between coats. Lightly sand with 220-grit paper between primer and paint layers to ensure a perfectly smooth finish.
- Use cabinet enamel. Select a durable, water-based alkyd enamel designed specifically for high-traffic surfaces like kitchen cabinets.
- Replace the hardware. Install new, modern pulls and soft-close hinges to instantly elevate the look of your finished cabinetry.
How to Update Oak Kitchen Cabinets for a Modern Look
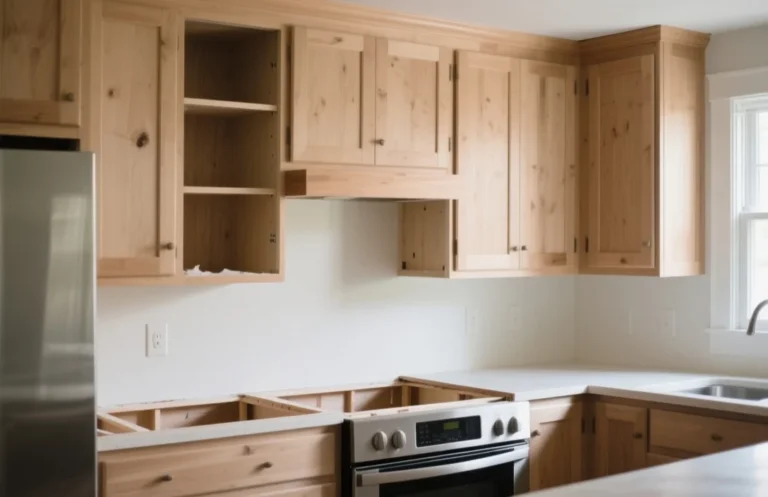
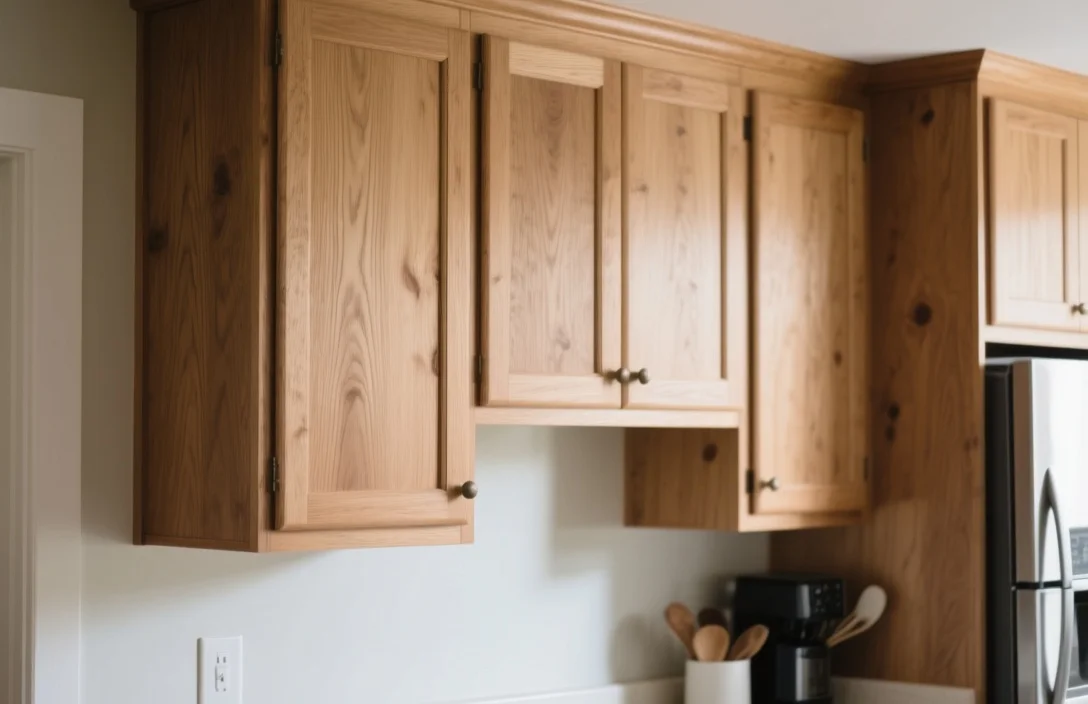
Updating oak kitchen cabinets starts with a realistic assessment of your workspace and time commitment. You must remove all doors, drawer fronts, and hardware before beginning, as painting them while attached to the frames rarely produces a professional result. Label every hinge and door with painter’s tape so you can easily return them to their original locations after the finish cures.
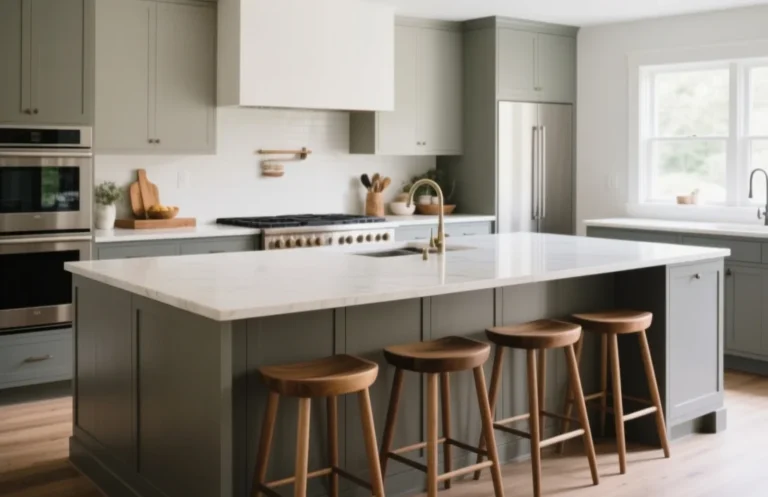
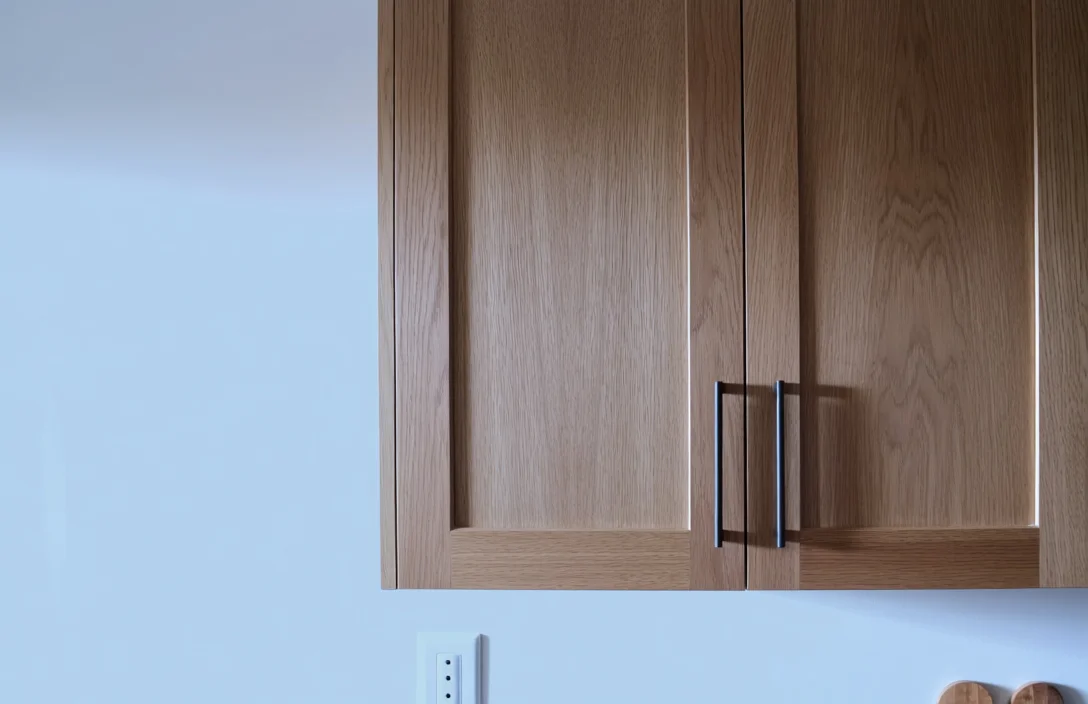
Modernizing the look often involves moving away from traditional wood stains toward clean, neutral tones like soft grays, crisp whites, or deep navy blues. If you prefer to keep the wood aesthetic, consider a gel stain or a whitewash technique to mute the orange undertones while maintaining the natural character. Regardless of the final color, the goal is to create a surface that looks factory-finished rather than DIY-brushed.
Cleaning and Degreasing Oak Cabinet Surfaces
Surface preparation begins by stripping away years of accumulated dust, cooking oils, and furniture polish. If you paint over grease, the finish will eventually peel or bubble in high-humidity areas like those near the stove. Use a heavy-duty degreaser or a TSP-substitute to scrub the cabinet frames and doors until they are completely clean to the touch.
After the initial scrub, rinse the surfaces with clean water and a microfiber cloth to remove any chemical residue. Allow the wood to dry for at least 24 hours before you even consider sanding. If the wood remains damp deep in the grain, your primer will not adhere properly, and you risk trapping moisture inside the wood fibers.
Sanding Oak Grain and Filling Open Pores
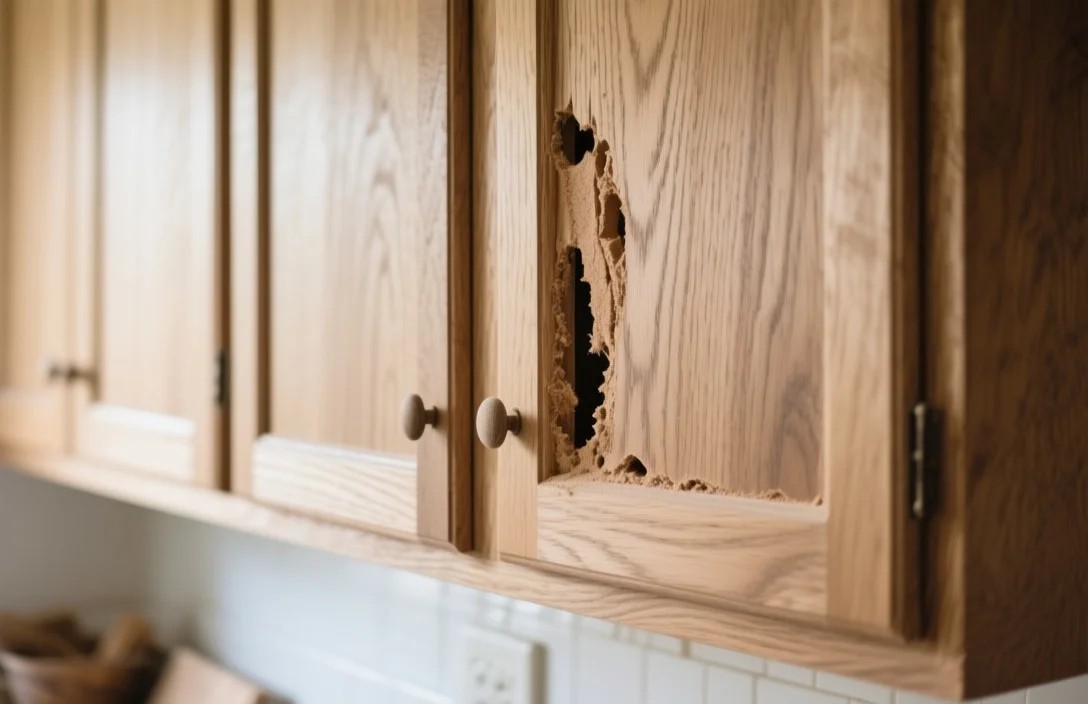
Sanding serves two purposes: it creates a mechanical bond for the primer and levels the surface of the oak. Start with 120-grit sandpaper to scuff the existing finish and remove the glossy clear coat. You do not need to strip the wood down to bare timber, but you must dull the surface entirely so the new layers have a rough texture to grab onto.
Once the surface is scuffed, you must address the deep pores characteristic of red oak. Apply a dedicated wood grain filler using a plastic putty knife, pressing it firmly into the grooves until they are level with the surface. After the filler dries, sand the entire piece again with 180-grit paper to remove excess material, leaving a flat, uniform face ready for painting.
Choosing the Right Primer for Oak Wood
Choosing the right primer is the most critical decision in your project because oak is notorious for tannin bleed. Tannins are natural wood compounds that can migrate through water-based paints, resulting in unsightly yellow or brown spots appearing weeks after you finish the job. A shellac-based or high-adhesion oil-based primer acts as a chemical barrier that locks these tannins inside the wood.
Apply the primer with a high-density foam roller for flat surfaces and a synthetic bristle brush for edges or profiles. If you notice any stubborn knots or dark areas after the first coat, apply a second layer of primer specifically to those spots. Always follow the manufacturer’s recommendations for recoat times to ensure the primer cures into a hard, stable foundation.
Painting Oak Cabinets Without Showing Grain
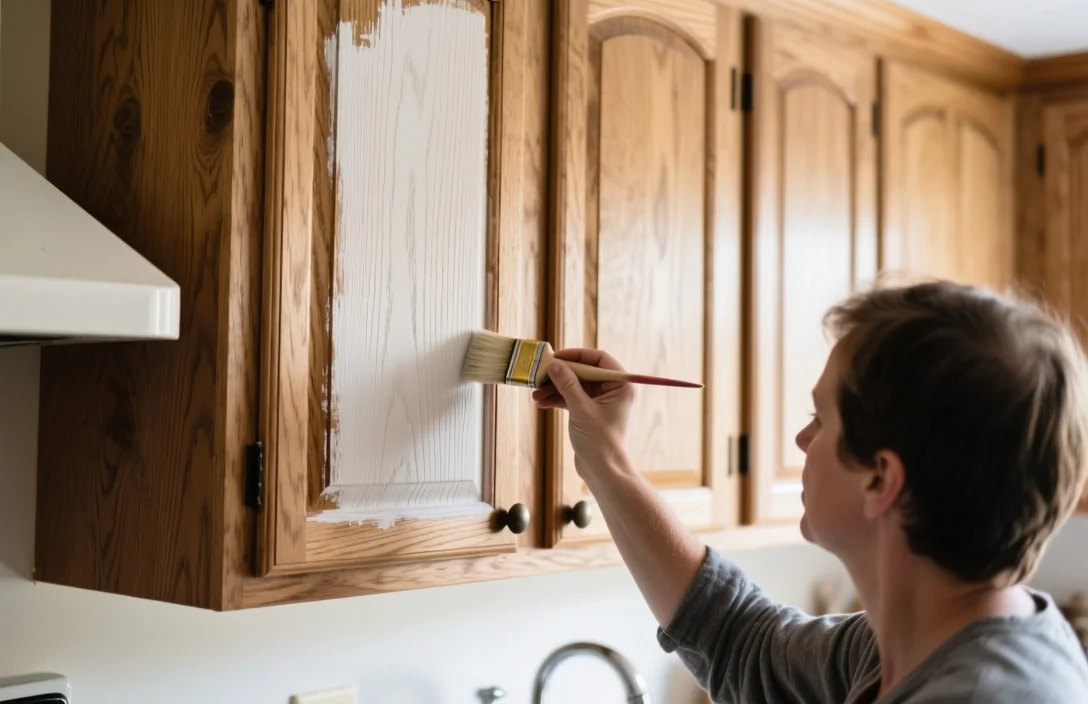
Applying paint requires thin, controlled layers to prevent drips and ensure a durable finish. Use a high-quality water-based alkyd enamel, which offers the leveling characteristics of oil paint with the easy cleanup and non-yellowing properties of latex. Avoid cheap wall paints, as they are too soft for the constant handling that cabinet doors endure.
Work in a dust-free environment and apply the paint in long, smooth strokes. If you are using a sprayer, thin your paint according to the equipment instructions to prevent clogging and ensure an even spray pattern. If painting by hand, use a high-quality brush to cut in the corners and a small foam roller to lay off the flat panels, keeping a “wet edge” to avoid visible lap marks.
Applying Protective Topcoats for Durability
Applying a protective topcoat is optional if you use a high-grade cabinet enamel, but it provides an extra layer of defense against scratches and dents. If you choose to add a clear coat, select a water-based polycrylic to avoid the yellowing effect often caused by oil-based polyurethane. Choose a satin or semi-gloss finish, as these reflect enough light to look clean without highlighting every minor imperfection.
Allow the finish to cure for at least 7 to 10 days before reattaching the doors and drawers to the frames. While the paint may feel dry to the touch within a day, the chemical hardening process takes much longer. Installing hardware too early can cause the finish to chip or stick, effectively ruining the hard work you invested in the preparation stages.
Updating Cabinet Hardware and Hinges
Updating hardware is the final step that separates a DIY project from a professional renovation. Remove your old brass or wooden knobs and replace them with modern, matte black, brushed nickel, or gold hardware that complements your new cabinet color. If your existing holes do not match the new hardware, use a wood filler to plug the old holes and drill new ones before you start the painting process.
Consider upgrading your hinges to soft-close mechanisms if your original cabinets rely on standard surface-mounted hinges. This change improves the daily function of your kitchen and prevents the doors from slamming, which protects the longevity of your new paint job. Even if you keep the same footprint, switching from visible hinges to concealed, soft-close versions creates a sleek, minimalist look that makes the cabinets feel brand new.
FAQ
How long does it take to paint oak cabinets properly?
Expect to dedicate at least 4 to 6 days to the project. While the actual painting takes only a few hours, the cleaning, sanding, grain filling, and drying times between coats are non-negotiable steps that ensure your finish does not peel after a few months of use.
Do I really need to fill the grain on oak cabinets?
Yes, if you want a smooth, modern look. Oak has deep, open pores that will remain visible as texture even after multiple coats of paint. Using a wood grain filler is the only way to achieve the flat, high-end appearance found in custom cabinetry.
What is the best paint for kitchen cabinets?
The best choice is a water-based alkyd enamel. These paints provide the hardness and leveling of traditional oil-based paints but offer easy water cleanup and will not yellow over time, making them ideal for high-traffic kitchen surfaces.
How do I prevent yellow spots from showing through the paint?
Use a shellac-based or oil-based primer. These primers act as a sealer that blocks the natural tannins in oak wood from bleeding through the topcoat, which is the most common cause of yellow or brown discoloration on white-painted cabinets.
Can I paint over existing cabinet finish without sanding?
No, you should never skip sanding. You must scuff the existing finish with 120 to 180-grit sandpaper to create a mechanical bond; without this step, the new primer and paint will likely peel away when exposed to the heat and humidity of a kitchen environment.
The secret to a successful cabinet refresh is resisting the urge to rush the preparation steps. By methodically cleaning, filling the grain, and using a high-quality primer, you ensure your cabinets survive daily wear and tear for years. Once the final coat cures, install your new hardware to complete the transformation of your kitchen.