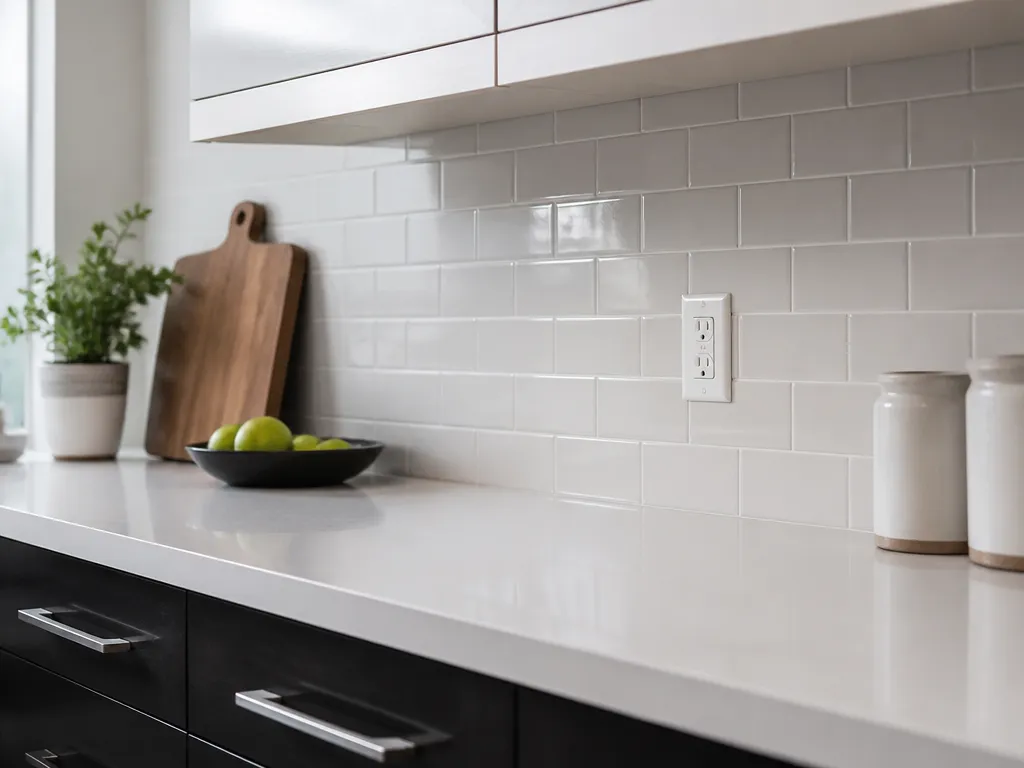
How High Should Kitchen Outlets Be: 3 Tips
Kitchen outlet height in the US usually comes down to one practical number: about 12 inches above the countertop for most receptacles. That guess is close enough to buy cover plates and plan runs, but you still need to check the sink and counter rules, plus GFCI requirements, because those are where kitchens get strict.
Kitchen outlet height is also where layout mistakes happen. You want receptacles at the right working height, without blocking backsplashes, dishwashers, or cabinet doors. This guide gives you the direct targets, then walks through what changes above vs under counters, near sinks and stoves, and how to measure and mark quickly before you cut.
Key Takeaways
- Target centerline matters. Measure from the countertop surface to the receptacle’s box center, not from rough framing.
- Sink area has special rules. Receptacles serving countertop outlets around a sink must be GFCI protected and placed per proximity rules.
- Above-counter can work. Under-cabinet outlets often land at similar overall heights, but they must meet code spacing and accessibility.
- Dedicated circuits may apply. Counter areas and major appliances can require separate circuits, which affects placement and wiring planning.
- Measure twice, mock once. Mark the box location using your actual finished countertop and appliance clearances.
How High Should Kitchen Outlets Be
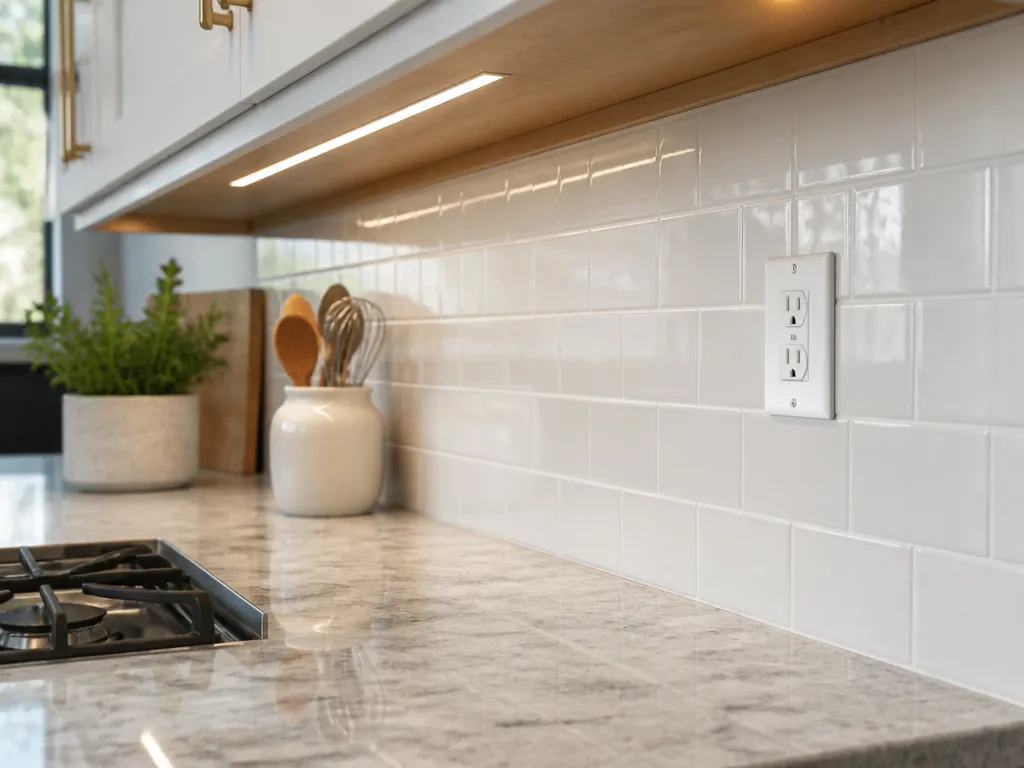
Most kitchen receptacles on countertop walls are installed relative to the finished countertop. The reason that placement keeps showing up is simple: it puts plugs within easy reach while keeping cords from constantly dragging across the counter.
That said, kitchens are not “one size fits all.” If you have a thick stone countertop, a tall tile backsplash, or uppers that end right at the counter edge, your outlet location may need a small layout adjustment so the cover plate looks good and you keep clearance for appliances and cabinet trim.
For a practical layout, decide your finished countertop height first, then plan the receptacle’s box location based on that finished surface. Do not plan off the bare studs. Countertops move during construction, and a small mismatch can put your outlet high enough to look wrong or low enough to interfere with a backsplash or cover trim.
In practice, the easiest way to stay sane is to treat the standard placement as the default, then allow only for real interference: window trims, backsplash constraints, cabinet toe kicks, and the physical space inside the wall.
Countertop Height Targets for Outlet Placement
If you’re trying to hit the “standard kitchen look,” place the receptacle at a finished mounting height relative to the countertop. Many installers reference the device center, but the actionable takeaway is the same: the outlet should land at a predictable height relative to the finished counter so plugs and small appliances are comfortable.
A key detail people miss is that the countertop surface is what matters. If you plan during rough-in, your measurements must incorporate the thickness of your backer board, mortar bed (for tile), and the final countertop profile. For example, if your stone shop changes thickness by even a quarter-inch, your planned outlet height shifts visually.
For backsplash planning, keep the outlet far enough above the backsplash so the cover plate sits cleanly on the finished wall surface. If you’re tiling to the counter edge, you may want to confirm where the tile line ends relative to the outlet box depth, so you’re not ending up with a cover plate that sits half into a recess.
In practice, many kitchens land in a comfortable visual range when you place outlets on the upper half of the backsplash zone but still below where tall coffee grinders and food processors start to block the wall. That’s not a code concept, it’s just how kitchens look and how cords route in real use.
Here’s a simple way to think about targets before you measure: you want someone standing at the counter to reach the plug without bending, and you want the cord path to drop behind the appliance instead of draping across the workspace.
Code Requirements for Kitchen Outlet Height
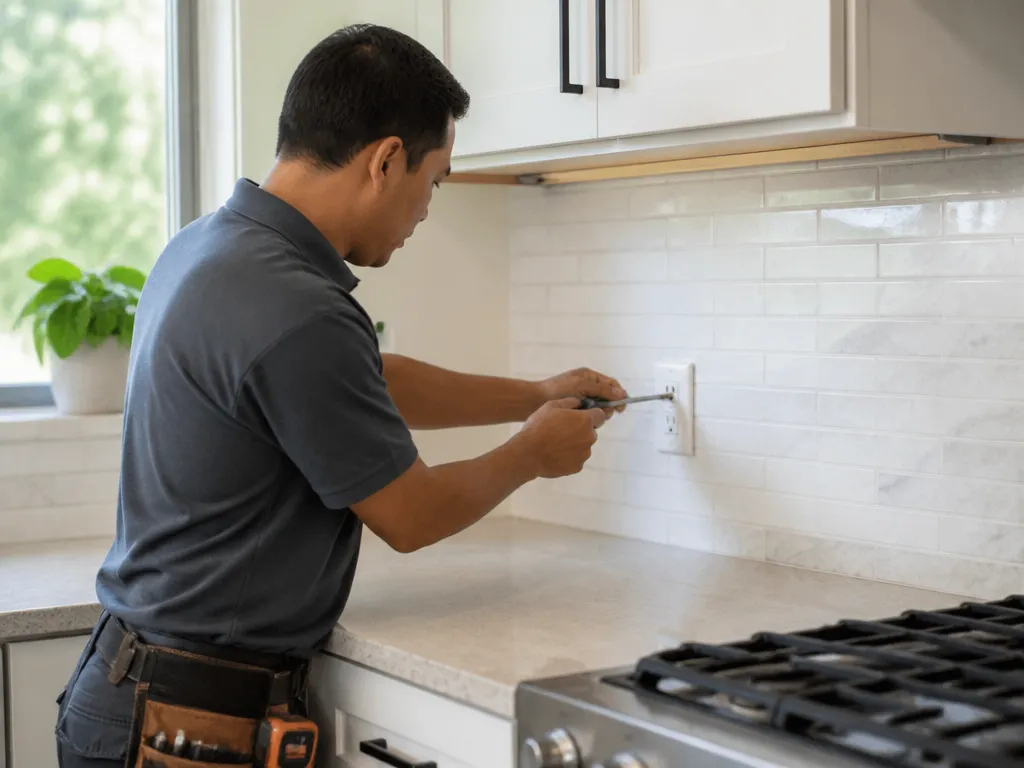
In the US, outlet height is not arbitrary. Kitchen receptacles must follow placement and protection rules, and those rules interact with where outlets are required to be installed on kitchen counter walls and in sink areas.
The most common height reference is the finished countertop surface. That is the baseline you can use for layout, while the exact installation also depends on the device location and local requirements.
What changes your plan is where you’re installing the receptacle, and what it needs to do. For example, receptacles located in the kitchen countertop area must be spaced so they can be reached without running extension cords constantly, and they must be GFCI protected in the areas covered by modern electrical safety rules.
Because different jurisdictions can enforce amendments and because interpretations can vary, don’t treat the standard placement as a free pass. Treat it as your baseline for layout, then verify the exact requirements for your specific location, especially around sinks and any countertop zones that will definitely be in use.
If you want a confident approach that avoids rework, plan for GFCI and spacing first, then use the standard placement for the “what does it look like and how do I install it” part. That sequence saves time when your electrician starts rough inspection.
Above Counter vs Under Cabinet Outlet Locations
Under-cabinet outlets are popular because they put the receptacle close to where countertop work happens. They also keep the wall cleaner visually, especially when you have a backsplash that would otherwise run behind a standard receptacle height.
From a practical height standpoint, under-cabinet outlets often still end up in the same general countertop-relative zone once you account for cabinet bottom height and the outlet box size. The main difference is visibility. Under-cabinet devices can be lower or higher depending on cabinet design, but what matters is that the device ends up where cords can reach appliances without constantly tangling.
Above-counter outlets can be the better choice when cabinets don’t extend far enough to give you a clean under-cabinet wiring path, or when you have open shelving instead of uppers. They also make it easier to coordinate with backsplash tile patterns if you’re keeping the device on a single consistent horizontal line.
The trade-off is that above-counter outlets are more visible and their cords are more likely to hang in the open. If you cook often and keep small appliances plugged in, under-cabinet outlets usually win on day-to-day usability.
In practice, decide based on how your cabinets are built and where the backsplash tile ends. If you’re tiling to the bottom of upper cabinets, under-cabinet outlets usually look right. If your upper cabinets are set back or don’t have a consistent bottom edge, plan wall receptacles at your counter target height instead.
One last caution: under-cabinet outlets still need to be accessible and installed correctly. If you bury them where cabinet doors or trim blocks access, you’ll end up moving them later.
Spacing Rules Near Sinks, Stoves, and Islands
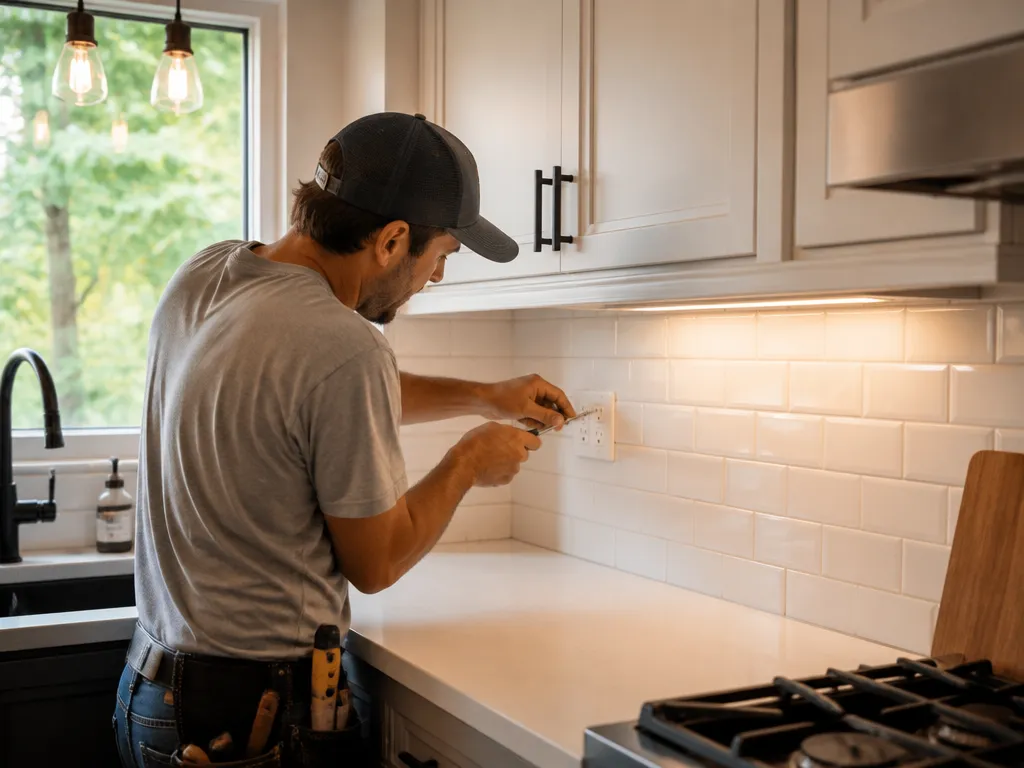
Outlet height is only half the story in kitchens. The bigger day-to-day problem is whether you have enough receptacles where you actually plug things in, especially around sinks where you need cords for blenders, coffee makers, dishwashers (where applicable), and small tools.
Near sinks, you should assume the layout will be more constrained because of safety protection requirements and because outlets must be placed so countertop areas can be used without extension cords. The practical takeaway is that you should plan receptacles around the sink so appliances have reachable power from typical countertop positions.
Stove and range areas bring their own constraints because appliance power needs can be different than small counter loads. If a receptacle is involved for an appliance (like a microwave, depending on how it’s installed), your electrician may treat it differently than a standard countertop outlet.
For islands, the spacing question becomes about reach and cord management. You want outlets located so you can plug in across the working side of the island without cords spanning walkways. Islands also tend to require careful coordination with overhangs and any seating that limits how you can run wiring.
A good workflow is to draw your countertop “work zones” first: where the sink area is, where the prep zone is, and where the coffee or cooking appliances will live. Then place outlets so each zone has practical reach, using the planned countertop-relative position for the receptacle boxes.
GFCI Placement and Dedicated Circuit Height Needs
GFCI protection is where kitchen outlet placement becomes more than a cosmetic decision. In modern US practice, countertop receptacles in kitchen areas covered by the rules must be GFCI protected, and that affects how your electrician chooses receptacle locations and how wiring is grouped.
What you should take from this for height planning is that you cannot treat height targets as independent of safety placement. If the GFCI device is required in the sink area or another covered kitchen counter area, the best-looking location might still need to match the required outlet’s exact function and position.
Dedicated circuits also change the plan. If your kitchen includes appliances that require a dedicated circuit (your electrician will confirm which ones apply), you may end up with fewer receptacles on shared circuits in some areas. That can mean the wall layout you prefer visually needs to be adjusted so the circuit feeds land where the required outlets must be.
Height “needs” tied to GFCI and dedicated circuits are usually not about a different number like “13 inches” or “18 inches.” It’s about choosing the correct device type and ensuring the wiring method and device placement comply with inspection.
In practice, plan your receptacle locations with an electrician early, then lock the height only after you know which boxes will be GFCI-fed and which appliances get dedicated power. That avoids the classic rework moment where boxes are already set and then the electrical plan changes.
If you want one clean rule for DIY measurement: set your outlet heights to the finished countertop baseline first, then let the electrician confirm which boxes must be GFCI and which can be standard, and adjust only if wiring constraints force it.
How to Measure and Mark Outlet Heights Fast
Fast measurement starts with a simple order of operations: finalize the countertop (or at least lock in its finished height), then mark from the finished surface. If you measure from studs or rough framing, you’ll chase offsets the whole time.
Use a tape measure from the countertop surface up to your target line, then mark the box location on the wall. If your reference is the receptacle center, measure to the center mark consistently for every outlet so your line stays visually straight across the room.
Here’s a practical marking method that works when you’re doing multiple outlets: snap or draw a level pencil line across the wall at the calculated height, then transfer box center points down from that line to your stud layout. That way, when you install boxes, you keep alignment and reduce “one outlet is off” mistakes.
Before you commit, do a quick dry-fit check with a representative cover plate (or at least confirm box depth relative to the finished wall thickness). Box depth matters because tile, paint build-up, and backsplash materials change where the cover sits.
For example, if you plan to tile, measure how far the finished tile surface will be from the drywall. A box that is too deep or too shallow changes the cover plate alignment even if the height is “correct.”
In practice, label your outlet rough-in locations while you’re marking. Write “K-left prep” or “sink right” next to the boxes so you don’t confuse which side must be GFCI-protected or which side needs extra reach due to appliance placement.
If you’re coordinating with cabinets, place one target outlet where you can visually confirm it next to a cabinet bottom or backsplash. That single confirmation saves you from discovering later that the outlet lands behind a trim or too close to a cabinet edge.
FAQ
How high should kitchen outlets be above the countertop in the US?
Most countertop kitchen receptacles are installed at the standard countertop-relative height. Measure from the finished countertop surface, not from subfloor or framing. If you have a thick backsplash or unusual cabinet trim, adjust for finished-wall clearance while keeping the overall target height consistent.
Can I put outlets at 18 inches instead of 12 inches?
You can, but 18 inches is usually higher than the standard countertop convenience zone. Higher outlets can look wrong with a backsplash and may push cords into your workspace. If you must deviate, confirm the outlet still aligns with your backsplash line, appliance use, and any required protected locations near the sink.
Do kitchen outlets near the sink need GFCI, and does height matter?
Kitchen countertop receptacles in sink areas generally require GFCI protection, and the placement is more constrained than standard counter walls. Height still uses the finished countertop baseline, but the main compliance goal is that the required outlets are installed in the correct area and wired as required, not that you pick a different height.
What’s the fastest way to measure and mark outlet heights before rough-in?
Lock your finished countertop height (or use a confirmed template from your countertop plan). Then measure up to the target line (or your electrician’s confirmed reference) and mark a consistent level line. Transfer box center points from that line, and dry-fit once with expected backsplash thickness.
What’s a common kitchen outlet height mistake to avoid?
The most common mistake is measuring to rough surfaces instead of the finished countertop and finished wall plane. Another frequent one is setting box height correctly but installing the box at the wrong depth relative to tile or backsplash, leaving cover plates recessed or misaligned.
For a confident next step, pick your finished countertop height, mark the standard receptacle height line, then map outlet locations around your sink and island before you install boxes. If you can coordinate with your electrician at the layout stage, you’ll avoid rework tied to GFCI and circuit requirements.