How to Organize Tupperware Lids in Deep Drawers (2026)
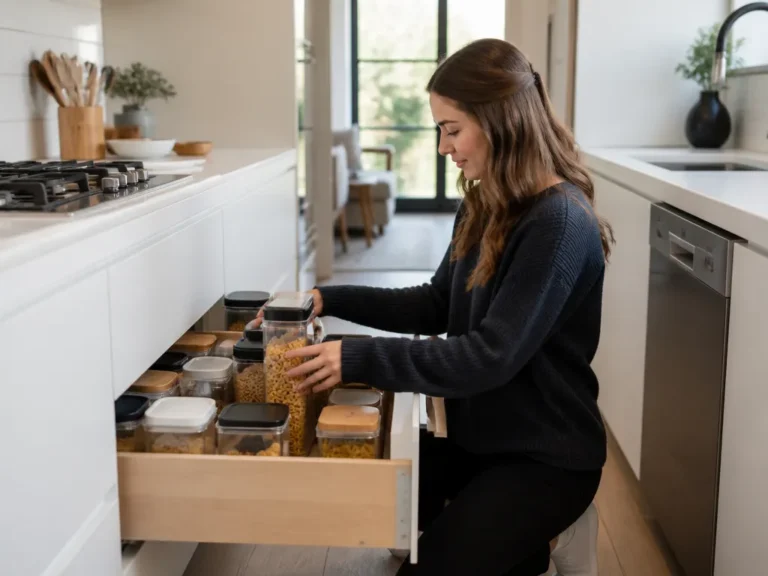
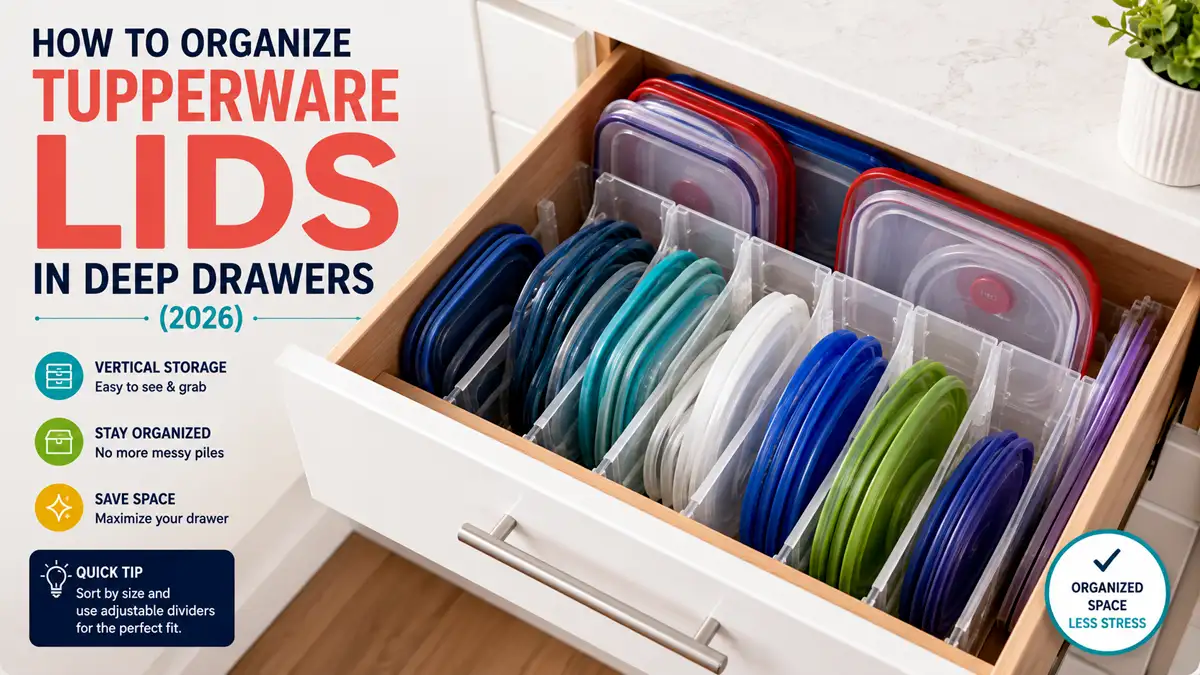
Deep drawers work best for Tupperware lids when each lid stands upright in a fixed slot or lies flat in a compartment sized to its footprint. That keeps lids from tipping, sliding forward, and disappearing beneath containers. Measure the drawer and your largest lids first, then choose a vertical rack, file-folder organizer, or adjustable divider system. Add a shelf liner or front stop to keep everything in place.
Key Takeaways
- Measure drawer space first. Get the usable depth and widest lid diameter so the organizer fits without blocking the drawer.
- Store lids vertically when possible. A vertical lid rack keeps rims upright and makes matching faster.
- Prevent tipping and sliding. Shelf liners and drawer stops keep lids from drifting toward the front.
- Match lids by set. Store compatible containers nearby, then sort lids by size and material.
- Label dividers clearly. Labels prevent re-hunting when several lid types look similar.
- Plan for nested lids. Adjustable dividers accommodate lids that stack inside one another.
How to Organize Tupperware Lids in Deep Drawers
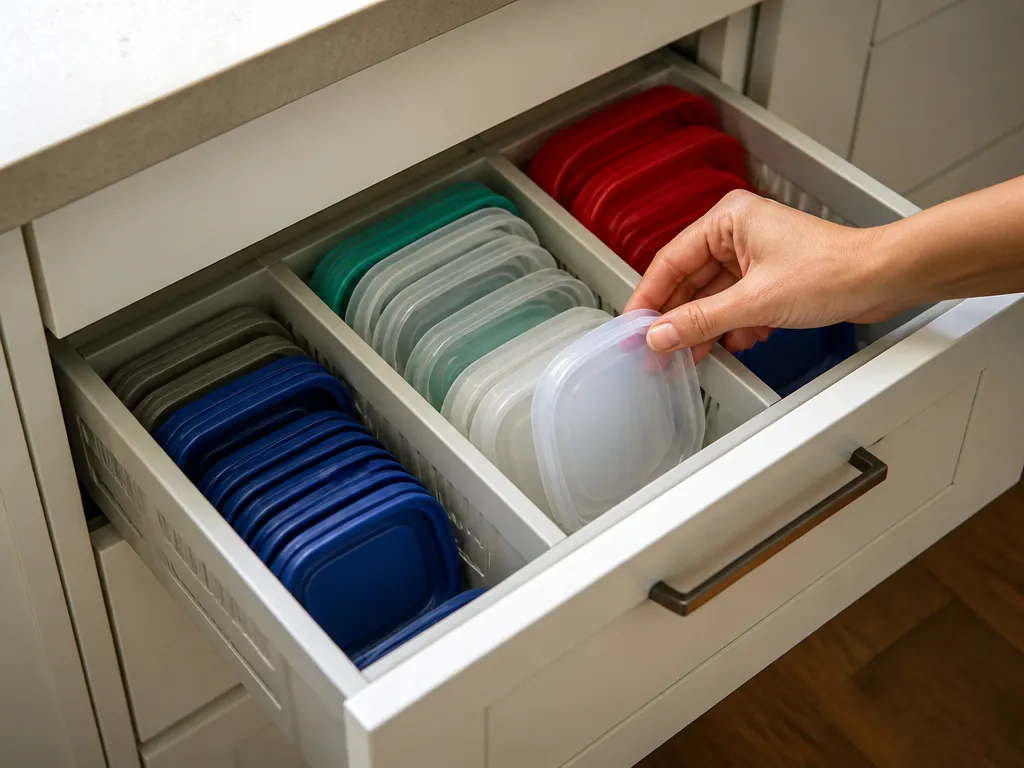
Treat Tupperware lids like an inventory instead of a loose pile. Deep drawers give lids room to lean, catch on one another, and slide toward the front whenever you pull the drawer open. The goal is to keep each lid upright in its own slot or flat in a bay that matches its shape.
Store-bought parts, such as a vertical lid rack or drawer file organizer, can handle the job. A DIY divider layout works just as well when your lids have mixed sizes and unusual shapes. I prefer a hybrid approach because Tupperware sets rarely have perfectly uniform lids.
Use these rules:
- Store lids upright if they can stand without tipping.
- Store irregular or unstable lids flat in fixed bays.
- Separate sizes from the start instead of planning to sort them later.
In a deep cabinet drawer, place the largest lids toward the back in a vertical rack. Reserve a smaller file-folder-style bay for thin, flat lids and specialty covers. That limits rummaging to one or two compartments instead of forcing you to search the entire drawer.
Measure Drawer Depth and Lid Diameter First
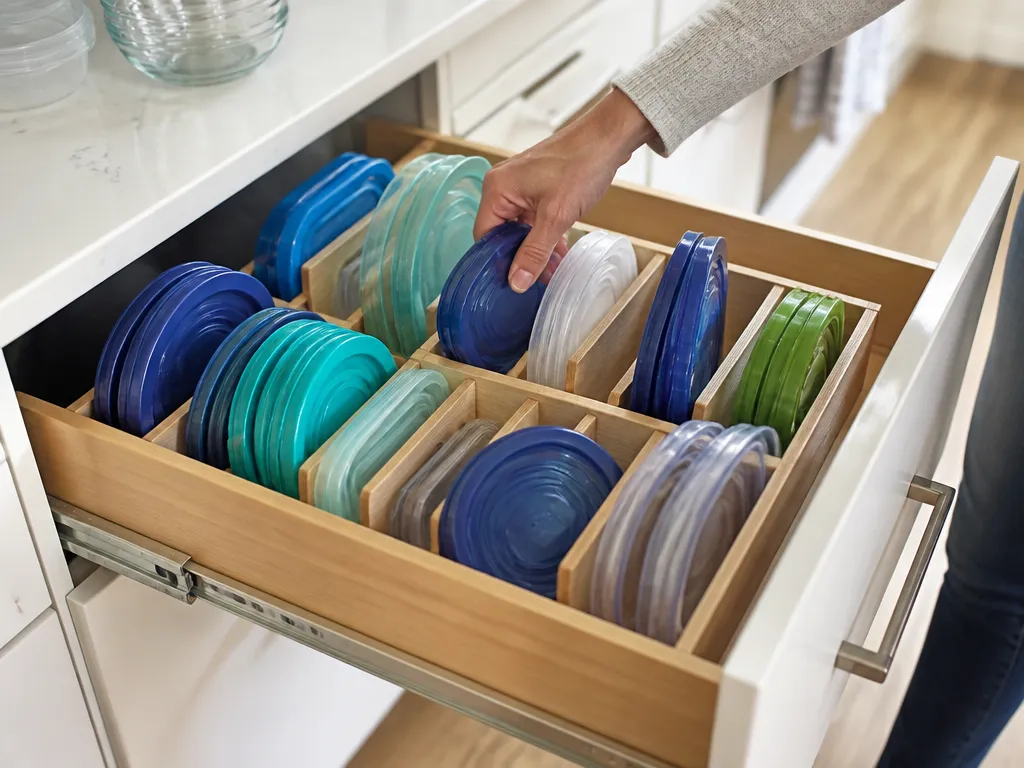
Measure the drawer’s usable interior space rather than its overall opening. Subtract any front lip, back panel, rails, or other features that reduce the available room. Leave enough clearance for the organizer itself and a little extra space so the drawer opens without binding.
Take these measurements:
- Usable drawer depth. Measure from the front of the drawer to the back panel, then subtract any lip or rails that reduce the space.
- Organizer clearance. Measure the actual width and height of the vertical rack or file organizer you plan to use.
- Widest lid diameter for each type. Start with the largest lid you want to store, then measure the next-largest.
- Lid thickness and rim shape. Raised rims need more space between dividers so they do not jam.
Write down the largest lid diameter and compare it with the drawer’s usable depth. In a deep drawer, the bigger issue is often lid travel – how far the lids can move forward when the drawer opens. A stop or shelf liner will control that movement later.
Most collections contain two lid families: round lids with fairly consistent diameters and irregular lids with handles, vents, or unusual rims. Measure both. The occasional specialty lid often causes more organizer problems than the common ones.
Use a Vertical Lid Rack to Prevent Slipping
A vertical lid rack keeps lids upright, visible, and easier to remove individually. The rim rests in a channel, so the lids are less likely to slide sideways or collapse into a pile. Choose a rack with slots wide enough for the thickest rims without leaving so much room that the lids can flop around.
Use a vertical rack when:
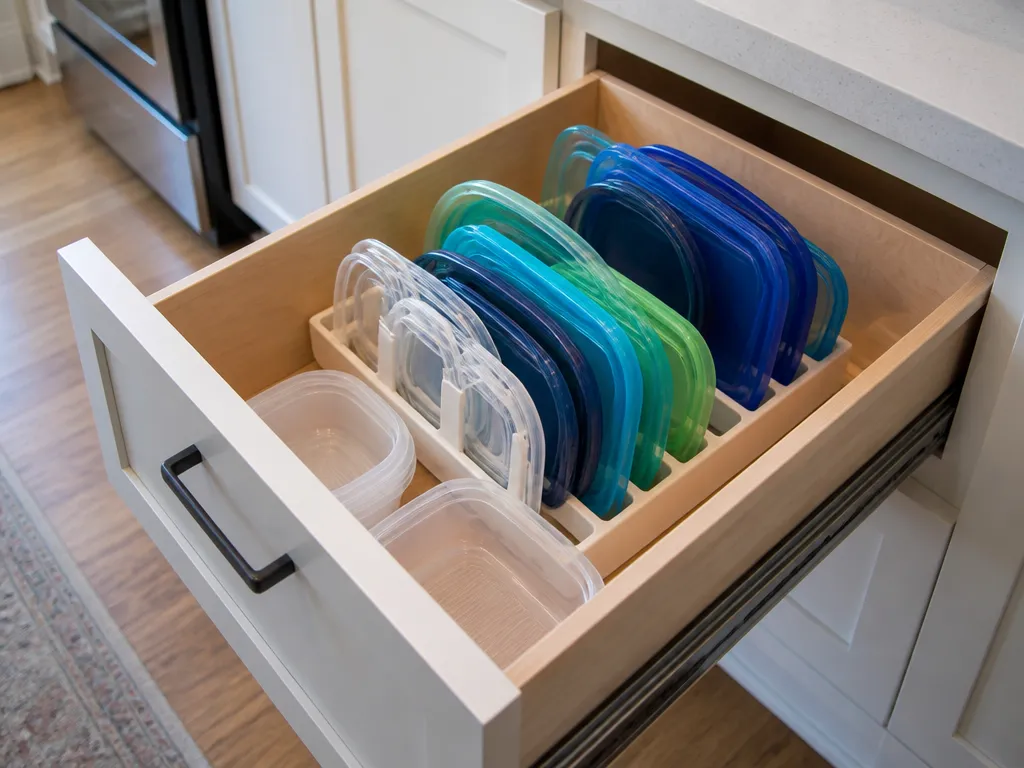
- Your lids are mostly round and have similar rim diameters.
- You want to see every lid while matching it to a container.
- The drawer has enough height for upright storage and enough width for a stable base.
Place the rack toward the back of the drawer so lids do not protrude into the main grab area.
If lids slip out of the rack slots, change the slot arrangement instead of forcing the system to work:
- Increase the spacing so each rim sits fully in its channel.
- Add a thin divider beside the rack to block sideways movement.
- Move specialty lids to a separate organizer instead of mixing them with standard lids.
Use a File-Folder Organizer for Flat Lids
Flat lids need supported compartments when their rims are too irregular or flexible for a vertical rack. A file-folder-style organizer creates separate bays that prevent random stacking. In a deep drawer, those bays also limit how far lids can travel when the drawer opens.
Choose a file-folder organizer when:
- The lids are flat and do not stand securely upright.
- You have several sizes that can be separated into bays.
- You want a low-cost, low-effort setup.
Load the organizer by diameter. Put the largest flat lids in the deepest bay and move toward smaller lids at the front. The arrangement follows a natural grab pattern and keeps smaller lids from hiding beneath larger ones.
Thin, flexible lids that warp slightly may tilt in a vertical rack. Flat bays support their full surface and reduce the collapse that turns several lids into one mixed pile.
If lids still drift after you add a file-folder organizer:
- Place a non-slip shelf liner beneath it.
- Add a small stop block at the front edge to create a deeper front buffer.
- Insert a divider spacer if the compartments are wide enough for the lids to shift as one group.
Build Adjustable Dividers for Nested Lid Sets
Adjustable dividers handle changing stacks better than fixed partitions. Nested lids may sit tightly together one day and loosely the next, depending on how the containers are stacked and how quickly you pull open the drawer. Adjustable partitions let you change the bay width without rebuilding the entire layout.
Build each bay around three requirements:
- Rim support. Dividers should touch or guide the lid rim rather than only contacting the center.
- Small gaps. Large empty spaces give lids room to move and tip.
- Comfortable access. Leave enough width to remove a lid without scraping it against the divider.
Use divider strips or removable panels that slide into place and lock at different widths. Begin with wider bays for the largest lid family, then add partitions for smaller groups until each bay feels snug without being tight.
Nested lids can slide underneath one another when the drawer opens quickly. Narrower bays and a front stop prevent that under-slide. If lids keep jamming, the bay is probably too narrow for one size and too wide for the next.
Make these adjustments:
- Lids wedge: Widen the bay or leave a small additional gap before the divider.
- Lids fall over: Add a front stop and reduce the bay width.
- Lids migrate: Add liner friction and tighten the divider spacing.
Sort Lids by Size and Material
Sorting turns an orderly-looking drawer into a usable one. Size should come first because diameter determines whether a lid fits. Material and rim design come next because rigid, flexible, vented, and raised-rim lids behave differently in a compartment.
Use this sorting order:
- Size bands. Group lids by diameter, from largest to smallest.
- Material and rim type. Keep rigid lids together, flexible lids together, and specialty lids in their own bay.
- Set matching. Store lids near the containers they fit whenever possible.
Two lids may both seem “medium” but fit containers with slightly different rims. Keeping them in one undifferentiated bay creates repeated trial and error. Separate them by actual size or rim behavior.
Skip a catch-all compartment labeled “extras.” Create an Unknown fit bay instead and label it clearly. That gives unusual or unmatched lids a home without letting them disrupt the main sorting system.
Store Compatible Containers with Their Lids
Keeping compatible containers near their lids removes most of the uncertainty from matching. The containers and lids do not have to occupy the same compartment, but they should stay within the same drawer or adjacent zone whenever possible.
Use this pairing strategy:
- Place each container set beside its corresponding lid bay.
- Keep containers in the compartment next to a vertical lid rack.
- If containers and lids need separate zones, keep both zones in the same drawer.
A practical layout might place tall containers and their matching lids at the back-right side of the drawer, with smaller containers and lids at the front-left. When you pick up a container, its lid stays within the same pull area.
When drawer space is tight:
- Store lids in the front bays for quick access.
- Keep containers in the back zone.
- Label the bays so you match by size first and rim type second.
If matching requires opening another drawer or cabinet, the system adds too much friction. Keeping the two parts within reach makes the organized layout easier to maintain.
Label Dividers to Reduce Lid Re-Hunting
Labels give every lid type a clear retrieval path. Without them, even a neatly sorted drawer eventually turns into a rummaging task because similar lids are hard to distinguish under pressure.
Label the dividers rather than loose pieces of tape. Use descriptions that help you make a decision quickly:
- Diameter band, such as Large or Medium
- Lid type, such as vented, flat, or flexible
- Material group, when the materials behave differently
Place labels on the front edge of each divider or on a small card holder where you can see them with the drawer open. Labels on the back panel are easy to overlook.
An Unknown fit label keeps rare or mismatched lids from contaminating the main bays. It also gives new lids a temporary home until you confirm which container they fit.
If labels peel, use a durable label maker or print-and-tape cards covered with clear contact paper. Hands and drawer walls create constant friction, so flimsy labels will not last.
Protect Lids with Shelf Liners and Stops
A shelf liner grips the organizer base, while a front stop limits how far lids can move. Both are useful because deep drawers turn ordinary opening and closing into repeated forward motion.
Use a shelf liner when:
- The drawer bottom is smooth or slippery.
- The organizer shifts during use.
- Lids migrate after a few days.
Use a stop when:
- Lids collect at the front edge.
- You pull the drawer open quickly.
- The organizer sits toward the center or back and leaves open space in front.
Install them this way:
- Cut the liner to fit beneath the organizer or across the drawer bottom.
- Add a small stop block or stop strip at the front edge.
- Check that the drawer still closes fully without pressing against the organizer.
If adjustable dividers are in place but lids continue walking into the front gap, the dividers are not the main problem. Add liner friction and a stop, then adjust the spacing.
For quick fixes:
- Lids creep sideways: Add liner beneath the organizer and reduce the side-to-side space.
- Lids tip forward: Increase the stop height or add a shallow front divider lip.
- Lids jam against the stop: Loosen the bay spacing or move the organizer slightly backward.
FAQ
How do I organize Tupperware lids if my drawer is very deep?
Use the back area for upright lids in a vertical rack and reserve supported bays for flat or irregular lids. Group each type by diameter so the drawer remains accessible from front to back.
What’s the fastest solution for sorting lids without measuring everything?
Start with rough size groups, from largest to smallest, then separate them by rim type, such as rigid versus flexible or vented versus non-vented. After the drawer works, measure the groups more precisely and adjust the dividers. This two-step process is faster than trying to create a perfect layout before using the drawer.
Will a vertical lid rack work for nested lids?
It can, but nested lids expose fit problems quickly. If they wedge or tip, separate sizes into different rack bays and use adjustable dividers to tighten the spacing. If the rack still fails, move that lid family to flat file-folder bays.
How do I stop lids from sliding or tipping in the back of the drawer?
Make sure the dividers guide the lid rims rather than only touching the centers. If lids continue to drift, at least one bay is probably too wide.
What common mistake makes lid organizers stop working after a month?
Oversized bays and one large catch-all compartment allow lids to move as a group, tip into neighboring spaces, and lose their sorting logic. Create smaller diameter bands and label each divider so the drawer remains a system instead of becoming a pile.
Final Take
Deep drawers are ideal for storing Tupperware and lids, but only if you use the right system . Start by matching all containers with their lids and recycling any that don’t have a partner . Then decide whether to store lids on or off:
Matching sets: Nest containers inside each other and store lids separately, standing upright like files in a drawer divider .
Mismatched collection: Keep lids on the containers so you never hunt for a match .
For the lids themselves, the best approach is vertical filing — place them on their edge in the drawer, grouped by shape and size . Use expandable drawer dividers to create separate zones for containers and lids . You can also DIY a lid organizer using a Dollar Tree wire shelf placed inside a plastic bin to create slots that keep lids standing upright .
If you want a more permanent solution, consider the Rev-A-Shelf adjustable drawer insert with removable dividers designed specifically for deep drawers .