How To Group Kitchen Items For Efficiency
Your kitchen stops feeling efficient when you have to “hunt” for basic items. Grouping kitchen items by zone cuts those walks into short trips because every tool and ingredient stays near the job that uses it. Set up zones you can reach in seconds, then refine them according to how often you use each item.
Kitchen zones keep the next task close at hand. Start with 3 core zones – prep, cooking, and cleanup – then add storage categories such as baking, drinks, and staples. Aim for “grab points” at counter height and “return points” that match your habits, so you do not move items twice during a meal.
Key Takeaways
- Start with zones. Put prep near the sink and cutting surface, cooking near the burners, and cleanup near dish tools.
- Measure daily use. Place the top 20-30% of frequently used items at eye and counter height.
- Match hands and tools. Keep spatula, tongs, and oils within arm’s reach of your primary pan position.
- Use existing storage. Rearrange shelves and drawer dividers before buying bins, racks, or organizers.
- Label visible storage. Clear labels reduce “where did it go?” searching and keep return paths consistent.
- Maintain with reviews. Recheck zones monthly, especially after parties, holidays, and new appliance purchases.
How To Group Kitchen Items For Efficiency By Zone
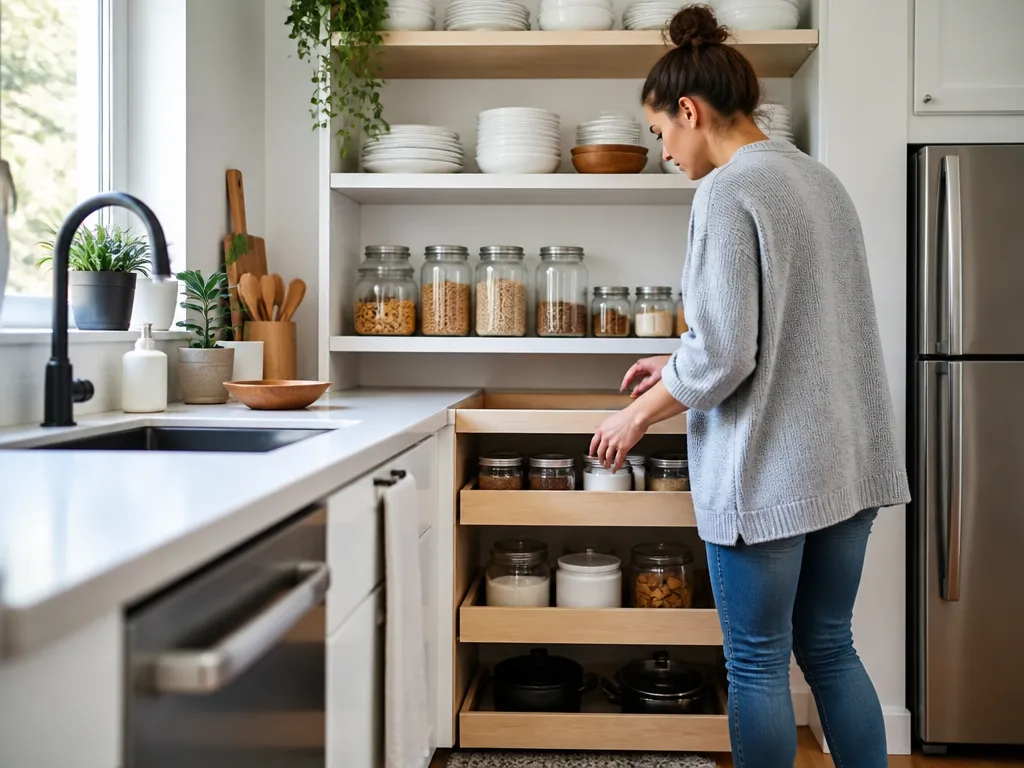
Zone grouping makes a kitchen calmer because it maps items to the exact part of the room where you use them. Grouping does not mean tossing similar items together. It means building a functional unit around a job.
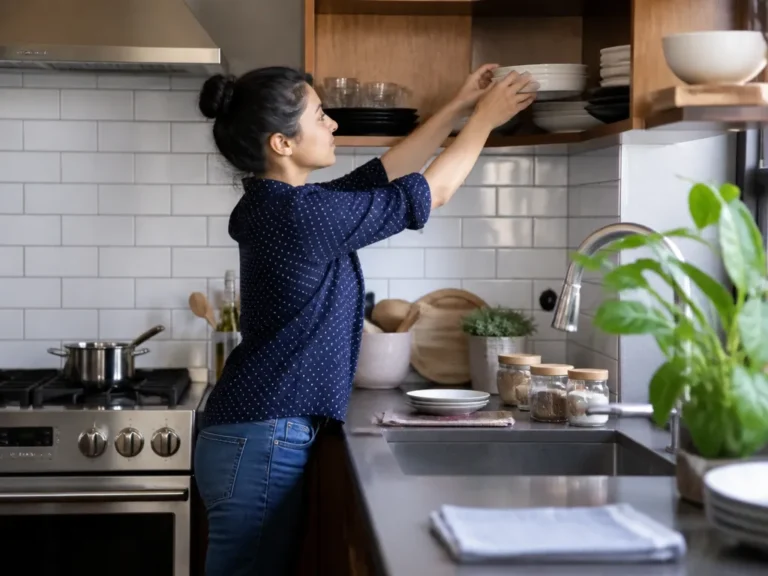
Start with where your work actually happens. Most homes have a prep area near the sink, a cooking area near the stove or oven, and a cleanup area near the dishwasher or dish rack. If you have only one counter, you can still create a “prep landing” and a separate “dirty landing,” with towels, trash, and gloves nearby.
An item belongs in a zone if you touch it while doing the task. Keep it within a short, predictable reach of where you stand. If you have to cross the kitchen to find it, your setup is adding friction to the routine.
What Kitchen Zones Make the Most Sense
You can get 80% of the benefit from 5 zones: the 3 core zones plus staging and storage. Most cooking and cleaning workflows stay within those areas. You do not need a perfect blueprint. You need a kitchen that matches what you do on an average weekday.
Use these core zones as your default:
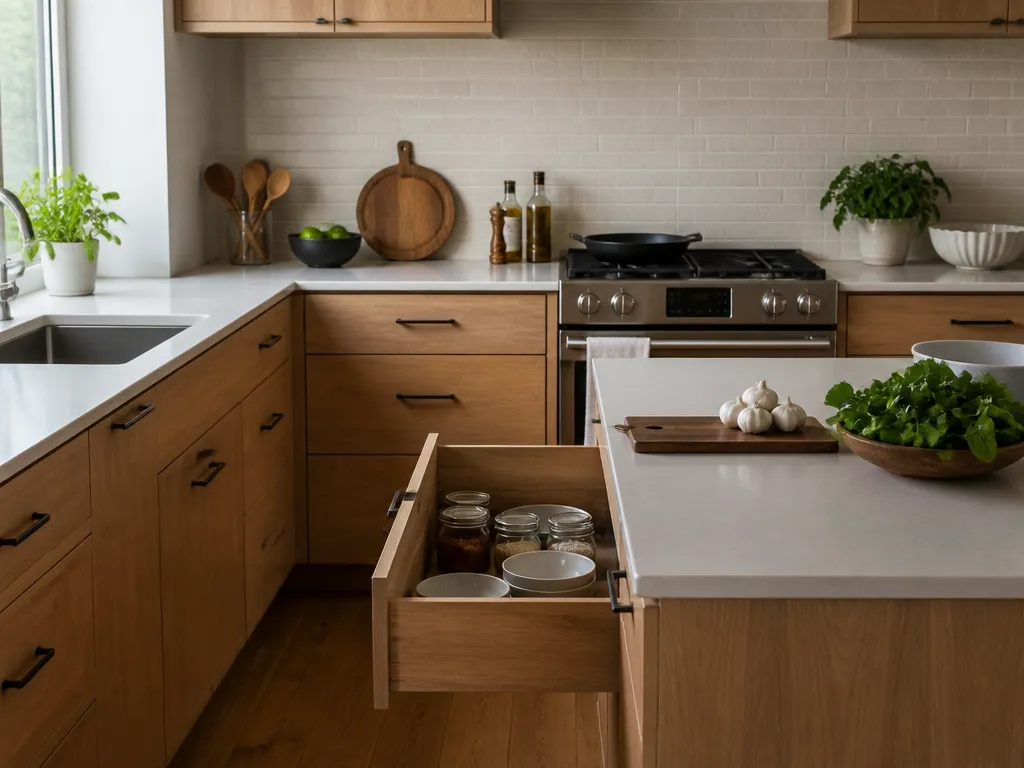
- Prep zone: cutting board, knives, mixing bowls, measuring tools, trash bag (liner-ready), and frequently used spices for that work.
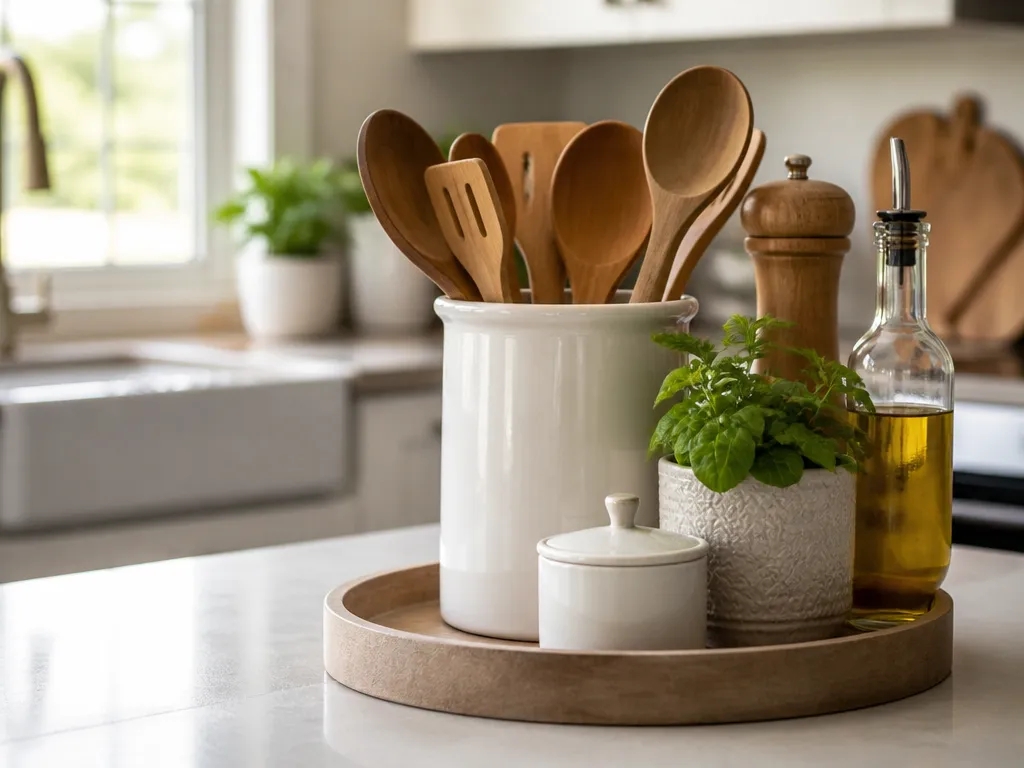
- Cooking zone: utensils, oils, frequently used sauces, potholders, and anything you touch while a burner or oven is running.
- Staging zone: a “put food here next” spot, such as a tray, sheet pan, or corner of the counter.
- Cleanup zone: sink tools, dish soap, sponge or brush, drying-rack access, and trash or recycling pull points.
- Storage zone: pantry shelves, fridge drawers, and cabinet shelves for less-frequent items.
Awkward layouts can still support useful zones. In a small kitchen, prep and cleanup may share one counter. Separate them with a bin for “dirty tools” and another for “dry tools,” plus one consistent towel location.
How To Use Zones Without Buying New Storage
Buying organizers is optional and often the quickest way to stall. Most people already have enough shelf space and drawer volume; they need better internal grouping.
Empty one area at a time – one drawer or one shelf – and rebuild it using the “return path” principle. When you finish using something, you should be able to put it away without thinking. If you cannot do that in 10 seconds, adjust the grouping.
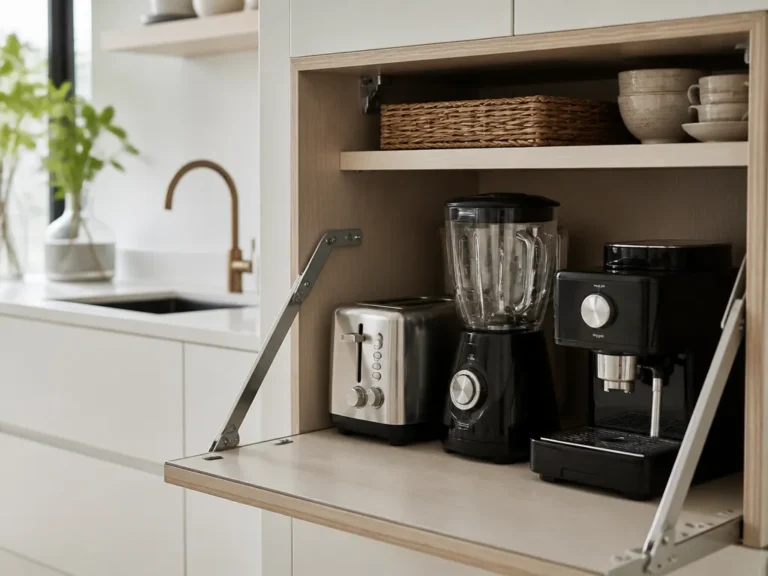
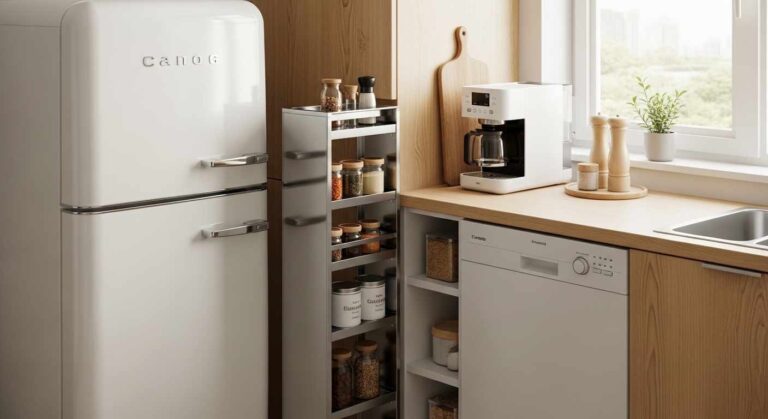
Repurpose what you already own. Baking sheets can become trays, cereal boxes can serve as simple dividers, and a utensil crock can move closer to the cooking zone as a permanent “grab point.” A drawer liner or tea towel can also separate “clean” tools from “junk” tools.
When you add storage, solve a specific problem rather than buying a general organizer. Use this “buy only after a failure” checklist:
- You keep losing small items. Use a small bin or divider in the drawer you already have.
- Items tip or collapse. Add shelf risers or a simple tray so items rest flat.
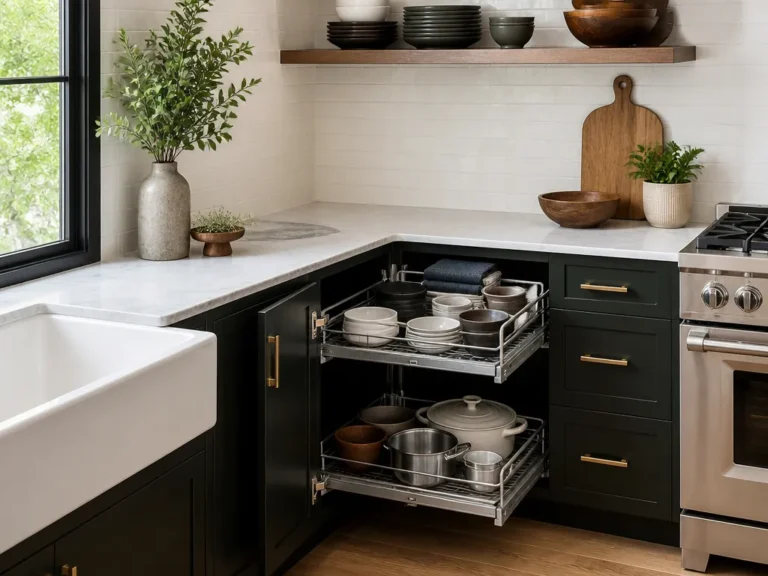
- You cannot see what you own. Use a front-facing bin or pull-out shelf, not a new cabinet.
Group By Frequency of Use and Accessibility
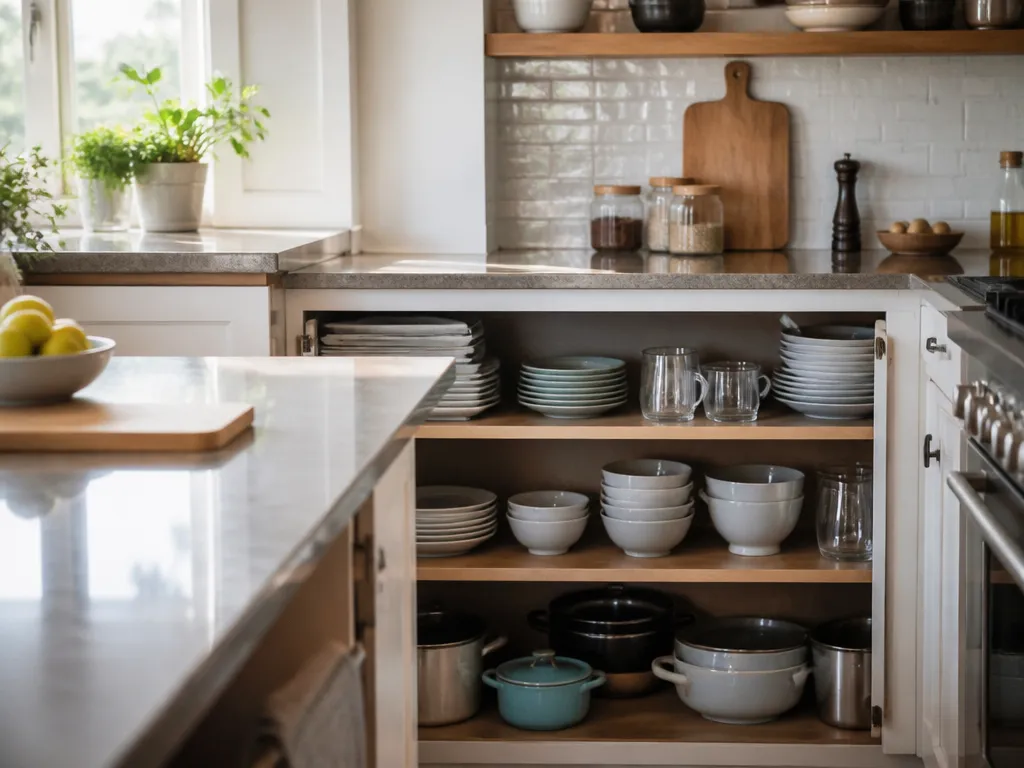
Frequency and accessibility determine where each item belongs inside a zone. A zone can be correct, but buried daily-use items still force you to dig.
Use a one-week “touch audit.” For each category – spices, utensils, baking tools, coffee gear, and snacks – note what you use most days. Place those items in the easiest-to-reach spots, usually at eye level and in the front third of shelves. Move low-frequency items to higher shelves or deeper cabinet corners where they remain reachable without taking up prime space.
Items used mid-cooking – tongs, ladle, oven mitts, and salt – need a consistent grab spot you can reach while your hands are busy. Items used once a month – specialty baking liners and holiday serving tools, for example – can go on a back shelf or in a labeled bin.
The difference looks like this:
- a messy drawer where you rummage for tongs every time, versus
- a cooking-zone drawer where tongs, spatula, and a small condiment container live together.
Group By Cooking Workflow From Prep to Serve
Cooking becomes noticeably faster when items follow the sequence of the task. Instead of organizing only by category, arrange tools in the order you use them: prep, cook, plate, and finish.
Map your typical meal cycle. Meals vary, but most follow that same rhythm. Build the sequence across the cooking and staging zones so you can move from one step to the next without walking across the room.
For pasta night, keep the colander near your usual draining spot, sauce tools near the pot position, and plating items ready before you start simmering. A colander on a high shelf and tongs in a drawer across the kitchen will break your momentum several times.
Use this workflow map:
| Cooking step | What you need nearby | Where it should live (zone) | Placement rule |
|---|---|---|---|
| Prep | cutting tools, bowls, measuring, trash liner | Prep zone | Front-facing, counter-height |
| Cook | oils, salt, spatula, ladle, oven mitts | Cooking zone | Within arm’s reach of pan |
| Drain/Move food | colander, sheet pan, spoon rest | Staging zone | Next to your usual transfer spot |
| Plate/Serve | serving spoon, plates/bowls, garnish tools | Staging or storage | Ready before plating |
| Cleanup | dish soap, sponge, gloves, trash pull | Cleanup zone | Tools at sink, easy to rinse |
The staging spot prevents a common failure: putting something “somewhere” and losing it during the next step. A tray or sheet pan creates a predictable landing place for food, tools, and ingredients waiting to be used.
Group By Categories Like Dishes, Tools, and Staples
Category grouping makes storage intuitive after you establish zones and frequency. Categories act as the filing system inside each zone.
Structure common categories this way:
- Dishes (breakfast, dinner, glassware): keep daily dishes together in a single cabinet near the dishwasher. Put specialty items, such as extra bowls and rarely used platters, in a secondary cabinet.
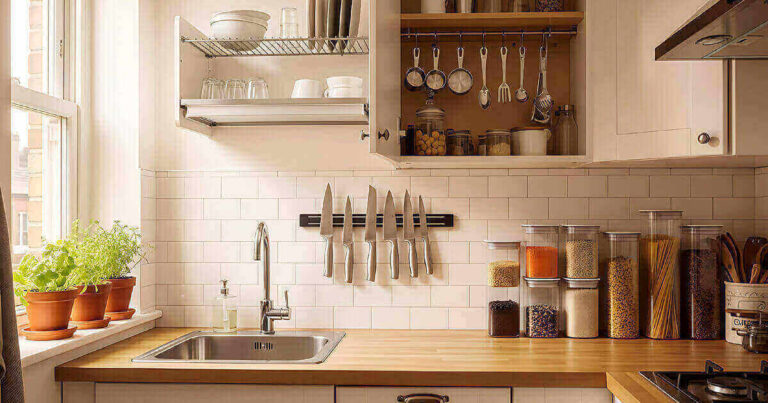
- Tools (cooking utensils, prep tools, serving tools): keep cooking tools near the stove, prep tools near the main cutting surface, and serving tools in a staging drawer or cabinet by the serving area.
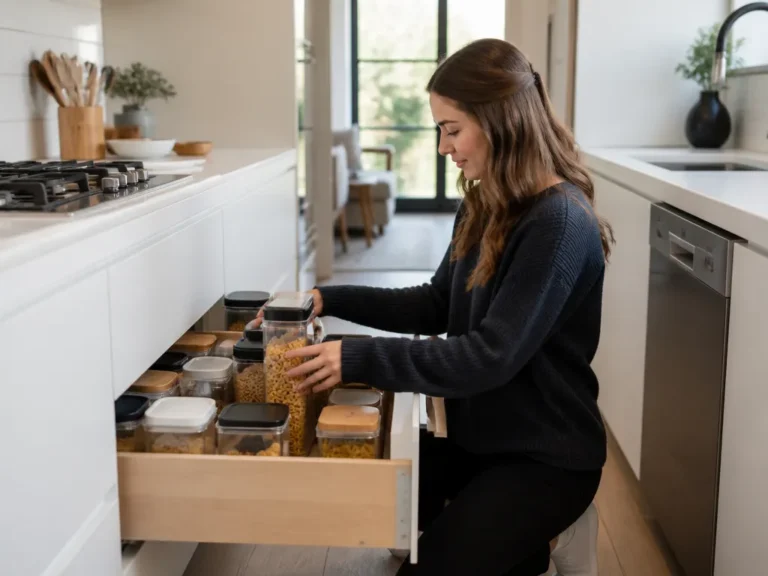
- Staples (dry goods, baking supplies, drinks): keep pantry staples in one clear area, then dedicate one shelf or bin to frequently grabbed items such as flour, sugar, coffee filters, and snacks.
Do not mix staples with random pantry items. That creates a pantry that looks organized but behaves like clutter. Give each shelf or bin a specific job, even if it is simple: “snacks up front, backup behind.”
How To Label, Store, and Maintain Fast Retrieval
Labels turn an intended grouping into a system you can use when you are tired or cooking under time pressure. The goal is fast retrieval: you should be able to find and return items without stopping to think.
Match each label to the container it identifies. Label the bin rather than the drawer, and keep labels visible from your normal standing position. For spices and baking mixes, place small labels on bin fronts with a short list of contents. For dishes and glassware, label shelves by usage – “daily plates” or “serving bowls” – when you have multiple types and often forget where they belong.
Keep containers upright and storage consistent. Consistent containers stack without sliding and let you scan the contents in seconds. If you use plastic bags for snacks, place them in a bin where you can see them, then store backups behind them.
Maintenance works best as a schedule rather than a major project. Once a month, do a 10-minute reset: return displaced items, adjust a “grab spot” if needed, and remove anything that no longer belongs. After holidays or parties, do a quick spot-check the next day, when kitchen zones are most likely to have drifted.
FAQ
How do I group kitchen items for efficiency in a small kitchen?
Pick one prep landing and one cooking landing first. Put frequently used items at eye level in those zones, then store low-frequency items higher or farther back. Use drawer dividers and bins you already have to create “return points” so tools go back where you can reach them quickly.
How long does it take to reorganize using zones?
Most people can complete a meaningful first pass in 2 to 4 hours by working zone-by-zone, such as “prep drawer today, cooking drawer tomorrow.” Plan a second quick maintenance pass after you cook a few meals, because real use reveals where you keep getting stuck.
Is it worth buying bins and organizers for kitchen zoning?
Buy them only after you identify a specific problem during the rearrange. Items that tip, collapse, disappear, or are hard to scan justify a divider or bin. If moving a utensil crock or reshuffling shelf positions fixes the problem, spend nothing.
What is the biggest mistake people make when grouping items by zone?
The biggest mistake is grouping by category across the whole kitchen instead of grouping by task within each zone. You then continue crossing the room during prep, cooking, or cleanup, which defeats faster retrieval.
How can I troubleshoot when items keep ending up in the wrong place?
Check the item’s location first. If it is inconvenient to put back while cooking, move it closer to the grab spot, then label the bin or shelf so its correct home is obvious.