How To Store Glass Meal Prep Containers Safely
Glass meal prep containers last longer when you store them cool, clean, dry, and protected from chips and odors. If you find cloudiness, stuck lids, or “fridge funk” in your cabinet, the storage setup is usually the problem. A simple system solves most of it: let containers cool fully, dry every seam and lid, add padding between glass pieces, and keep lids loose until there is no trapped moisture.
Store glass containers in a cool cabinet away from ovens, dishwashers, vents, and direct sunlight. Use a silicone mat, felt pad, or paper towel between stacked pieces, and replace any container with a visible chip or crack.
Key Takeaways
- Drying prevents odors. Store only fully dry containers to stop trapped moisture from causing smells and cloudy spots.
- Padding prevents chips. Put felt, paper towels, or silicone mats between glass pieces when stacking.
- Do not trap steam. Let lids and containers cool and dry before closing them together.
- Store lids smart. Nest small lids loosely or keep them separate to prevent stuck edges.
- Check for damage. Discard any glass container with a chip or crack before the damage spreads.
- Choose the right location. Keep containers away from heat and direct sunlight to protect seals and limit temperature stress.
Set Up a Safe Glass Container Storage Area
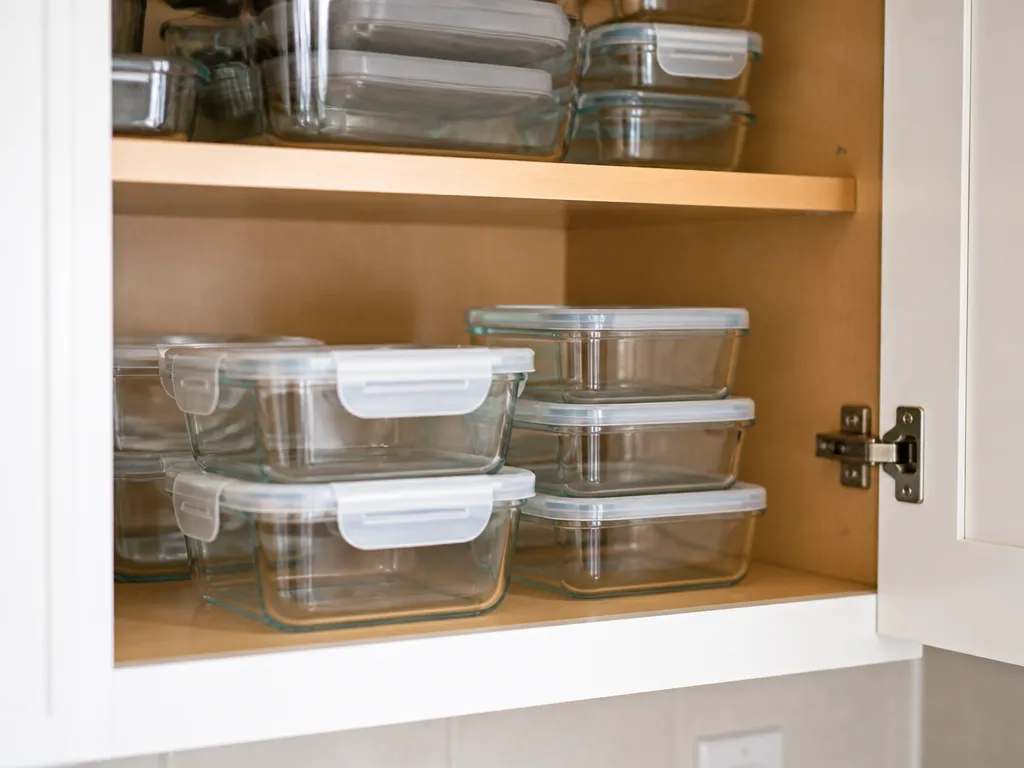
Store glass containers only when they are completely cool and dry.
Gather a few basic supplies before organizing your storage area:
- A clean dish rack or dry towel
- A silicone mat, felt pads, or another non-scratch shelf liner
- A shallow bin or divider for lids
- Vertical storage space or a low, padded cabinet shelf
Keep metal utensils, scrapers, and other hard objects away from the storage area. They can strike the glass or create chips when you stack and remove containers.
Choose a shelf or drawer that is easy to reach and large enough for the containers you use most. A crowded cabinet forces you to slide pieces against one another, which increases the chance of chipped corners and scratched surfaces.
Why Glass Containers Chip, Smell, and Develop Cloudy Spots
Glass is strong, but its edges and corners are vulnerable. Chips often begin where lids meet the rim or where stacked containers rub together as you open and close a cabinet. Your storage method should prevent both direct contact and sliding.
Temperature changes also create problems. Placing warm glass in a closed cabinet allows condensation to collect on lids and inside corners. That moisture can remain in seams, produce lingering odors, and leave a cloudy film as it dries.
Step-by-Step Glass Container Storage
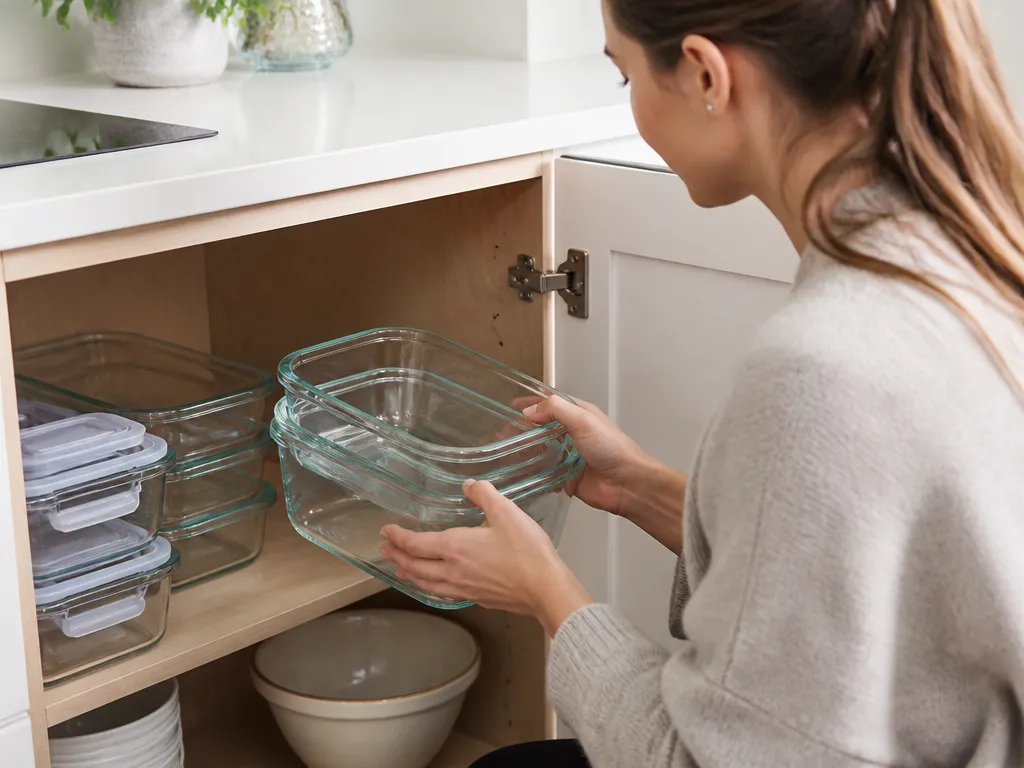
Follow these steps when you organize the cabinet, then repeat them as part of your normal dishwashing routine.
- Cool containers on a rack. After washing, place containers and lids in a single layer so they stop steaming before storage.
- Dry every surface. Wipe water from seams, lid rims, and the underside of lids. Air-dry the last bit if necessary.
- Check for chips and cracks. Inspect corners, rims, and lid contact points. Stop using any glass with visible damage.
- Add padding before stacking. Place a silicone mat, paper towel, or felt pad between glass pieces so the edges do not rub.
- Stack carefully. Use stable upright storage where possible, or keep the most fragile pieces in a single layer.
- Store lids without trapping moisture. Nest lids loosely or keep them separate. Do not seal them onto wet or warm glass.
- Create a ready-to-use section. Keep frequently used sizes where you can reach them without disturbing the rest of the stack.
If you prepare meals once a week, dedicate one shelf or drawer to clean, dry containers. Once a container goes there, avoid sliding the stack around while searching for space. Repeated movement is a common cause of chips.
Storage Techniques That Prevent Damage
Separate containers by lid type and size. Different lid shapes create uneven stacks and encourage you to force pieces together. That pressure can make rims rub and chip.
Add a friction layer inside the cabinet. A liner beneath each stack keeps glass from moving across the shelf. For lids, use a small divider or shallow bin to stop them from clattering into container corners.
Use one-touch stacking. Arrange each group so you can set pieces down without repeatedly re-centering them. If stacks shift every time you use the cabinet, store fewer pieces per shelf or switch to upright storage.
Allow airflow around lids. Nest lids loosely rather than pressing them tightly together. If a lid has a silicone gasket, dry the gasket completely before storage so it does not trap moisture against the glass.
Best Storage Setup by Container Type
| Container Type | Best Storage Method | Best For |
|---|---|---|
| Square/rectangular glass with matching lids | Upright stack with felt/silicone padding | Maximum space and fewer edge rubs |
| Round glass meal prep bowls | Vertical storage on a padded shelf | Protects corners and reduces rocking |
| Containers with removable gaskets | Lids stored off-glass until fully dry | Prevents gasket odor and moisture trapping |
| Very small condiment containers | Keep lids nested in a small bin | Stops lids from cracking against larger glass |
| Fragile lids or thin glass sections | Single layer or divider storage | Avoids chips from repeated cabinet pressure |
Build a Low-Movement, Low-Moisture Cabinet System
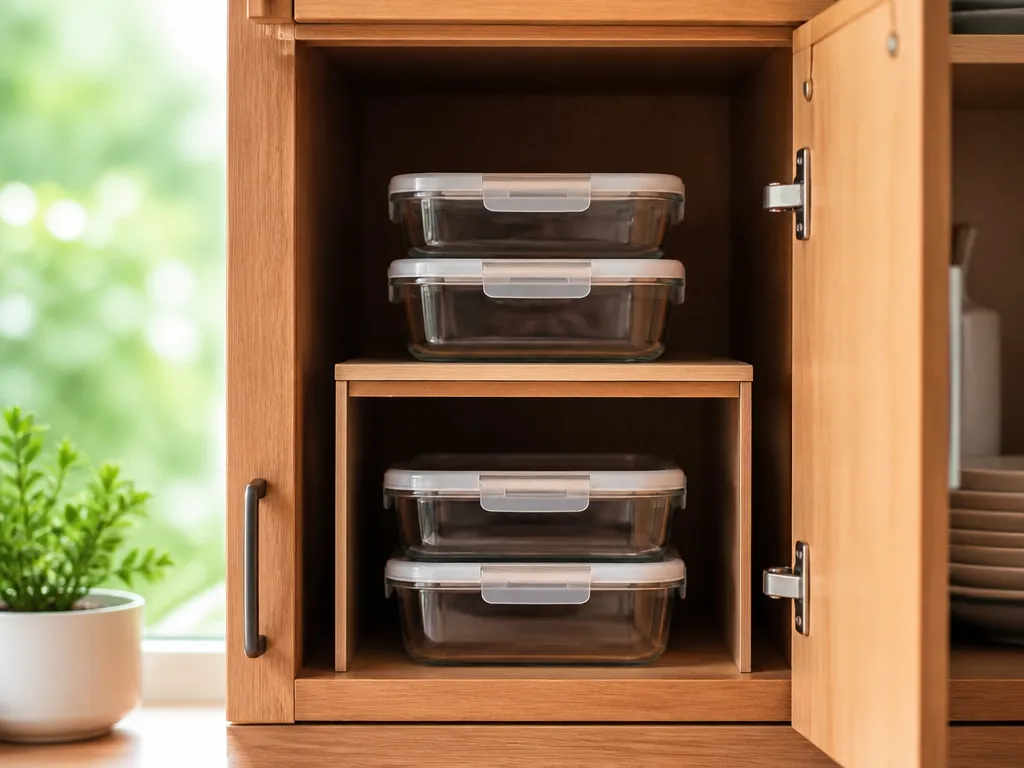
Your storage system should limit movement and moisture. Store containers in a cool, stable area away from ovens, dishwashers, vents, and direct sunlight. Repeated temperature swings can increase stress on glass and make existing defects more likely to worsen.
A Routine That Works in a Busy Kitchen
- After washing, dry containers with a towel, then finish air-drying them on a rack.
- Put a liner under each stack.
- Keep daily-use containers accessible.
- Disturb the remaining containers as little as possible.
Use two zones if necessary: one for items that are still drying and another for containers that are ready to store. This prevents the common habit of closing lids onto slightly damp glass just to clear the counter.
Storage Habits That Damage Glass Containers
Avoid these habits because they directly cause chips, odors, or unusable lids.
Storing wet containers. Moisture trapped under lids can cause odors and cloudy film. It can also make lids or seals stick the next time you use them.
Stacking without padding. Glass edges can abrade one another even when you handle them carefully. Normal cabinet movement can turn small scratches into chips.
Sealing warm containers in a stack. Warm glass creates condensation. When that moisture dries, it can leave residue that makes odors harder to remove.
Forcing mismatched lids. If a lid does not fit cleanly, forcing it puts pressure on the rim. Removing it later can chip the edge.
Ignoring chips or hairline cracks. A small defect can spread under everyday stress. If a crack catches on your fingernail, stop using the container and replace it.
If a container continues to smell after washing, inspect the lid seal, gasket, and seams first. Moisture and food residue collect in areas where air cannot circulate.
Small Upgrades for Easier Glass Container Storage
Use dividers to stop shifting. A shelf divider keeps stacks from sliding when you open the cabinet quickly. It also gives each container set a fixed place, so you disturb fewer pieces.
Separate freezer containers from refrigerator containers. If you freeze leftovers in glass, keep those containers in a separate area from fridge-ready pieces. Defrosting creates different condensation conditions, and separating the systems reduces mix-ups.
Schedule a monthly inspection. Check each container rim and lid edge for chips, make sure lids come off smoothly, and inspect seals for damage. A quick check is easier than dealing with a failed lid when you need the container.
Use parchment or paper towel as disposable padding. These materials protect edges during storage and can be replaced when soiled. That saves you from cleaning padding that has absorbed food residue.
FAQ
How long can I store clean glass meal prep containers before using them?
You can store clean, dry containers for weeks if they are fully cool and kept in a low-moisture cabinet. If you notice a persistent odor, wash the container again and dry it thoroughly before putting the lid back on. Containers with silicone gaskets need extra attention because moisture can remain around the gasket.
What is the best way to prevent lids from sticking?
Dry the lid rim and underside completely, then store lids loosely nested or separately. Do not close a lid while the glass is warm or slightly damp because condensation can make it stick. If a lid is already stuck, soak it briefly in warm water, then clean and dry both pieces before storing them again.
Are chipped glass meal prep containers safe to keep?
No. Stop using any glass container with a visible chip or crack. Damage weakens the glass edge, and everyday temperature changes can turn a small defect into a larger fracture. Replace damaged pieces instead of trying to work around the damage.
How do I store glass meal prep containers in the freezer?
Let the glass cool fully, leave appropriate headspace for food expansion, and store the container upright or in a stable padded stack. Use a lid that fits securely, and dry the outside before placing the container in the freezer to reduce ice buildup. Thaw the container in the refrigerator, then let it cool before moving it into regular cabinet storage.
What is the most common glass container storage mistake?
The most common mistake is putting lids on before the containers are fully dry.