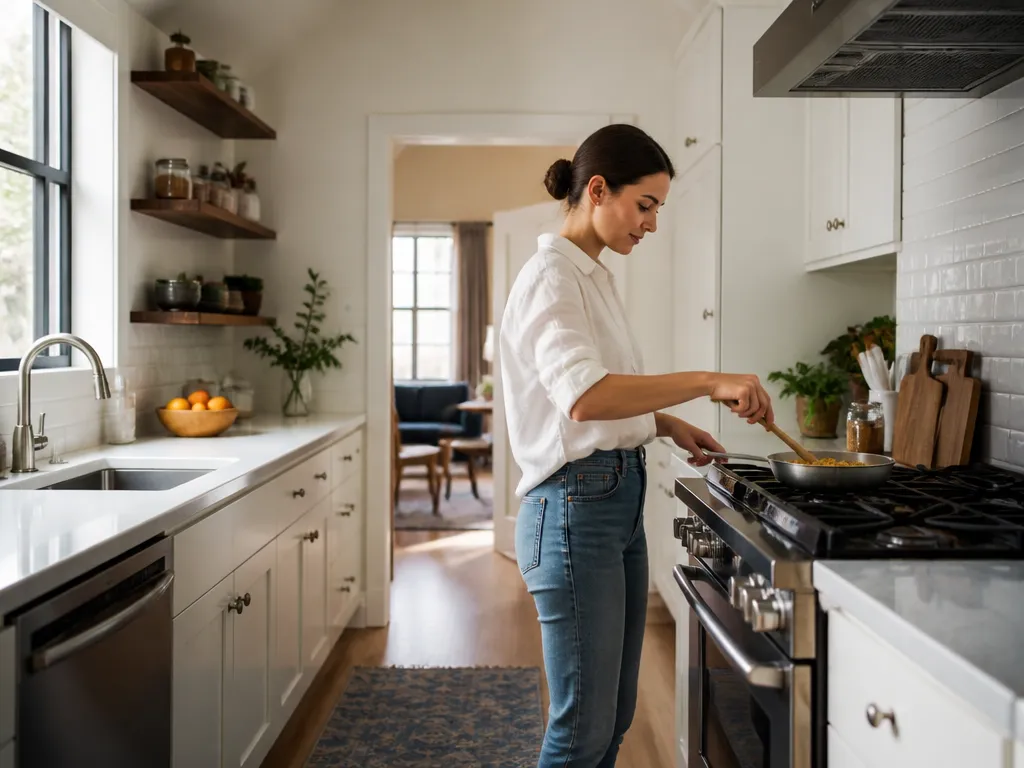
How To Arrange A Galley Kitchen
A galley kitchen works best when the aisle stays clear, with the sink, stove, refrigerator, and prep areas forming a short, logical route. Aim for about 42 inches of walkway for comfortable two-person use, then protect that space from appliance protrusions, open doors, and clutter. Give the sink and stove usable counter beside them, and organize storage around the way you cook.
Before ordering cabinets, measure the full distance between the finished walls, the width of the main walkway, and the locations of fixed plumbing, gas, electrical, and venting. If you plan to move the sink or stove, account for drain lines, supply lines, and the range hood duct route.
Key Takeaways
- Pair the sink with counter. Leave counter to each side when possible for prep, dirty dishes, and clean-item staging.
- Separate heat from water. Place the stove and hood where steam, smoke, and splatter have a controlled path.
- Plan storage before fixtures. Use the long walls for cabinets, drawers, and pull-outs that match your routines.
- Choose one or two prep zones. One works for a mostly linear workflow; two help when people multitask.
- Light the work surfaces. Combine ceiling lighting with task lighting and place outlets near the appliances you actually use.
How To Arrange A Galley Kitchen For Flow
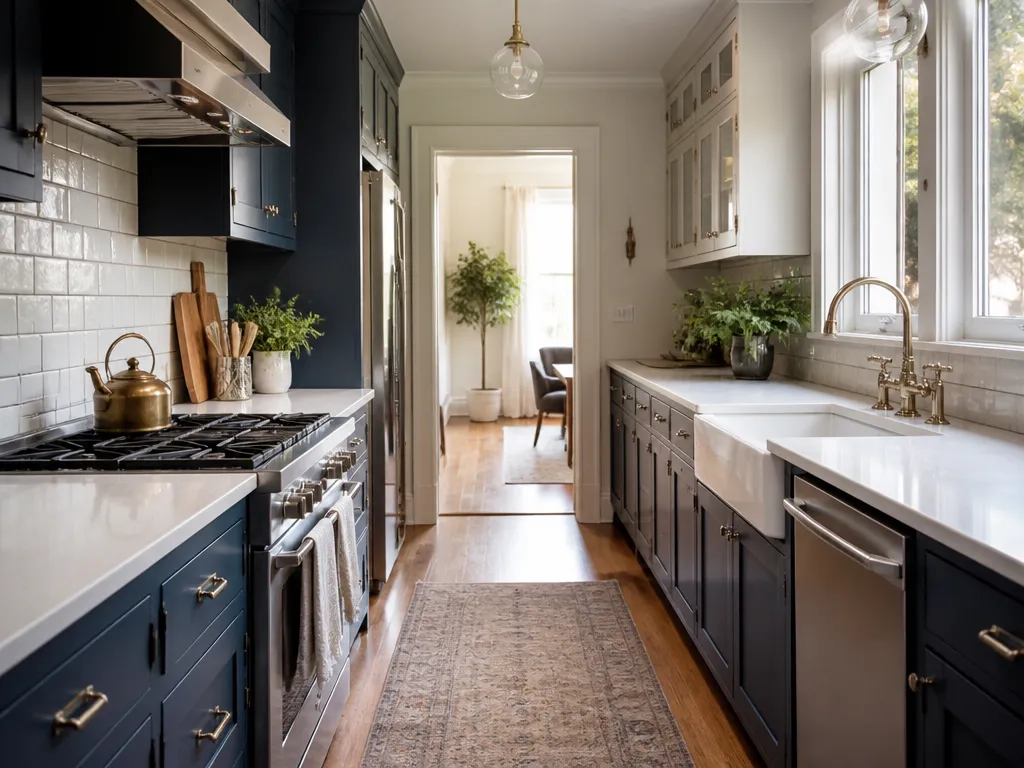
A well-arranged galley kitchen lets you move from storage to prep to cooking to washing without crossing the aisle with a hot pan or making awkward pivots. A true work triangle is difficult in a long corridor, so build a practical sequence instead:
- Take ingredients from the refrigerator or pantry.
- Set them down near the prep area.
- Move prepared food to the stove.
- Wash tools and dishes at the sink.
- Return cookware and ingredients to nearby storage.
Decide which side is your “food in” side, where dirty dishes will collect, and where hot cooking will happen. Then leave uninterrupted counter between those zones so you can do actual work rather than stand and reach.
If the refrigerator is on the left, for example, you might stage groceries on the left counter, prep there, cook at the stove on the opposite side, and wash at a centered or right-side sink. Avoid placing the sink so far from the stove that you must cross the aisle while carrying a heavy pot. Also avoid boxing the sink into a corner where dirty dishes have nowhere to wait.
A simple planning method that works
Pick the target aisle width first, then create a landing pad for each major task:
- Create a landing pad next to the refrigerator for groceries and ingredients.
- Create a landing pad beside the prep counter for bowls, a cutting board, and trash.
- Create a landing pad next to the stove for hot pans, spices, and utensils.
- Create a landing pad beside the sink for dirty dishes, rinsed tools, and a drying rack.
If you cannot fit landing pads on both sides, prioritize the sink and stove. Those are the areas where cramped reaches become most frustrating and least safe.
What Is The Best Galley Kitchen Clearance Width?
For most U.S. homes, 42 inches of clear walkway is the practical sweet spot for a galley kitchen. It gives one person room to cook while another opens a drawer or passes behind them. A single-user household can work with less, but the narrower the aisle, the more often people must wait for each other or turn sideways.
Measure from finished surface to finished surface. Include door swings, toe-kicks, raised cabinet trim, appliance handles, and anything else that projects into the walkway. A countertop edge may look clear on a plan while a refrigerator door or dishwasher reduces the usable space in real life.
Use these guidelines:
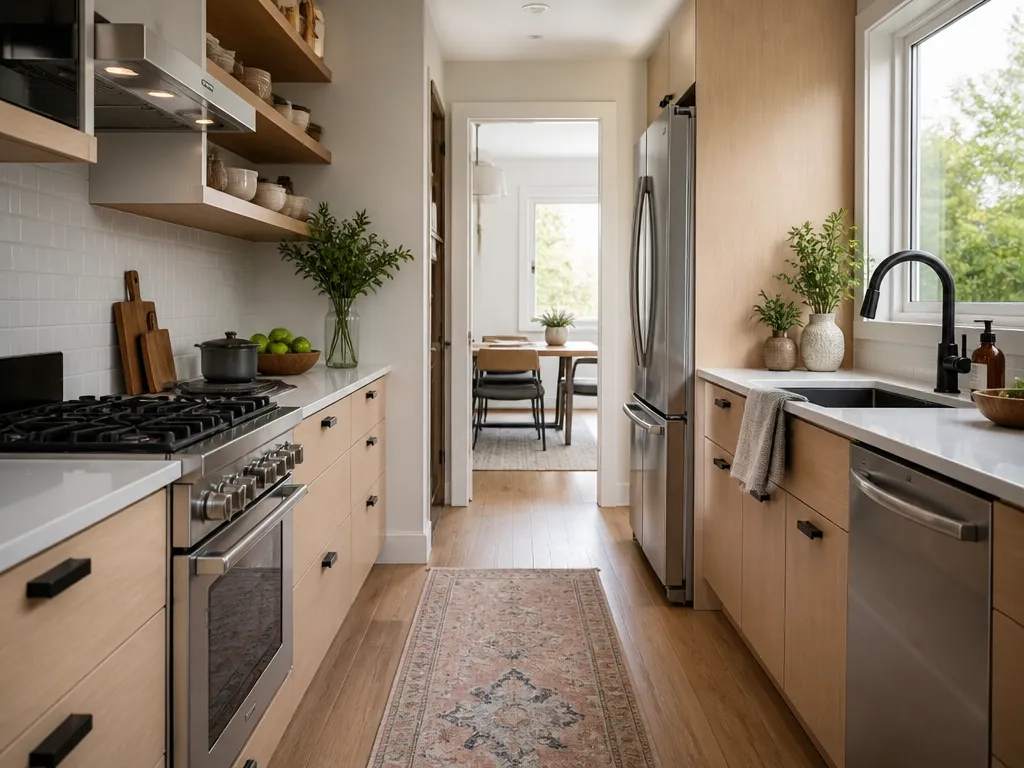
- If two people will cook at once, aim closer to 42 inches.
- If the aisle stays open and cabinets have few protrusions, a tighter plan may remain workable.
- If doors swing into the aisle, subtract that intrusion from your real clearance even when the cabinet gap looks adequate on paper.
Clearance gotchas to check early
Check these before finalizing cabinet depths:
- Appliance protrusions. Dishwashers, microwaves, and refrigerators may extend farther than expected.
- Door and drawer swings. A small loss of space at one point can make the entire aisle feel cramped.
- Traffic bottlenecks. A trash pull-out handle or appliance cart can stop movement when it is open or in use.
How Should You Place The Sink In A Galley
Place the sink where it has usable counter on both sides and where splashes will stay within a predictable work zone. Even if one side is short, two adjacent surfaces give you a place for dirty dishes before washing and clean items or prep work afterward.
Give each side of the sink a job:
- Use one side for dirty dishes and washing tools.
- Use the other for clean items, a drying rack, or prep.
A centered sink with long counters on both sides creates a smoother work rhythm. A sink pushed against an end wall removes staging space and often leaves dishes stacked at the counter edge. That arrangement saves little and creates daily clutter.
Sink spacing rules that prevent everyday frustration
Use these placement constraints:
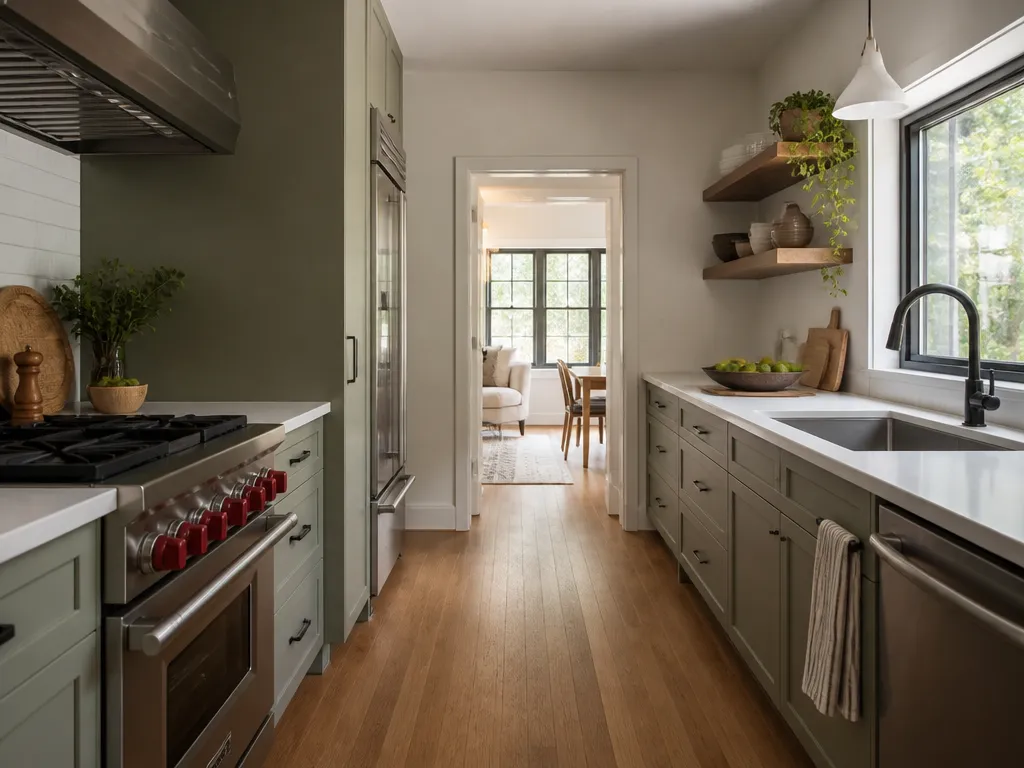
- Keep at least one adjacent counter section large enough for a cutting board, bowl, or drying rack.
- Do not place the sink so close to an end cabinet that a trash bin or cleaning caddy becomes an obstacle.
- Check how the dishwasher will open and how you will load it from the sink. The door needs a clear path, not a narrow squeeze.
If the sink and dishwasher are both on the right wall, leave enough counter for dirty-to-clean staging. Putting every item directly under the faucet may seem efficient, but it quickly turns that counter into a wet, crowded stack.
Where Do You Put The Stove And Vent Hood?
Put the stove where nearby counter can hold hot pans, spices, and utensils, and where the hood can vent effectively. Center the hood over the cooktop so it captures smoke and grease rather than pulling air from one side of the burners.
Plan ducted ventilation before placing cabinets. The duct route can determine cabinet locations and hood height. If the hood recirculates instead of venting outside, filtration becomes more important and odors are more likely to linger.
Stove placement checklist for galley flow
When placing the cooktop, check the following:
- Put a “hot landing pad” beside the stove for pans and cookware.
- Keep the “water landing pad” separate enough that hot and wet tasks do not constantly overlap.
- Confirm that the oven door does not block the aisle when open.
- Check that cooktop projections and handles do not make the passage narrower than planned.
A stove and sink can share one side of the galley, but do not place them so close together that the counter between them disappears. Moving from cooking to washing should be a short, obvious step, not a cross-aisle turn while carrying something heavy.
How To Use Counters And Storage Along Both Sides
Keep counters continuous where possible. Every break reduces the surface available for chopping, staging, and assembling meals. One side can carry the main prep run, while the opposite side supports the refrigerator, sink, stove, or secondary tasks. Either way, each key fixture needs a nearby landing zone.
Organize storage around the workflow rather than filling every wall symmetrically. Drawers and pull-outs near the places where you use items most often reduce trips and keep tools off the aisle.
Give each long wall a job
A practical division of labor looks like this:
- Refrigerator wall: ingredients, backup containers, and pantry items.
- Prep counter wall: utensils, cutting boards, mixing supplies, and everyday tools.
- Sink wall: dish staging, cleaning supplies, and trash or recycling pull-outs that do not require awkward reaches.
- Stove wall: pots, pans, spices, baking tools, and grilling supplies.
Plan for small items that create large amounts of clutter, including spice racks, paper towels, and bulk storage. Put them near the counters they support rather than in a distant cabinet corner.
A storage design you can execute quickly
Use drawers for heavy items and pull-outs for awkward categories:
- Put pots and pans in easy-to-reach base cabinet drawers near the stove.
- Use deeper drawers for sheet pans, baking trays, and large cookware.
- Store tall items such as brooms and seldom-used appliances at the end of the run, where they cost the least aisle space.
In a tight galley, functional pull-outs usually earn their space faster than decorative cabinet details. They make over-stacking and forgotten items less likely.
How To Choose Between One Or Two Prep Zones
Choose one prep zone when the counters are continuous and your cooking style is mostly linear. One main surface keeps ingredients, tools, and cleanup connected. It also works well in a narrow galley because it prevents staging clutter from spreading across both sides.
Choose two prep zones when you regularly multitask, such as chopping while something simmers or keeping raw and cooked foods separate. Two zones can also divide food preparation from baking or assembly. The trade-off is space: two small surfaces can become two clutter zones if neither one has a clear job.
How to decide in 10 minutes
Ask yourself:
- Do you routinely prep and cook simultaneously more than once per meal?
- Do you need clean staging space separate from washing or raw ingredients?
- Is the layout wide enough to keep both zones from becoming pass-through obstacles?
If the galley is tight and you usually cook one step at a time, choose one main prep zone. If two people cook together or you frequently entertain, two zones can reduce workflow friction.
If the sink is on the right and has only a short counter beside it, make the middle of the left side your main prep zone. With more counter length, add a smaller prep area near the stove for spices and assembly while keeping the main cutting and ingredient-prep surface farther from the heat.
How To Arrange Lighting And Electrical Outlets
Light the counters directly and place outlets where appliances will actually sit. In a narrow kitchen, ceiling lighting alone can leave shadows across the sink and prep surfaces, especially when someone stands between the light and the counter.
Use layered lighting:
- Ceiling or overhead lighting for general illumination.
- Task lighting over the main counter runs.
- Under-cabinet lights over the counters where you chop, assemble, or wash.
Place outlets along the counter instead of relying only on the ends. A good plan lets you plug in a blender, coffee maker, electric kettle, or food processor without stretching cords across the work surface or into the aisle.
Outlet placement that avoids real-life pain
Use these rules while planning:
- Place outlets near the prep zone and near a coffee or tea station if you have one.
- Put at least one outlet within reach of the sink side for small cleaning or sanitizing tools, while keeping cords away from wet areas.
- Keep outlets on the side where you stand and work so cords do not cross the aisle.
Think about where your hands are during normal tasks. If you work mostly on one side of the galley, that side needs the most convenient outlet access.
Safety and planning notes
- Do not place outlets where water regularly splashes.
- If you are adding outlets, confirm placement requirements with your electrician before cabinets are installed.
- Confirm that hood controls and switches are reachable without stepping into the aisle.
FAQ
What is the easiest galley kitchen layout to live with?
A sink with enough adjacent counter for staging and a stove with a hot landing pad create the easiest everyday layout. A clear, well-planned walkway also helps when opening drawers, loading the dishwasher, and passing another person.
How much counter space should a galley kitchen have?
Prioritize continuous counter for one complete prep workflow, then add landing pads beside the sink and stove. More cabinets cannot compensate for a lack of work surface, so plan fixture breaks carefully. Each break should still leave room for tools, pans, or dishes.
Are 2 prep zones worth it in a narrow galley?
Two prep zones are worthwhile when you genuinely multitask, such as prepping and assembling while food cooks. In a narrow galley, they can become clutter zones unless each has a defined purpose. If you usually cook one step at a time, one main prep zone will feel smoother.
How do I stop my galley kitchen from feeling cramped?
Limit protrusions and keep counters continuous. Use drawers and pull-outs so items do not pile up on the counter, and place trash and recycling where you can reach them without blocking traffic. Under-cabinet task lighting also reduces the harsh shadows that make a narrow room feel tighter.
What’s the most common mistake when arranging a galley kitchen?
The most common mistake is placing fixtures for visual symmetry instead of work access. A sink without adjacent staging space and a stove without room for hot pans are classic examples. Another is trusting the measured aisle width while ignoring drawer, appliance, and oven-door swings.
Sketch the kitchen at true scale as your next step, including door swings and appliance projections. Mark the clear aisle, the sink’s counter staging area, and the stove’s hot landing pad. If those three elements work, the galley will feel functional before you fine-tune the storage.