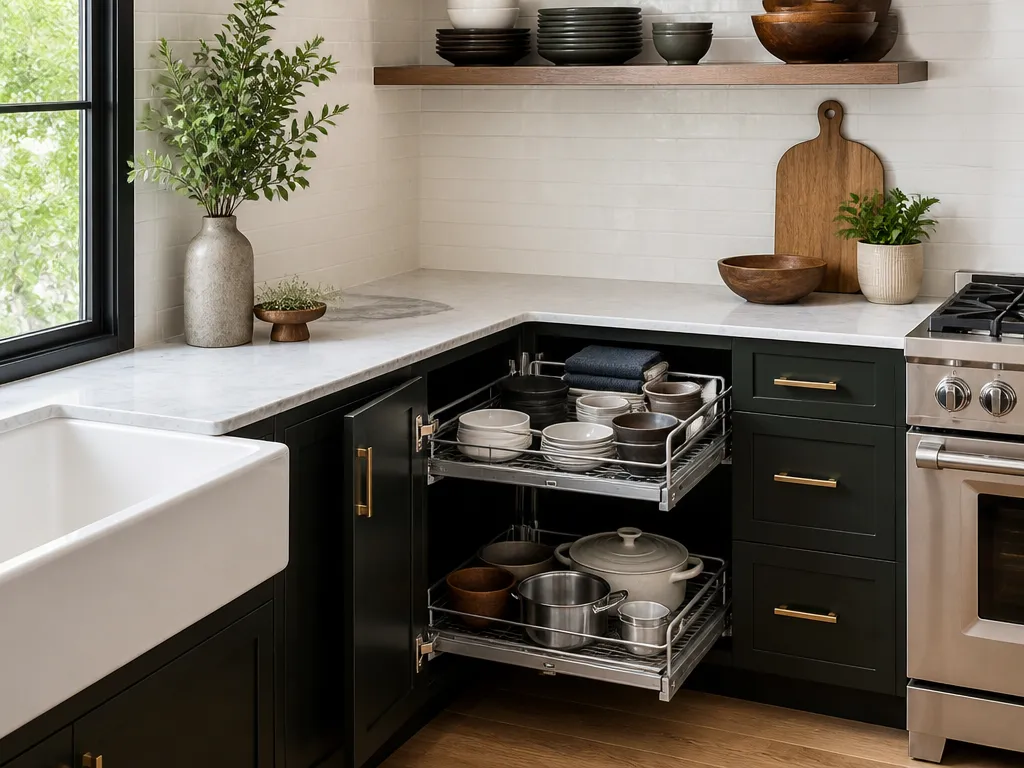
How To Maximize Kitchen Corner Storage
Kitchen corners are wasted space in many homes, even when the cabinets look “full.” Doors, frames, hinges, and blind zones leave you with items you cannot see, reach, or remember until you buy replacements. The right hardware, pull-outs, racks, and fillers can turn that space into storage you use every day.
Corner storage works best when you first map what you keep there, then match each category to a clear access path. A lazy Susan, blind corner pull-out, or carousel can expose the cabinet interior. Baskets, dividers, vertical racks, and filler panels keep that space organized once you can reach it.
Key Takeaways
- Map your corner contents. List what you store and how often you use it before buying hardware.
- Choose access hardware first. Lazy Susans, blind corner pull-outs, and carousels solve different visibility and reach problems.
- Use vertical height. Corner racks and stacked organizers turn unused upper space into storage.
- Control small items. Baskets and dividers keep gadgets and containers from sliding into unreachable gaps.
- Close dead space. Custom filler panels prevent items from dropping behind the cabinet frame.
- Check door clearance. Test the door swing, shelf depth, and nearby handles before ordering hardware.
How To Maximize Kitchen Corner Storage
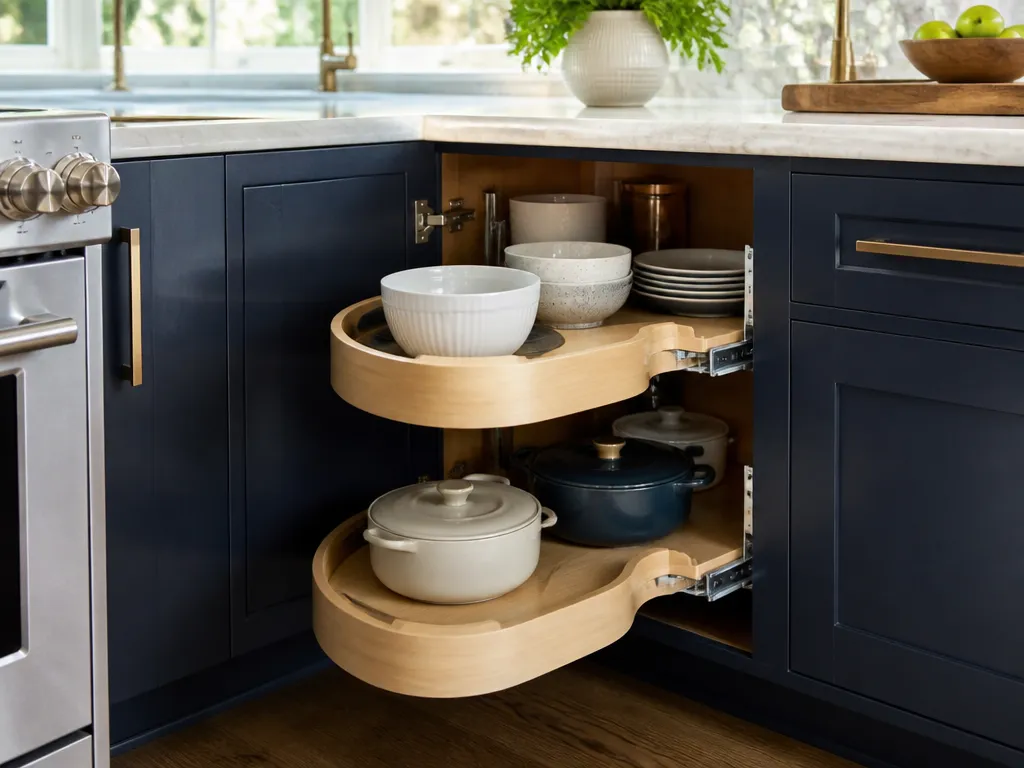
Make every item in the corner visible, reachable, and easy to put away without digging behind containers. That usually takes two changes: make the cabinet interior accessible with hardware or pull-outs, then control the space with baskets, racks, dividers, and fillers.
Gather a tape measure, notepad or phone, flashlight, drill, and screwdriver. You may also need a level for alignment. If the hardware requires precise mounting or the cabinet has a complicated face frame, plan to hire a cabinet installer. In a tight kitchen, check the door swing and nearby cabinet clearance before ordering anything.
Start by emptying the corner and writing down its contents. Group items by use, such as pots, baking supplies, spices, small appliances, or cleaning backups. Items used more than once a week deserve the easiest access. Reserve deeper or higher storage for backups and seasonal equipment.
What Makes Corner Storage Hard To Use?
Corner cabinets are difficult because their geometry creates space behind a side panel or face frame that you cannot see from the doorway. A shelf may look deep on paper, but doors, hinges, and hardware reduce the usable area.
Retrieval creates a second problem. When pots, baking sheets, or bulk items sit in a blind corner, you have to move everything in front of them to reach the back. Storage becomes a chore, so the space turns into a clutter trap.
Watch for these failure points:
- The door hits the contents. Thick containers or tall items collide with the door or cabinet frame.
- Small items disappear. Gadgets, seasoning packets, and measuring cups slide between baskets or into gaps.
- Shelves are fixed. Fixed shelves waste vertical space and make it difficult to reorganize around your routine.
- The hardware binds. A poorly aligned rail or an oversized organizer can scrape the cabinet or adjacent trim.
- Heavy items overload the shelf. Cookware can sag lightweight shelves and make slides difficult to open.
Choose Between a Lazy Susan, Blind Corner Pull-Out, and Carousel
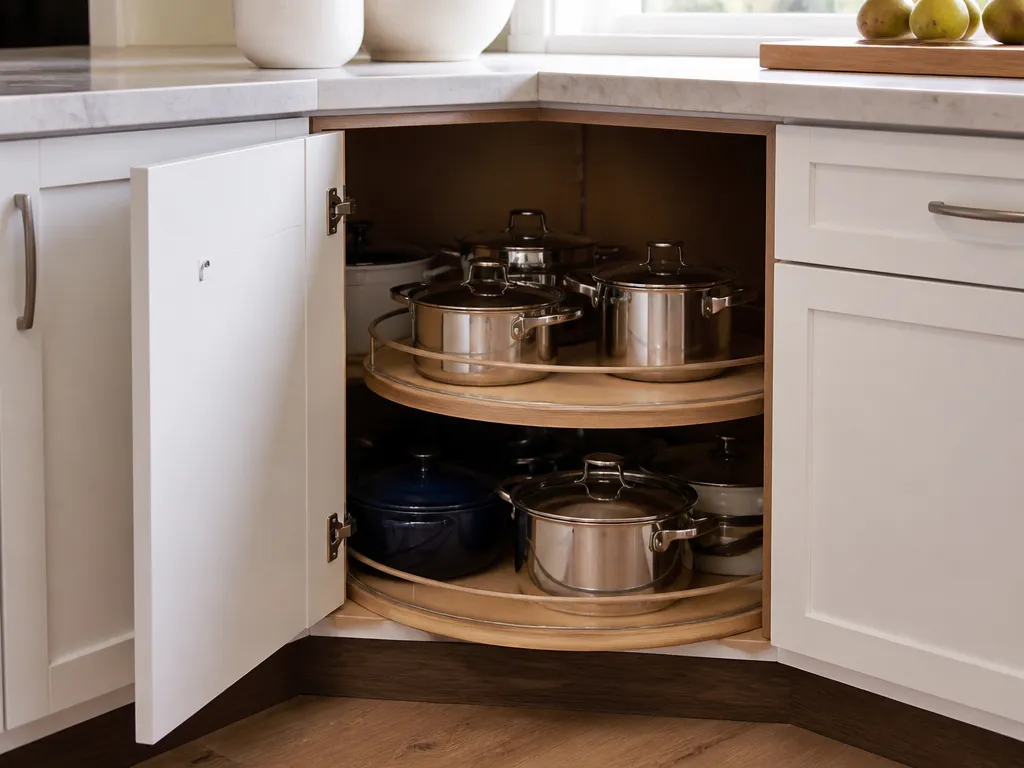
Each system solves a different access problem. Choose based on cabinet geometry and how you retrieve items, not appearance alone. Daily-use items need visibility and direct access. Bulky, infrequently used items can tolerate deeper storage.
| Option | Best Corner Type | Key Spec/Behavior | Best For |
|---|---|---|---|
| Lazy Susan (rotating) | Many corner bases with enough clear floor space | One or more rotating trays that bring items toward the door | Spices, oils, everyday small containers |
| Blind Corner pull-out (often “blind corner” systems) | Cabinets where the back is blocked by the frame | Pull-outs swing out and expose interior sections | Pots, baking sheets, items you grab fast |
| Carousel | Corner cabinets designed for circular platform rotation | A rotating platform, sometimes with multiple tiers | Tall items like pitchers, platters, or small appliances |
A true blind corner usually needs a blind corner pull-out system rather than a simple rotating tray. The frame blocks access, so rotation alone may still leave items trapped behind it. If you can already see most of the interior from the doorway, a lazy Susan can improve visibility without requiring a major retrofit.
A carousel suits a cabinet built for circular platform rotation. It works well for pitchers, platters, or small appliances, especially when multiple tiers let you use the cabinet height. Check how far the platform must rotate and whether the open door provides enough clearance.
Install Pull-Out Shelves For Immediate Access
Pull-out shelves eliminate the need to reach and guess. You can bring the contents forward, see what you have, and return items without moving an entire stack.
Confirm these measurements before installation:
- Clear opening depth with the door fully open.
- Available interior height after accounting for the face frame and existing hardware.
- Obstruction points such as plumbing under the sink, center braces, hinges, or shelf pins.
Match the shelf to the contents. A pull-out works well for baking sheets, small appliances, pantry-style containers, and cookware. Heavy items need slides and shelves rated for the load, with rails that remain stable when fully extended.
Follow this installation sequence:
- Remove the existing shelves and hardware so you can measure the bare cabinet interior.
- Mark the mounting points with the manufacturer’s template or the existing rail locations.
- Dry-fit the slide rails and confirm level, depth, and door clearance before tightening screws.
- Install the shelves or baskets on the slides.
- Test the travel slowly from closed to fully extended.
- Load it lightly with a few representative items and check for rubbing, sagging, or binding.
When Pull-Outs Don’t Slide Smoothly
Grinding, binding, or shelves that creep forward usually point to a mounting or loading problem.
- Uneven mounting: One rail slightly higher than the other can make the shelf rack under load.
- Tight door clearance: The door, handle, or adjacent cabinet trim may interfere at full extension.
- Excess weight: Heavy cookware can sag a lightly supported shelf or overload the slides.
- Incorrect clearance: A system installed too close to the cabinet wall may never travel smoothly.
Recheck the level, loosen and re-square the rails, and reduce the load while testing. If the slide design requires a specific clearance and the cabinet is too narrow, repositioning may help. Otherwise, choose a narrower system rather than forcing the hardware to fit.
Use Vertical Space With Corner Rack Systems
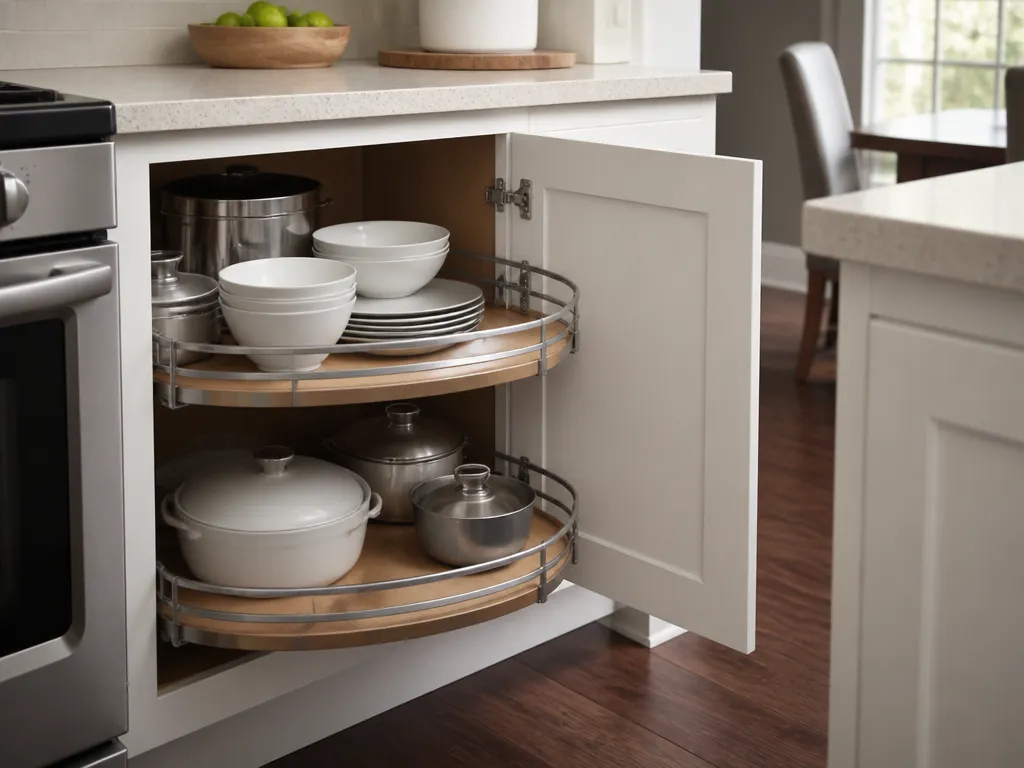
Corner storage rarely needs only another shelf. It needs better use of the vertical surfaces already inside the cabinet. Corner racks, wire organizers, and stackable holders let you store items upright instead of burying them in a horizontal pile.
Measure these areas before choosing an organizer:
- Shelf-to-ceiling height or the distance to the top panel.
- Rack mounting points and whether installation requires screw holes.
- Basket width and depth so containers do not wedge against the door.
- Clearance above and beside the rack when the door opens.
In cookware corners, a vertical rack can hold lid organizers, sheet pan separators, or frequently used tools such as spatulas and whisks. In pantry-style corners, upright storage suits bottles and containers because it reduces the tendency for items to fall forward.
Keep lightweight items up high and heavier items down low. Store cast-iron-type cookware on the most stable pull-out shelves. Use higher shelves for lighter goods that will not crush easily.
Matching organizers usually hold their shape better than a collection of mismatched bins. When containers do not share compatible dimensions, items shift into gaps and the system gradually loses order.
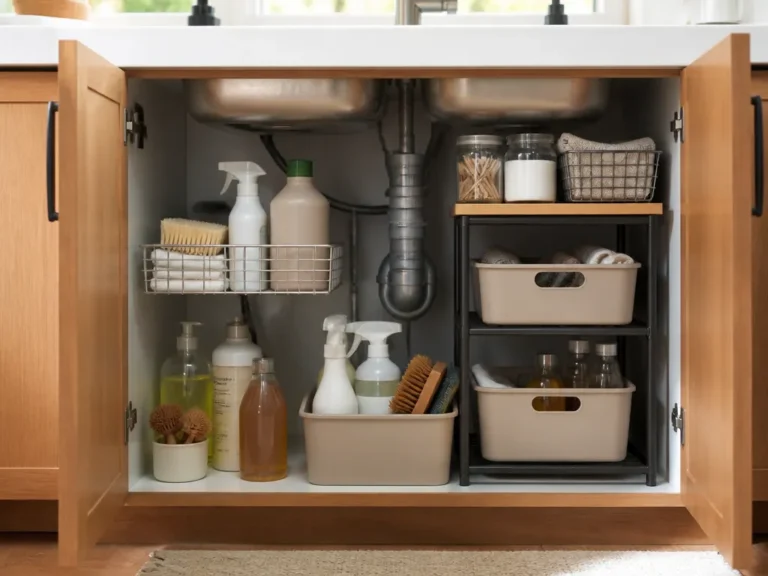
Add Baskets And Dividers For Smaller Items
Better access exposes the next problem: small items still need boundaries. Baskets and dividers keep gadgets, packets, and measuring tools from spreading across the cabinet or sliding behind larger containers.
Create small zones instead of one large pile:
- Cooking tools: spatulas, tongs, and utensils in one basket.
- Baking items: measuring cups and small scoops together.
- Condiment backups: seasoning jars, packets, and other extras in one area.
Choose basket depth based on retrieval. A deep basket works for items you lift out as a group. A shallow bin is better for frequently used small items because you can scan the contents without digging.
A simple arrangement is:
- Put a shallow basket near the door for items you grab immediately.
- Put a deeper basket farther inside for backups and rarely used tools.
- Add dividers to separate similar items within one basket.
On a rotating tray or carousel, dividers also stop containers from bumping and shifting as the platform turns. If the cabinet works only when every item is perfectly arranged, it will eventually become frustrating. Give each category a defined home instead.
Seal Dead Space With Custom Filler Panels
Gaps between cabinets, behind the face frame, or beside the adjacent run become places where items fall and block access. Filler panels close those openings and give pull-outs and racks a consistent surface to mount against.
The most common gaps are:
- Side gaps where the corner cabinet does not meet the adjacent cabinet run.
- Back or under-frame zones that cannot be reached and collect dropped items.
- Mounting gaps that leave organizers misaligned with the cabinet opening.
A custom filler panel is especially useful with pull-outs or vertical rack systems. It keeps the organizer aligned and prevents storage from drifting into the gap over time.
Measure carefully and dry-fit the filler before securing it. Even a small change in spacing can affect door alignment, handle clearance, and slide travel. Open the corner door, extend the shelves fully, and watch for contact with adjacent cabinet trim. If anything scrapes, adjust the organizer position or refine the filler before loading the cabinet.
FAQ
What’s the cheapest way to maximize kitchen corner storage?
Start with reorganization, simple dividers, and baskets. Then add one access upgrade, such as a pull-out shelf, if the cabinet supports it. Measure the clear opening before buying anything so you do not spend money on hardware that cannot mount correctly.
How do I maximize kitchen corner storage with a tight budget?
Use dividers and baskets first, then choose the single hardware change that removes the biggest obstacle. A pull-out shelf often offers better access than several small organizers, but only if the cabinet has enough depth and clearance for the slides.
What tools do I need to install pull-out shelves?
At minimum, you need a tape measure, drill or driver, screw bits, and a screwdriver for adjustments. A flashlight helps you find obstructions, and a level keeps the slide rails aligned so they do not bind under load.
How long does it take to install corner storage hardware?
Light reorganization can take a couple of hours. Hardware installation takes longer when you are adding slide rails or doing a deeper retrofit. Plan a full afternoon for measuring and dry-fitting, then a second block for mounting, testing, and loading.
Will a lazy Susan work in a blind corner cabinet?
A lazy Susan helps when the interior is visible from the doorway, but a blind corner can still trap items behind the frame. If the cabinet feels blocked from the start, a blind corner pull-out is usually the better solution for direct access.
How do I prevent small items from falling behind baskets?
Use fitted baskets whose sides align with the cabinet walls, then add dividers to keep contents from shifting. If items can still slip into a side or back gap, install a filler panel to close the dead space.
Is it worth replacing an existing corner cabinet?
Usually, you can keep the cabinet and improve its function with the right hardware and organizers. Replacement makes more sense if the cabinet is damaged, mis-sized for modern hardware, or too weak for safe mounting.
How do I organize corner storage so I don’t re-clutter it?
Give each category one home and use dividers inside baskets. Keep anything used weekly on a pull-out or front-access surface. Store backups deeper or higher so they do not crowd the items you reach for most.
What should I store in the corner to make it actually useful?
Store items you use often or regularly replace, such as baking tools, spices, or backup dish soap, on accessible shelves or pull-outs. Keep heavy cookware on stable shelves and reserve deep, less accessible areas for bulky items you use less often.
What’s the most common mistake with corner storage upgrades?
Buying a rotating system without checking door swing clearance and usable interior depth. If the hardware binds at full extension or the door hits containers, you will stop using it and the corner will become a clutter trap again.
Make Your Corner Cabinet Work As a System
A useful corner combines three things: hardware that matches the cabinet geometry, storage that uses vertical space, and organizers that keep categories contained. Choose a lazy Susan, blind corner pull-out, carousel, or pull-out shelf based on the path from the door to the items inside. Then add racks, baskets, and dividers so the space stays orderly under daily use.
Close gaps with custom filler panels before loading the cabinet. Finally, measure the interior opening, list the categories you want to store, and identify the item that currently requires the most digging. Choose the upgrade that gives that item the most direct path to your hand.