How To Organize Kitchen For Multiple Cooks
Cooking with two or more people becomes easier when the layout gives everyone a clear lane. Organize the kitchen around work zones and open traffic paths so cooks can prep, cook, and clean without reaching across one another or stopping to let someone pass. Give each cook at least 36 inches of dedicated counter space for prep, keep kitchen aisles around 48 inches of clearance, and separate major appliances from the main walking routes.
Multi-cook kitchens need clear zones and dedicated landing spots. Shared items should have fixed homes, and each cook should be able to reach the tools for their task without entering someone else’s workspace.
- Flow beats style. Prioritize circulation paths so cooks do not cross through one another’s work.
- Separate zones reduce delays. Give prep, cooking, and cleanup distinct areas.
- Appliance placement controls bottlenecks. Keep cooking and cleanup tools close to their working zones.
- Storage prevents reach conflicts. Assign pull-out cabinets, drawers, and pantry sections to specific tasks or cooks.
Organize the Kitchen Around Two- or Three-Cook Workstations
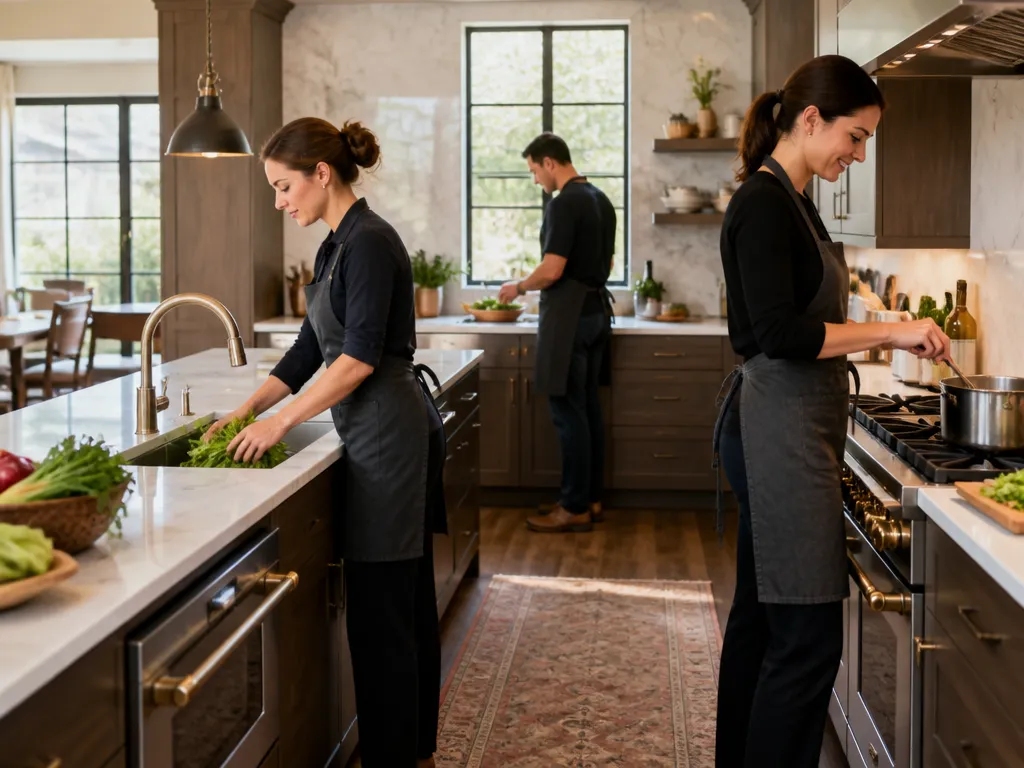
Set up the kitchen as two or more small workstations rather than one shared desk. When cooks use the same reach zone for cutting, seasoning, and cleaning, they bump into one another, pause to ask for space, and move tools out of the way. A good layout lets each person continue working while another walks past.
Separate the busiest jobs into three repeatable zones: prep, cooking, and cleanup. Keep ingredients and tools for prep near the prep counter. Store pans, spatulas, oils, and seasonings near the stove. Keep soap, towels, trash, and the drainer near the sink. Moving frequently used items into the zone where they belong eliminates much of the searching that slows down shared cooking.
Reduce crossings wherever possible. Parallel workflows work well because each cook follows a predictable path instead of circling the same island or counter. In a cramped kitchen, you can still improve movement by dividing the counter into separate stations and keeping the walkway free of appliances, bags, and dirty dishes.
Divide the Kitchen Into Prep, Cooking, and Cleanup Zones
Work zones keep several people from reaching for the same tools at the same time. If one cook is chopping while another assembles a dish, the chopping station needs its own cutting board area, knives, spices, and trash access. The assembly station needs bowls, sauces, utensils, and a clear route to the stove or oven.
Place prep where it has enough room for a cooktop-adjacent handoff. Keep cleaning tools near the sink so dirty boards, bowls, and produce can go straight there. If you have an island, use it as a middle exchange point where one cook can prep while another cooks and a third handles cleanup.
With less room, one person will regularly move the other’s bowls, boards, or ingredients just to create working space.
Connect the zones without sending people through the middle of active prep. A cook should be able to move from the refrigerator to the prep counter, stove, oven, sink, or trash without crossing another cook’s hands or work surface. That is the difference between cooking together and taking turns in the same cramped spot.
Place Appliances and Tools Where They Get Used
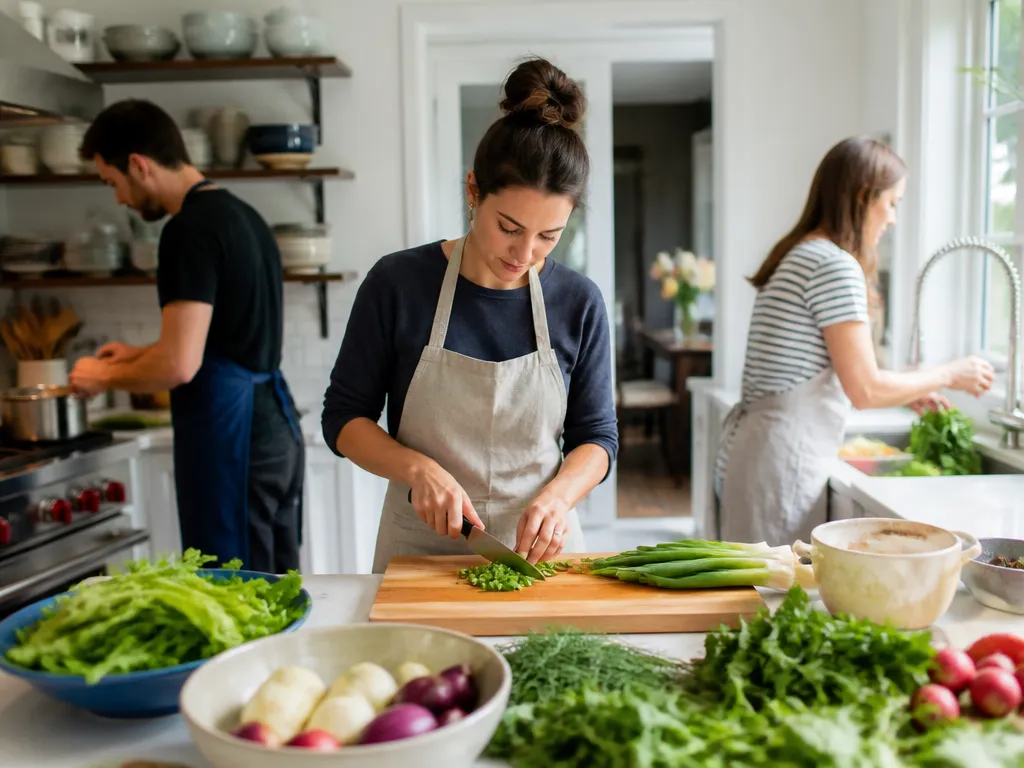
Appliances create conflict because they are fixed, heavy, and often needed at the same time. If both cooks need the oven, stand mixer, or sink, the layout must provide separate access or accept delays. Give each zone its key tools, especially around the sink and cooking surfaces.
Use one primary sink setup per zone when possible. A sink at each prep station is ideal, but separating prep and cleaning functions also helps. One person can rinse produce or clear a cutting board without blocking another person who is washing dishes.
Place major appliances along perimeter walls when possible. An oven door, refrigerator door, or open dishwasher should not cut across the main walking route. Cooks should be able to move between stations without stepping into someone else’s active cooking area.
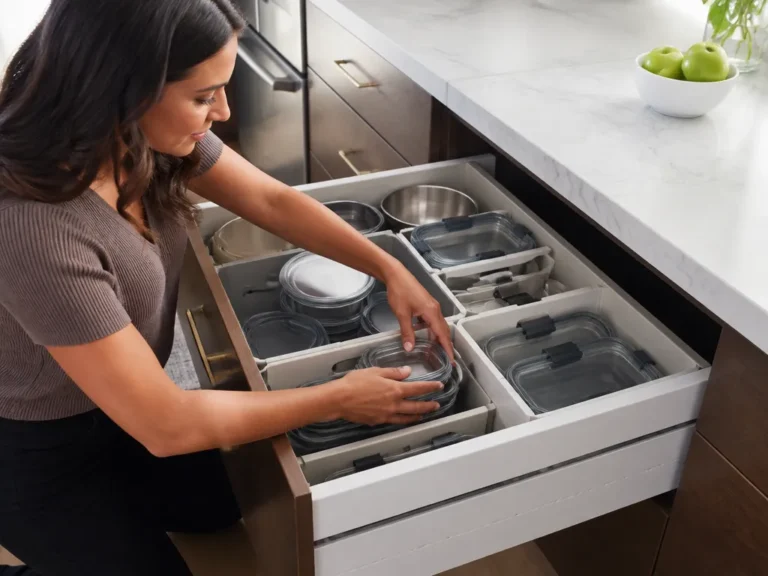
Treat tool storage like ingredient storage. Put frequently used tools in the zone where they are used, and give shared tools one easy-to-find home. Pull-out storage helps because a cook can open a drawer fully, retrieve an item, and close it without leaving equipment on the counter or blocking someone behind them.
A practical setup for family meals looks like this:
- Stove zone: Oils, salt, spatulas, pans, and a small “hot” landing space.
- Prep zone: Cutting boards, knives, mixing bowls, colanders, and basic spices.
- Cleaning zone: Sink access, hand soap, dish towels, trash, and a drainer that stays loaded.
Keep Kitchen Traffic Moving
Traffic patterns determine whether two cooks can work at the same time or only one after another. When everyone must walk through the same narrow strip, someone will stop chopping, sautéing, or assembling to let the other person pass. Repeated interruptions turn multitasking into waiting.
That spacing allows pass-by traffic without forcing people to turn sideways, back up, or step into another person’s station.
Track the routes cooks use most often. During meal preparation, people move between the refrigerator, prep counter, stove or oven, sink, and trash. If one of those trips crosses another cook’s route, that intersection becomes a repeated slowdown.
Test the layout by standing where each cook will work and pretending to carry a bowl, pan, or bag of trash. If you have to squeeze, twist, or step into another station, the traffic pattern needs work. Widen the clearance where possible, move storage out of the aisle, or create clearer station boundaries with counters and cabinets.
Choose a Layout With Separate Work Edges
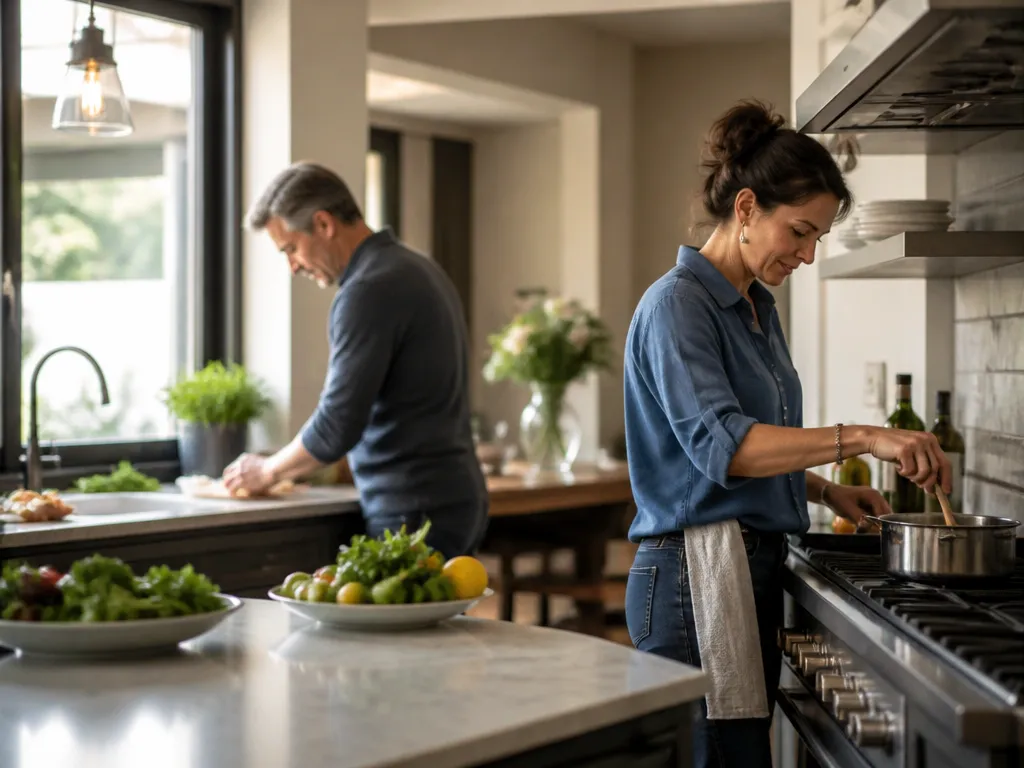
U-shaped and L-shaped kitchens often work well for multiple cooks because they provide several counter edges and keep walking paths from running through the middle of prep. Cooking can occupy one side while prep happens along another, giving each person a defined area.
Treat an island as a working station rather than an extra surface for random storage. Keep enough wall counter available for prep, then use the island for chopping, assembly, ingredient staging, or handoffs. Bowls and trays can wait there without crowding the cooktop.
In a narrow apartment kitchen, strict organization matters more than layout style. A galley kitchen leaves less room to separate lanes, so keep the counters clear, limit appliances on the work surfaces, and store shared items where they will not spread into the aisle.
Plan for the moment when two tasks overlap. One person may be chopping while another reaches into the oven or pulls a pan from a cookware stack. Put the oven, cookware, and landing surfaces where that overlap stays safe and brief. If you cannot change the layout, dedicate counter sections and assign permanent homes to the tools each cook uses.
Avoid cross-body reaches. If the person at the stove has to reach across the prep cook for a spoon, the tool is in the wrong place. Move it closer to the cooking zone, or store shared items in a pull-out cabinet that can be reached without entering another person’s workspace.
Store Shared Tools Without Losing Counter Space
Counters become temporary storage quickly in a multi-cook kitchen. Prevent that buildup by giving every shared item a fixed home. A tool that has no assigned location will end up wherever someone last found an open patch of counter.
Create dedicated storage for each cook’s equipment and ingredients. Separate bins, shelves, or pantry sections help people find what they need without searching the entire kitchen. This matters most during fast steps such as seasoning, plating, and transferring trays.
Use the pantry to keep small appliances and less frequently used utensils off the counter. Organize it so the door can open without blocking the aisle, and group items by task instead of placing them wherever space remains.
Pull-out cabinets and drawers make shared storage easier to use. They provide quick access without forcing a cook to step into the walkway, and they encourage everyone to return tools to the same place. The goal is “open and grab,” not “open and improvise.”
A storage plan that works in daily cooking includes:
- A pull-out drawer for shared tools such as spoons, tongs, and timers.
- A spice and oil landing spot inside the prep zone.
- Separate shelves or bins for each cook’s baking or specialty ingredients.
For example, keep savory stovetop ingredients in one pantry section while another cook’s topping ingredients occupy a separate bin. Store olive oil, salt, and common utensils in one shared station that both cooks can reach without crowding. The counters stay clearer, and fewer conversations are needed to locate basic supplies.
Use an Island or Peninsula as a Dedicated Prep Station
An island or peninsula can add prep surface without expanding the room, but only if it supports movement. Assign it a clear purpose instead of allowing it to become a dumping ground for mail, appliances, and finished dishes.
With a central island, keep enough wall counter available for prep and use the island as a separate work zone. One cook can chop at the island while another works along the perimeter. The island can also serve as an exchange point for bowls, trays, and ingredients, leaving the cooktop clear.
A peninsula can provide the same separation in a smaller home. Because it attaches to a wall, it often gives you more control over the aisle and makes walking routes easier to predict.
Use the island for handoff tasks as well as chopping. If the layout allows, a sink on the island can reduce delays by giving the prep cook direct access to water. Without a sink, assign a fixed space for trash, a drainer, and frequently used prep tools.
Give each side of the island a role. One side can handle ingredient staging while the other handles assembly. Keep shared tools in drawers instead of on top of the island. Clear roles and fixed storage reduce bumping because everyone knows which surfaces are active and which items should stay put.
FAQ
How much counter space do multiple cooks really need?
Give each cook a defined prep area. Sharing one small counter forces cooks to move bowls, boards, and ingredients every few minutes, which interrupts both people.
What clearance should I aim for so we do not get stuck in the kitchen?
Leave enough room for people to pass active work zones without twisting sideways, backing up, or stepping into someone else’s station.
Where should I put the sink when more than one person cooks?
Place the sink near the station that produces the most dirty prep. A sink at each prep station works best when possible. Otherwise, separate prep and cleaning areas so one cook can rinse produce or clear boards without blocking another person.
How do I organize shared tools like spices, ladles, and baking tools?
Give shared tools one fixed home in the zone where they are used. Store them in pull-out cabinets or drawers so cooks can retrieve them without entering another person’s workspace. Keep each cook’s specialty ingredients in separate bins or pantry sections.
What is the most common mistake people make with multi-cook kitchen layouts?
The most common mistake is letting counters become storage islands. When tools and ingredients have no consistent home, they spread across the work surfaces and aisles. Zones, pull-outs, and organized pantry sections keep the kitchen usable while someone is chopping, cooking, or plating.
Measure your kitchen aisles first. Then map two cook stations on paper. Once the lanes are clear, move tools and appliances into the zones where they are used.