How To Reface Kitchen Cabinet Doors In 6 Easy Steps
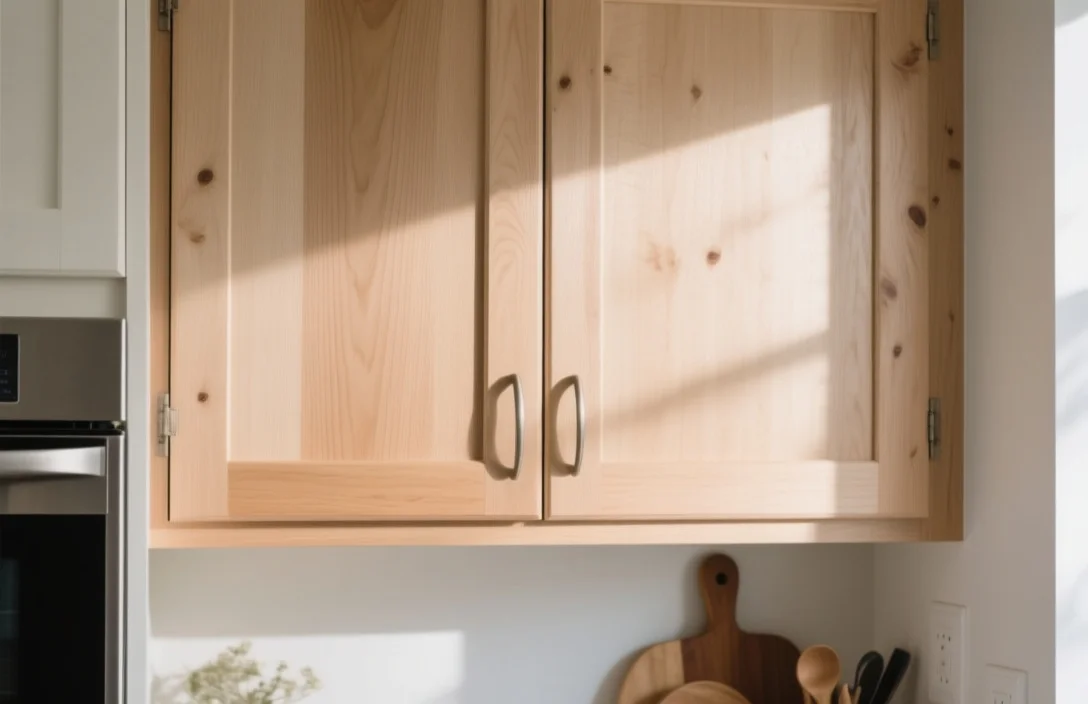
Updating your kitchen aesthetics without the cost of a full remodel starts with cabinet refacing. This process involves keeping your existing cabinet boxes while replacing the doors, drawer fronts, and applying new veneer to the visible frame edges. If your current cabinet boxes are structurally sound and the layout works for your lifestyle, refacing provides a dramatic visual transformation in just a few days of focused weekend work.
Refacing kitchen cabinet doors effectively requires replacing the old door panels and drawer fronts while applying a matching veneer to the face frames. Most homeowners can complete this project by investing in high-quality replacement doors and spending roughly 15 to 25 hours on preparation, installation, and fine-tuning the hardware for a professional, factory-finished appearance.
Key Takeaways
- Structural integrity check. Only consider refacing if your existing cabinet boxes are made of solid plywood or sturdy particleboard without water damage.
- Measure twice. Accuracy in measuring door overlay and hinge boring positions prevents costly errors when ordering custom-sized replacement fronts.
- Surface preparation. Clean all frames with a degreaser and sand surfaces lightly to ensure the new adhesive veneer bonds securely.
- Veneer application. Use a J-roller to apply pressure to self-adhesive veneers for a bubble-free finish that matches your new doors.
- Hardware upgrades. Replace old, worn hinges with modern soft-close mechanisms to improve cabinet functionality alongside the new aesthetic.
- Budget efficiency. Expect to spend 30 to 50 percent less on refacing compared to the total cost of a full kitchen cabinet replacement.
How to Reface Kitchen Cabinet Doors for a Fresh Look
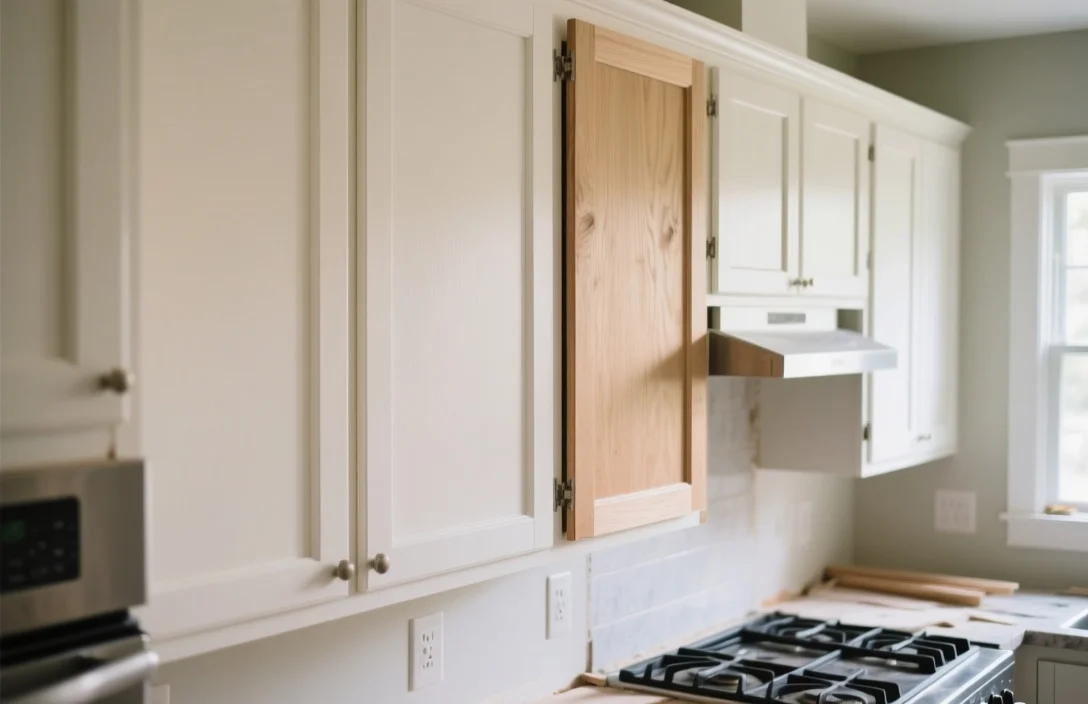
Refacing is the most efficient way to modernize a kitchen when the current layout is functional but the style feels dated. You keep the heavy lifting of the cabinetry in place and focus entirely on the visible surfaces that define your kitchen’s personality. This approach saves you from the massive demolition and plumbing rerouting associated with a full renovation.
Before you commit to this project, inspect your cabinet boxes for signs of rot, sagging, or deep scratches. Refacing cannot hide underlying structural failure, so if your boxes are crumbling or warped, replacement is the only viable path. If the boxes are solid, you are a perfect candidate for a reface.
Necessary Tools and Supplies for Cabinet Refacing
Gathering the right tools before you begin ensures you do not stall mid-project when you encounter a tricky corner or a stubborn hinge. You need a mix of standard hand tools and specialized equipment designed for precision finish work.
- Power drill and driver with a set of bits for mounting hardware.
- Orbital sander with 120-grit and 220-grit sandpaper for surface prep.
- J-roller to press adhesive veneers firmly against the wood frames.
- Utility knife with fresh blades for trimming excess veneer.
- Degreaser to remove years of kitchen oils before applying any new finish.
- Clamps to hold veneer pieces in place during the bonding process.
- Measuring tape and a framing square for verifying door alignment.
Removing Old Doors and Cleaning Cabinet Frames
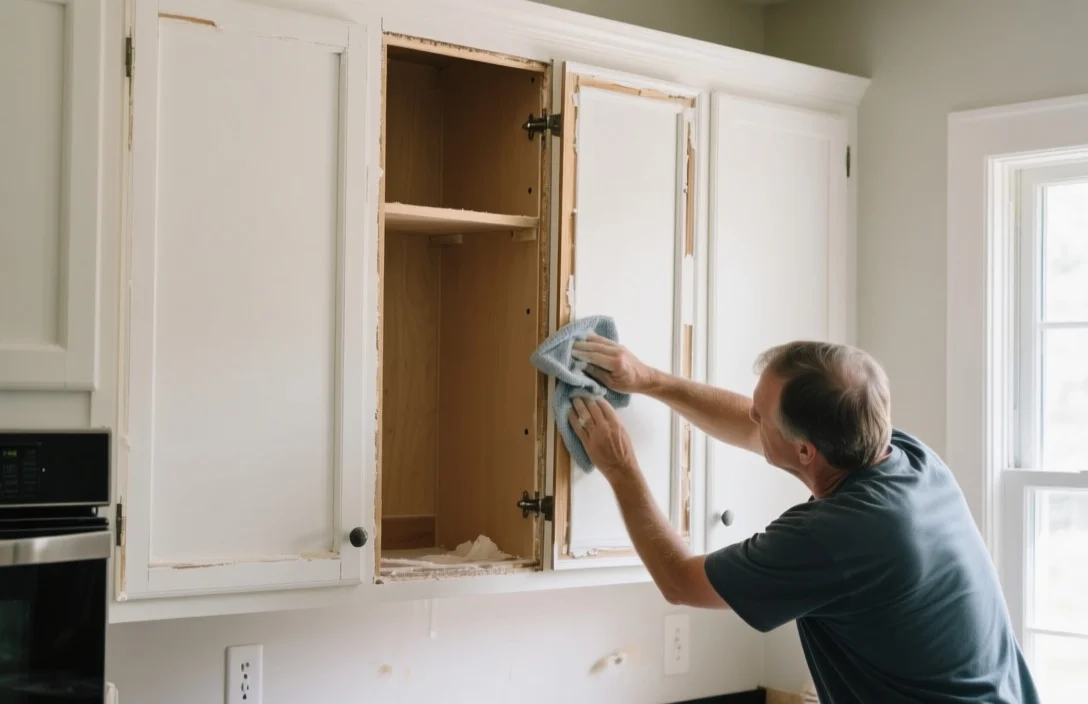
Start by labeling every door and drawer front with a piece of painter’s tape that corresponds to its original position. This makes the final reassembly much simpler and prevents confusion if you have slight variations in cabinet sizes. Unscrew the hinges from the cabinet frame and set the hardware aside, then remove the doors from the hinges.
Once the doors are off, clean the entire surface of the cabinet face frames with a high-strength degreaser. Kitchen cabinets accumulate a thin layer of grease over time, and even the best adhesive veneer will fail if it touches a greasy surface. After cleaning, lightly sand the frames with 120-grit paper to create a “tooth” for the new material to grip.
Applying Wood Veneers or Thermofoil Skins
Applying veneer is the most delicate part of the process because it defines the finished look of your frames. Start with the vertical face frames, cutting your veneer strips about half an inch longer than the surface you are covering. Peel back the protective backing slowly, align the edge carefully, and press the veneer down as you move along the surface.
Use your J-roller to apply firm, even pressure across the entire strip to eliminate trapped air bubbles and ensure the adhesive activates correctly. After the veneer is applied, use a sharp utility knife to trim the excess material flush with the edges of the cabinet frame. If you are using contact cement instead of peel-and-stick veneer, apply a thin, even coat to both the wood and the back of the veneer, wait for it to become tacky, and press them together once.
Installing New Cabinet Hinges and Pulls
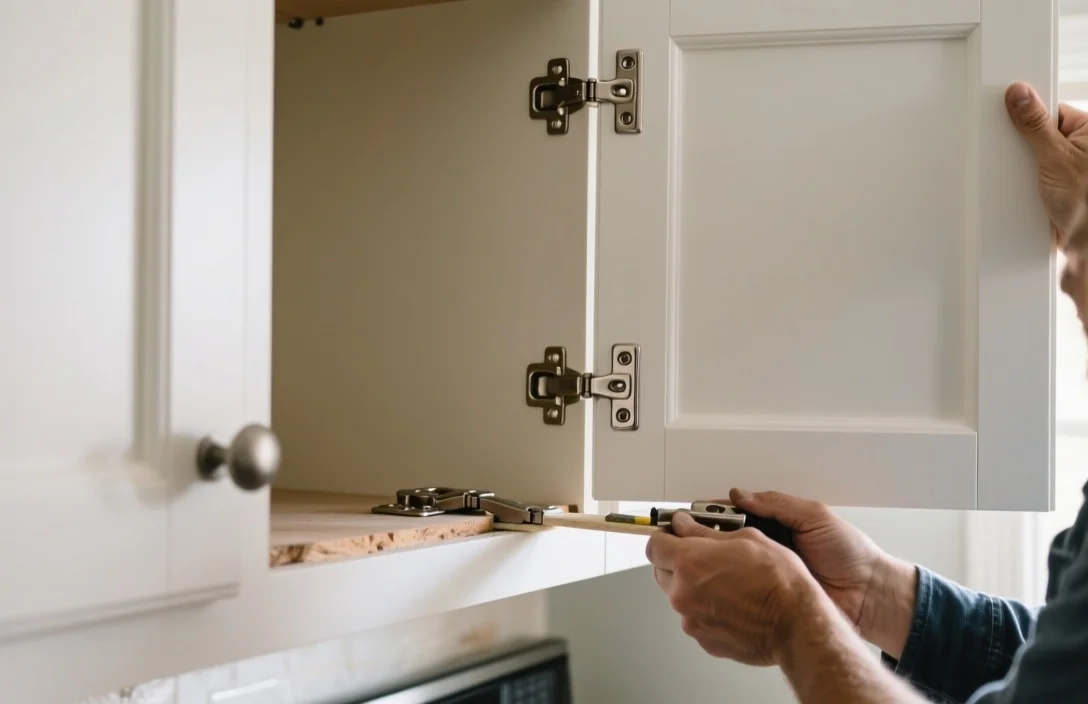
Modern soft-close hinges are the standard for any refacing project because they prevent slamming and provide a premium feel. Most replacement doors come pre-bored for these hinges, which makes installation straightforward. Attach the hinge plate to the interior of the cabinet box first, then snap the hinge arm into the plate to mount the door.
For drawer fronts, attach the handle hardware before securing the face to the drawer box to ensure you don’t accidentally drill into the wrong spot. Use a template if you are installing new pulls to maintain consistent spacing across all drawers and doors. A simple jig made from a scrap piece of wood ensures every hole is perfectly centered.
Verifying Door Alignment and Closing Gaps
Adjusting your hinges is the final step to ensuring your cabinets look like they were installed by a professional. Most modern hinges feature three-way adjustment screws that allow you to move the door up and down, left and right, and in and out. Start by adjusting the gap between doors so they sit parallel to one another.
If a door sits too low, use the vertical adjustment screw on the hinge plate to nudge it up. If the door hits the frame when closing, use the depth adjustment screw to pull the door slightly away from the cabinet box. Take your time with these adjustments, as even a sixteenth of an inch makes a visible difference in the final alignment.
Cabinet Refacing Versus Full Kitchen Replacement Costs
Refacing is a surgical intervention for your kitchen, while replacement is a complete demolition. Refacing targets only the doors, drawer fronts, and veneer, which significantly reduces material waste and labor hours. You avoid the cost of removing and disposing of heavy cabinet boxes, as well as the expense of installing new ones.
| Feature | Cabinet Refacing | Full Replacement |
|---|---|---|
| Average Cost | $4,000 – $9,000 | $15,000 – $30,000+ |
| Project Time | 3 to 5 days | 2 to 4 weeks |
| Demolition | Minimal | Significant |
| Best For | Solid, layout-perfect boxes | Changing layout or old boxes |
When you choose to reface, you are paying primarily for high-quality materials and your own labor. A full replacement involves professional demolition, disposal fees, and the cost of new cabinet structures, which often requires hiring contractors for installation. If your goal is a high-impact aesthetic change for a lower price point, refacing is the clear winner.
FAQ
Is it possible to reface cabinets that are made of particleboard?
Yes, you can reface particleboard cabinets as long as the material is still solid and free of moisture damage. If the particleboard is swelling or crumbling, the adhesive veneer will not stick properly, and the hinges will pull out of the material. Always verify the structural integrity of the boxes before ordering your new materials.
How long does a refaced cabinet finish typically last?
A properly executed reface with high-quality veneer and durable cabinet doors typically lasts 10 to 15 years. The lifespan depends heavily on how well you clean the surfaces and the quality of the adhesive used during installation. High-traffic kitchens benefit from using a durable topcoat or selecting pre-finished thermofoil doors that resist moisture and heat.
Can I change the color of my cabinets during a reface?
Absolutely, refacing is the ideal time to change your kitchen color palette. You can choose from a wide range of wood veneers that can be stained to match your preferred tone or opt for thermofoil or painted doors in solid colors. Ensure your veneer matches the new door material to create a cohesive, factory-finished look throughout the kitchen.
Do I need to remove the countertops to reface cabinets?
No, you do not need to remove your countertops to reface the cabinet doors. The refacing process focuses on the face frames and the doors themselves, which are fully accessible without disturbing the heavy stone or laminate counters. This is one of the primary reasons refacing is much faster and less expensive than a full kitchen remodel.
What is the biggest mistake people make when refacing?
The most common mistake is failing to properly clean and degrease the cabinet frames before applying the new veneer. If any residue remains, the adhesive will fail, causing the veneer to peel or bubble within a few months. Always use a dedicated degreaser and perform a light sanding to ensure a long-lasting bond.
Refacing your cabinets is a manageable project that yields high-end results when you take your time with measurements and surface preparation. Once you finish the installation and fine-tune your hinge alignment, you will have a kitchen that looks brand new without the massive price tag of a full remodel. Start by ordering a few sample doors to confirm your color choice, then begin your prep work with confidence.