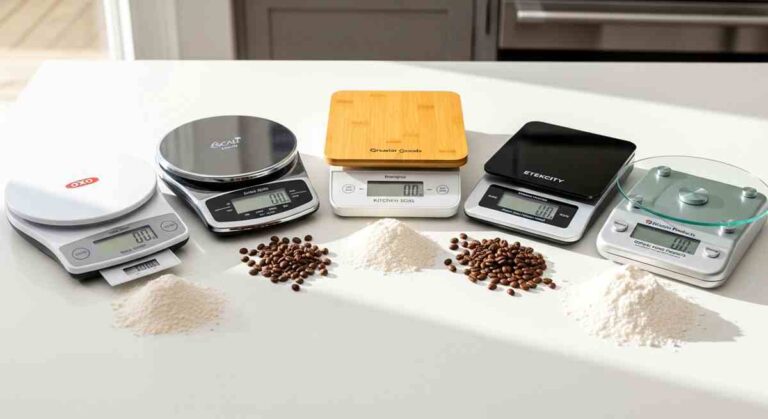
How To Calibrate A Kitchen Scale: 3 Essential Tips
Calibrating a kitchen scale stops “mystery grams” from throwing off your recipes. Even a small error can turn 100 g of flour into a noticeably different amount, especially in baking. The most reliable process uses the scale’s built-in calibration mode and known weights, followed by repeat tests to confirm that the readings hold steady.
Kitchen scale calibration matches the display to a known reference so the reading reflects the actual mass. Use calibration weights that match your scale’s units, usually grams. If the scale has been moved or stored in a different temperature, let it settle before calibrating, then check several weights rather than trusting a single reading.
Key Takeaways
- Calibrate for accuracy. A miscalibrated scale can shift baking ratios and affect texture and rise.
- Start with a stable setup. Use a level surface and let the scale warm up for 5-10 minutes.
- Use real calibration weights. A 100 g or 500 g weight is more reliable than an estimated household item.
- Zero before checking linearity. Set the empty platform to zero, then test more than one weight.
- Adjust only through the proper routine. If readings miss at multiple points, use the scale’s calibration mode.
- Verify with repeats. Weigh the same item 3-5 times to check consistency.
How To Calibrate a Kitchen Scale Before Use
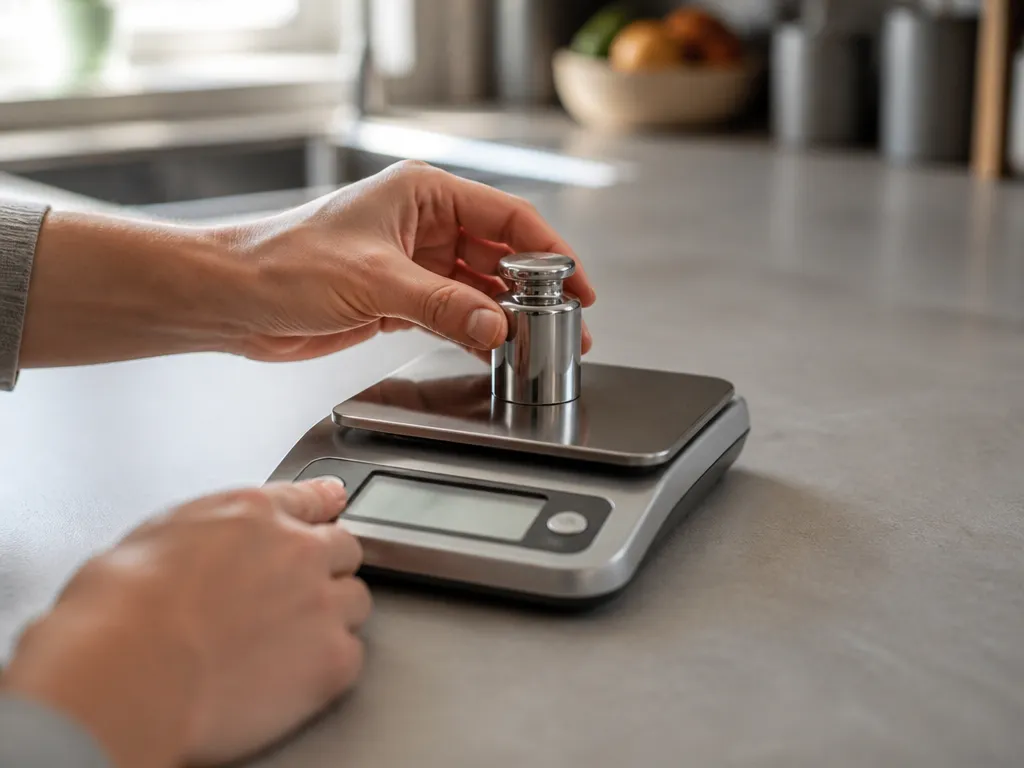
Calibration gives the scale a correct baseline; it does not permanently prevent future drift. Moving the scale, temperature changes, vibration, and residue on the platform can all affect readings.
Put the scale on a hard, level countertop. Remove any platform cover, if the model uses one, and let the scale sit for 5-10 minutes if it came from a cold room or has been near a warm oven. Wipe the weighing surface with a dry cloth so crumbs and oil do not create an offset.
With the platform empty, the display should read exactly zero or effectively zero. When you place a known weight on the platform, the scale should return that weight in the unit you use, such as grams or ounces.
Why Kitchen Scale Calibration Matters for Accuracy
Kitchen scales are usually adequate for general cooking, but baking exposes small errors. Bread hydration, cake-batter proportions, and cookie flour-to-fat ratios depend on measured mass rather than visual estimates.
Errors can compound across ingredients. If a flour measurement is consistently 5% off, the finished product may turn out dense, gummy, or unevenly risen. That can look like an ingredient problem when the actual cause is measurement drift.
Scales also change with their surroundings. Load cells and electronics respond to temperature, vibration, and the surface supporting the scale. A scale that read correctly last week may read differently after you move it, clean it, or use it in another room.
What You Need to Calibrate a Kitchen Scale
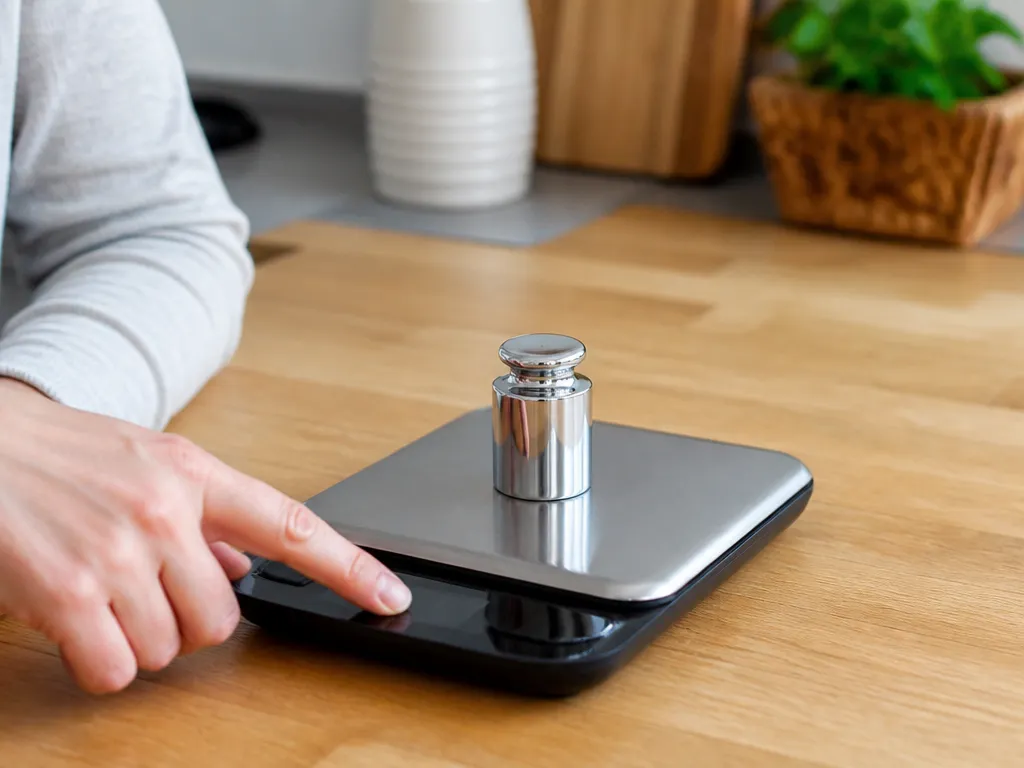
Reliable calibration requires the scale, a stable setup, and either known weights or a built-in calibration routine. If the scale calibrates through an app or menu, keep the instructions available because the required button sequence varies by model.
Gather:
- A kitchen scale with an adequate battery level if it is battery powered
- A level, hard surface such as a countertop
- Access to the scale’s calibration controls, whether through buttons, an app, or a menu
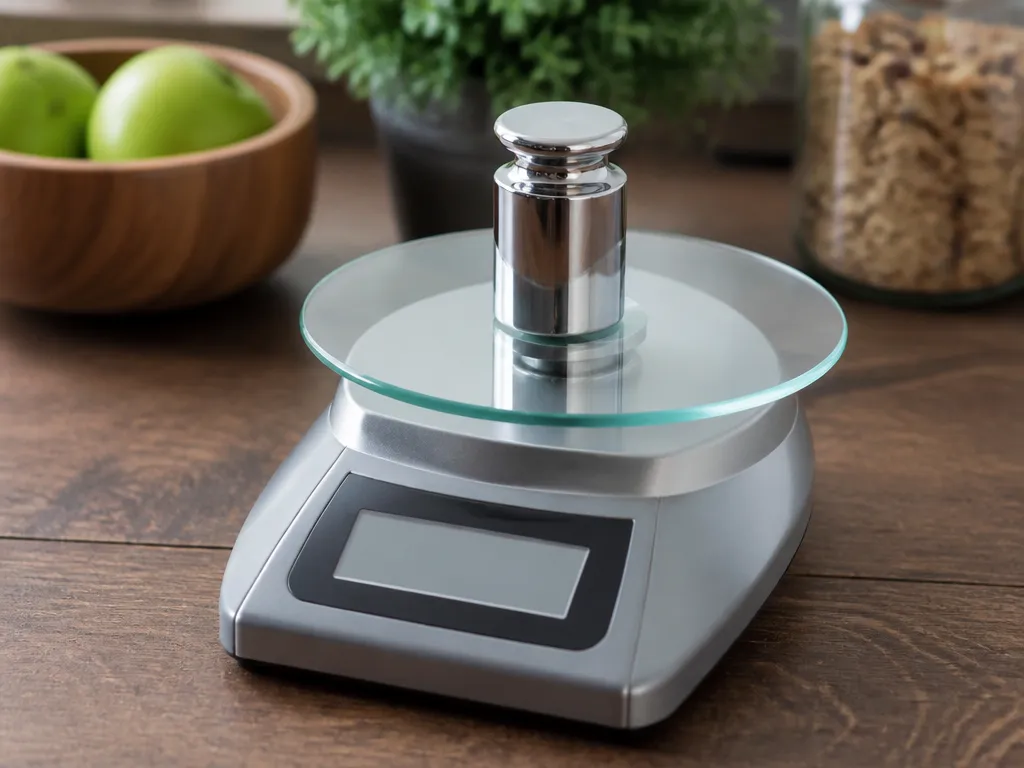
The most useful weights fall within the range your scale measures. Common choices include 100 g and 500 g, or a small set that covers the range you use most often.
Without calibration weights, you can use household items with a printed net weight or a verified set of coins. These are useful for a rough check, but they are less dependable than proper weights. For precision baking, calibration weights remove too much guesswork to ignore.
Step-by-Step Calibration With Calibration Weights
Known weights give you the cleanest comparison between the scale’s reading and the actual mass. If the scale has a dedicated calibration mode, place the weights on the platform only when the routine prompts you.
- Place the scale on a level surface. Use a hard, flat countertop away from drafts, vibration, and appliances that shake the surface.
- Let it warm up. Wait 5-10 minutes if the room is cool or the scale has recently been moved.
- Open calibration mode. Follow the button sequence in the manual or select the calibration option in the app, if available.
- Zero the platform. Remove everything from the platform and confirm the zero step when prompted.
- Add the first calibration weight. If the display requests 100 g, place that weight in the center and wait for the reading to settle.
- Confirm and test a second point. If the routine includes multiple points, use the next requested weight, such as 500 g, to check for non-linear error.
- Exit and recheck. Weigh the same calibration weight again. The display should return the expected mass.
| Calibration weight setup | What to test | Best for |
|---|---|---|
| 100 g only | One mid-range point | Very light recipes, coarse checking |
| 100 g + 500 g | Two points across typical use | Most home baking |
| 50 g + 100 g + 500 g | Small, mid, and high | Scales used for espresso or recipe tweaks |
If the scale requests a specific calibration weight and you have different weights, do not substitute one automatically. Use the exact value the scale expects or follow the calibration method supported by that model.
Adjusting Scale Settings for Zero and Linearity
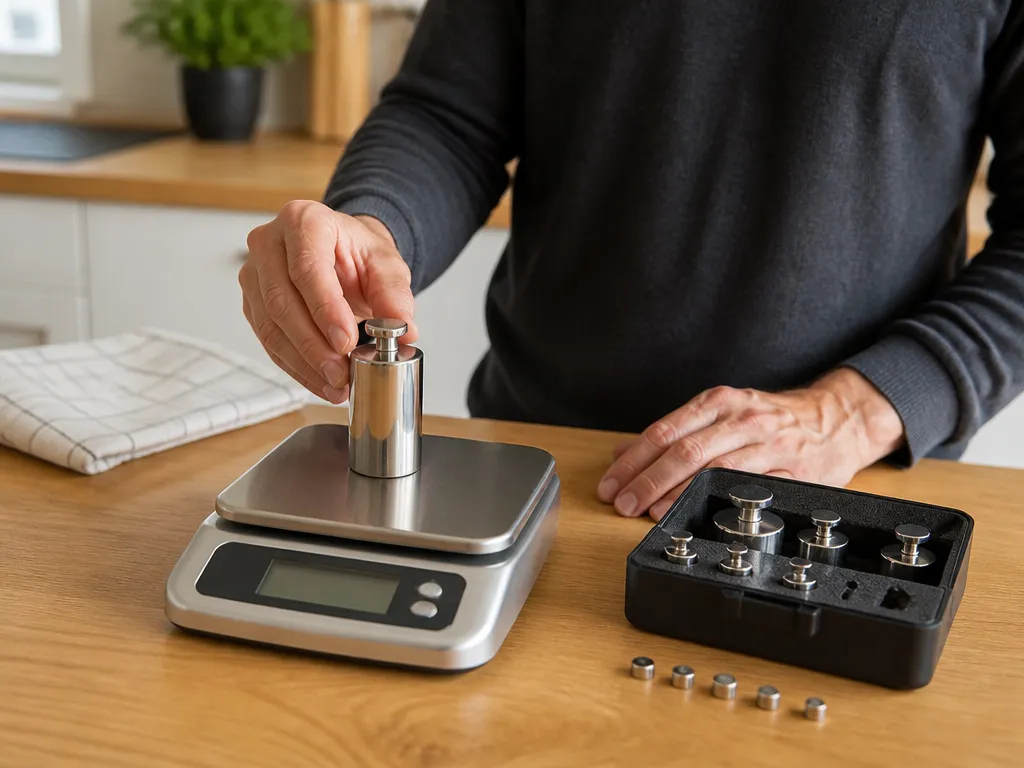
Zero calibration makes an empty platform read as empty. If the scale cannot reach zero, every later measurement may carry the same offset.
Turn on the scale, wait for it to stabilize, and leave the platform empty. If it shows a value such as 0.2 g or -0.3 g, press the tare or zero button and confirm that the display returns to zero.
Linearity calibration checks whether the scale stays accurate across more than one weight range. Use the higher calibration point when the model offers multi-point calibration. A scale may look accurate with small weights but drift as the load increases, so a single 100 g test is not enough if your recipes often weigh 300-800 g total.
Treat calibration and unit selection as separate settings. Confusing the two can make correct readings appear wrong.
Calibrate Using Household Items When Weights Fail
Household items can provide a rough check, but they are not a substitute for certified calibration weights. Their printed mass may allow you to identify a large error, but it may not be precise enough to calibrate the scale accurately.
Use an item with a clearly printed net weight, such as a sealed package marked “NET WT 1 lb 8 oz.” Place it on the scale, record the reading, and compare it with the label. If the difference stays consistent, you have identified a possible offset. Check a second item before drawing a conclusion. If one item matches and another does not, the problem may involve more than a simple offset.
A practical household-item check works like this:
- Choose an item with a printed net weight. A sealed package is preferable to an opened one.
- Weigh it on the scale. Record the displayed value without touching the platform or counter.
- Compare the expected and displayed masses. Look for a consistent difference rather than one isolated result.
- Validate with a second item. Matching results provide more confidence; conflicting results call for proper calibration weights.
Printed labels can fall within legal tolerances, and products can lose mass over time. Dry goods may lose moisture, and liquids may settle. Use several items and look for consistency rather than treating one label as perfect truth.
If you cannot verify an item’s mass, use it only to determine whether the scale is wildly wrong. A large error is a reason to get calibration weights or borrow a known-weight set, not to keep adjusting the scale with random objects.
How to Verify Calibration With Repeat Measurements
A completed calibration routine does not guarantee stable readings. Surface changes, temperature, drafts, and sensor behavior can still cause drift.
After calibration, choose one object that you can position consistently, such as the same calibration weight or a sealed container. Weigh it 3-5 times without changing the scale’s position or touching the counter.
Check three things:
- The average reading is close to the expected mass.
- The readings stay consistent rather than bouncing widely.
- The variation is small enough for the tolerances of your recipes.
A stable scale that is consistently high or low may have an offset or an incorrect unit setting. Readings that change substantially from one attempt to the next usually point to an environmental or setup problem: an uneven surface, contact with the counter, drafts, or residue on the platform.
For a mid-range weight, repeated readings should cluster tightly on the same number or within a small fraction of a gram after a good calibration. If they do not, level the scale, remove drafts, wait for stabilization, and run the calibration routine again.
FAQ
Do I need to calibrate my kitchen scale every time I use it?
No. Calibrate when you first set up the scale, after moving it, after a major temperature change, or when you notice consistent measurement drift. An empty-platform zero check before each session is usually enough when the scale has a reliable zero function.
What’s the easiest way to calibrate a kitchen scale without calibration weights?
Use the built-in calibration mode if the scale accepts a specific known mass. Otherwise, check the scale against sealed products with printed net weights or a verified set of coins. This is less accurate than using calibration weights, so borrow or buy a small set that matches the scale’s unit system when precision matters.
How long does kitchen scale calibration take?
A practical calibration session takes about 10-20 minutes. That includes leveling and cleaning the platform, warming the scale for 5-10 minutes, following the calibration prompts, and completing 3-5 repeat weighings. Skipping the stabilization period is a common reason readings remain inconsistent.
Is it safe to calibrate a kitchen scale at home?
Yes. Use the scale’s intended buttons or app prompts, and do not place weights above its maximum capacity. If the scale runs on batteries, make sure the battery level is adequate so a voltage drop does not affect the readings.
What common mistake ruins kitchen scale calibration?
An uneven surface or residue on the platform can invalidate the result. Testing only one weight can also make the scale look accurate at one point while it remains wrong across the range you use.