How To Match Existing Kitchen Cabinets In 5 Easy Steps
Matching existing kitchen cabinets comes down to three details: finish chemistry, sheen, and precise fit. Match the paint or stain, replicate the way the surface reflects light, and copy the door dimensions, overlay, and hardware alignment. Get those right, and the new work can blend into the old within a week of curing and a little final blending.
Measure carefully, test the finish in the kitchen, and expect 2-3 sample rounds before committing to doors and frames. A close color with the wrong sheen still looks like a patch, while a perfect finish on a poorly aligned door remains obvious.
Cabinet-Matching
- Identify the finish first. Look for paint cracking, visible stain grain, and the way the surface reflects light.
- Match the sheen. A matte cabinet painted in satin will look different even when the color is right.
- Measure the construction details. Record door thickness, overlay, rail and stile widths, hinge placement, and reveals.
- Blend color with test samples. Use the same type of wood and finish system whenever possible, then let samples cure.
- Match the hardware. Copy the finish family, sheen, hole spacing, and mounting style.
- Adjust the reveals. Use hinges, shims, and mounting points to make the gaps even.
How To Match Existing Kitchen Cabinets
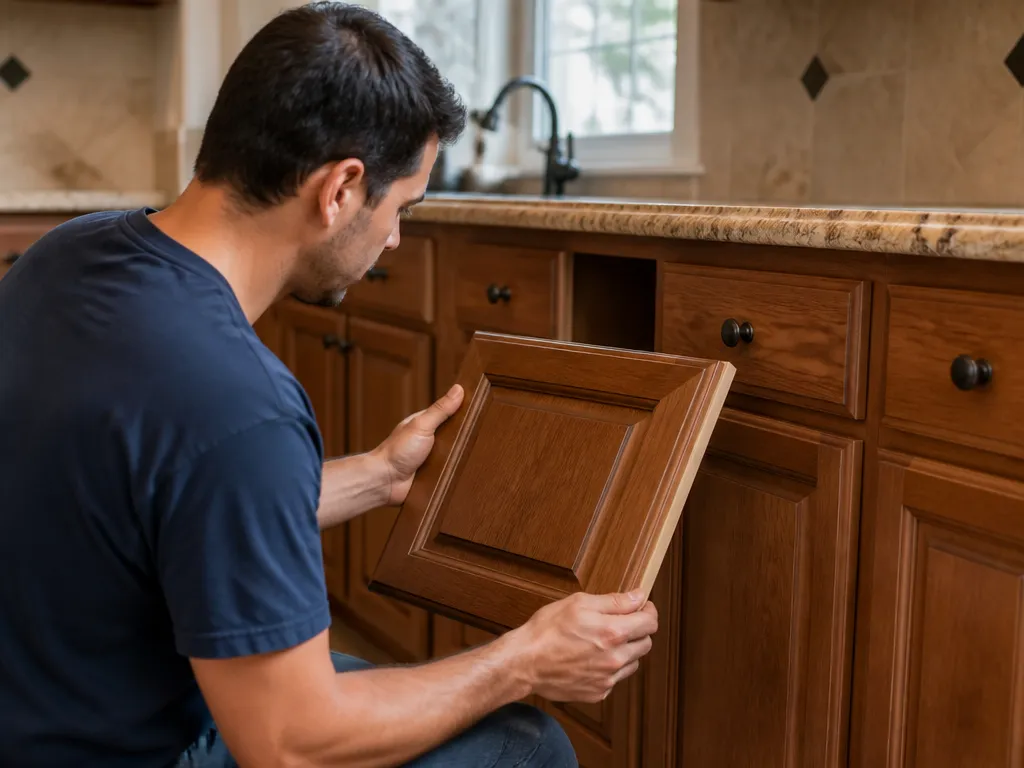
A convincing cabinet match requires both finishing and carpentry. The finish must match the existing color and sheen, but the replacement door must also sit in the same plane, use the same overlay, and leave the same reveal gaps. Miss any of those details and the repair will show from across the room.
Start by identifying whether the cabinets are painted or stained. Painted cabinets usually have an even color with little visible grain. Chips around hinges or edges often expose solid-colored paint layers. Stained cabinets show wood grain and natural variation, and a touch-up can look muddy if you paint over it without sealing the surface or using compatible products.
Use this order to avoid rework:
- Identify the finish type and sheen.
- Confirm the measurements that control appearance, including overlay, reveal, door thickness, and hinge placement.
- Choose a compatible paint or stain system.
- Make small samples and let them cure.
- Match the hardware and complete the alignment.
Older cabinets may not have one consistent color. Sunlight, grease, cleaning, and wear change the tone, especially on doors near windows. In that situation, match the average color across the cabinet run, then blend areas with stronger fading or wear.
How Do I Identify My Cabinet Finish and Sheen?
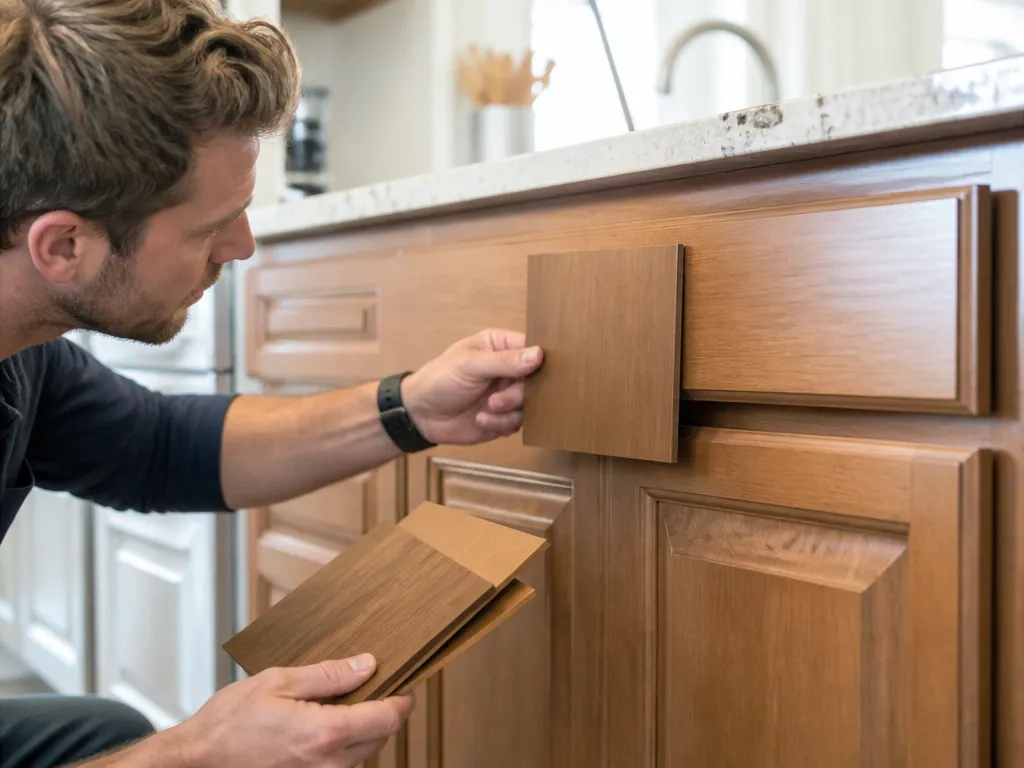
A cabinet that looks like bare wood may have stain under a clear coat, paint over wood, or a factory conversion varnish. Those finishes need different preparation and primers. Guessing can lead to poor adhesion, peeling, or visible flashing around the repair.
Shine a flashlight across the door at a shallow angle. Matte and eggshell finishes show little reflection and soft edges. Satin produces a noticeable reflection band, while semi-gloss creates a brighter, sharper highlight. Check the edges and areas around the hinges as well. Colored layers beneath a chip usually indicate paint. Exposed wood grain points to stain or a clear finish over stained wood.
Perform a gentle compatibility check on an inside panel or hidden edge. Wipe a small spot with a clean, damp cloth. If the surface smears dye or color, the finish may be fragile, as with some older stains. If it stays stable, continue with sanding and primer tests. You do not need to identify the exact factory coating to begin, but you should determine whether the surface is paint or stain and whether it has a film-forming clear coat or a more porous finish.
Lighting affects that decision. Warm under-cabinet lighting can make eggshell look richer and can hide minor surface flaws better than satin. Daylight makes satin look brighter and more reflective, especially on flat panels.
Which Cabinet Door and Frame Measurements Must Match?
Incorrect geometry makes a cabinet repair obvious even when the finish is perfect. The eye catches uneven reveals, inconsistent door thickness, and doors that sit at different depths. Measure the finished cabinet faces rather than relying only on the rough opening or cabinet box dimensions.
Record these details:
- Door height and width at the finished panel edges
- Door thickness and edge profile
- Rail and stile widths for shaker and raised-panel doors
- Overlay type – full overlay, partial overlay, or inset
- Hinge spacing and mounting position if you are reusing the existing hinge system
- Drawer-front thickness and face-frame reveal
For framed cabinets, match the face-frame width and check whether the door closes flush with neighboring doors. For frameless, European-style cabinets, overlay matters more because the door overlaps the cabinet box directly. If you are replacing one door, measure from the finished frame edges rather than the cabinet box corners. Drywall and tile can shift the apparent opening slightly.
Masking tape provides a useful visual check for overlay and reveals. Place a thin strip along the gap where the existing doors meet, then compare the tape-to-tape spacing around the replacement. This measures the spacing the eye sees, not merely the nominal opening.
Confirm the mounting system before finishing. Some hinges allow vertical, lateral, and depth adjustments, while others offer little correction once installed. If the adjustment range cannot compensate for an error, correct the mounting points before painting or staining. Finishing a misaligned door only makes the next correction more expensive.
Which Paint or Stain Formulas Replicate Aged Wood Tones?
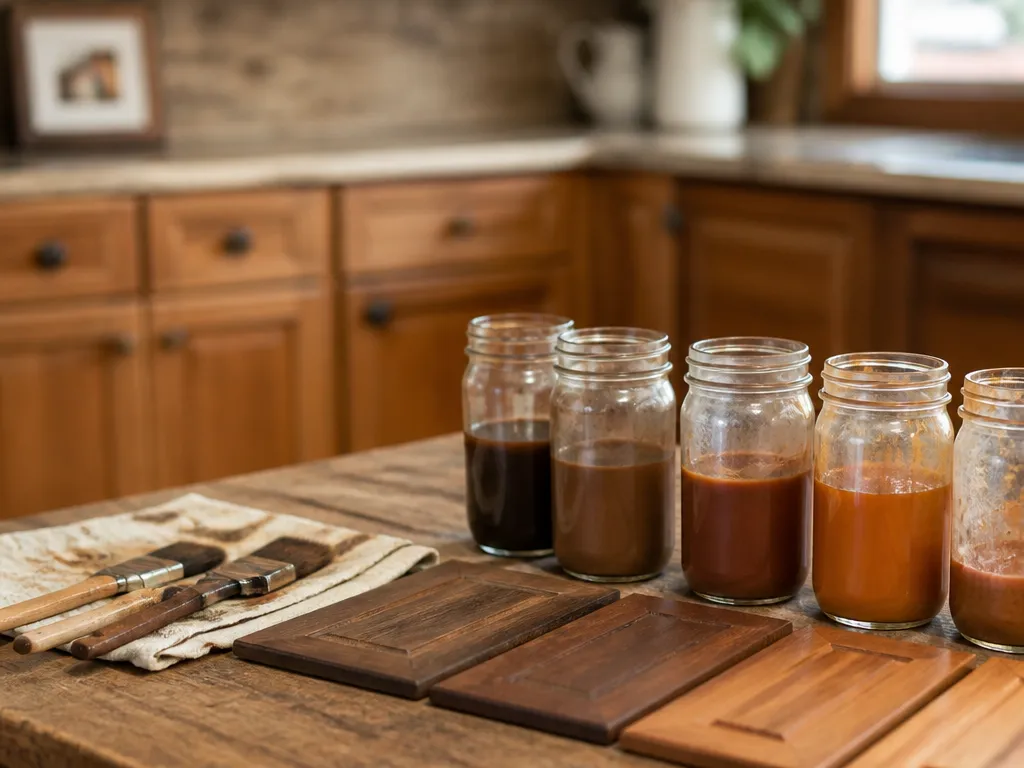
An aged cabinet usually has two color changes: the wood has darkened unevenly, and the finish has yellowed or oxidized. A single color pulled from a fresh sample card often produces a door that looks too clean, too bright, or too uniform.
First determine whether the cabinets are stained with a clear coat, painted, or painted over stain. Paint usually hides the wood color, so the aging comes mostly from topcoat yellowing, grime, and wear. Stained cabinets retain visible grain, and mismatches show up in the grain contrast and the depth of the color.
For stained cabinets, match four characteristics:
- Base wood tone, including red, brown, or neutral undertones
- Depth, or how dark the wood looks after the clear coat
- Grain contrast
- Topcoat clarity and ambering
Test the process on a hidden inside edge or a piece of similar wood. Sand lightly to remove polish and open the pores, then apply the stain in thin, consistent passes. If the new piece still looks too fresh, it may need more depth or better grain penetration. If it looks reddish or muddy, the undertone is wrong. Change the base tone rather than adding more stain.
Painted cabinets do not need a stain formula. Match the paint color, the undertone, and the sheen of the aged topcoat. If the paint layers show no visible wood grain, stop trying to reproduce a stain and focus on tinting, surface preparation, and sheen.
A glaze or toner can add depth to a close paint match if the finish system allows it. Apply it to a test panel first. Glaze can reduce the flat look of fresh paint and mimic the slight unevenness of an older finish, but it may also change the sheen and require a compatible clear topcoat.
A local paint store can match a physical sample, but the store match is only a starting point. Verify it against cured test patches in the actual kitchen lighting.
How Can I Match Hardware Color and Style?
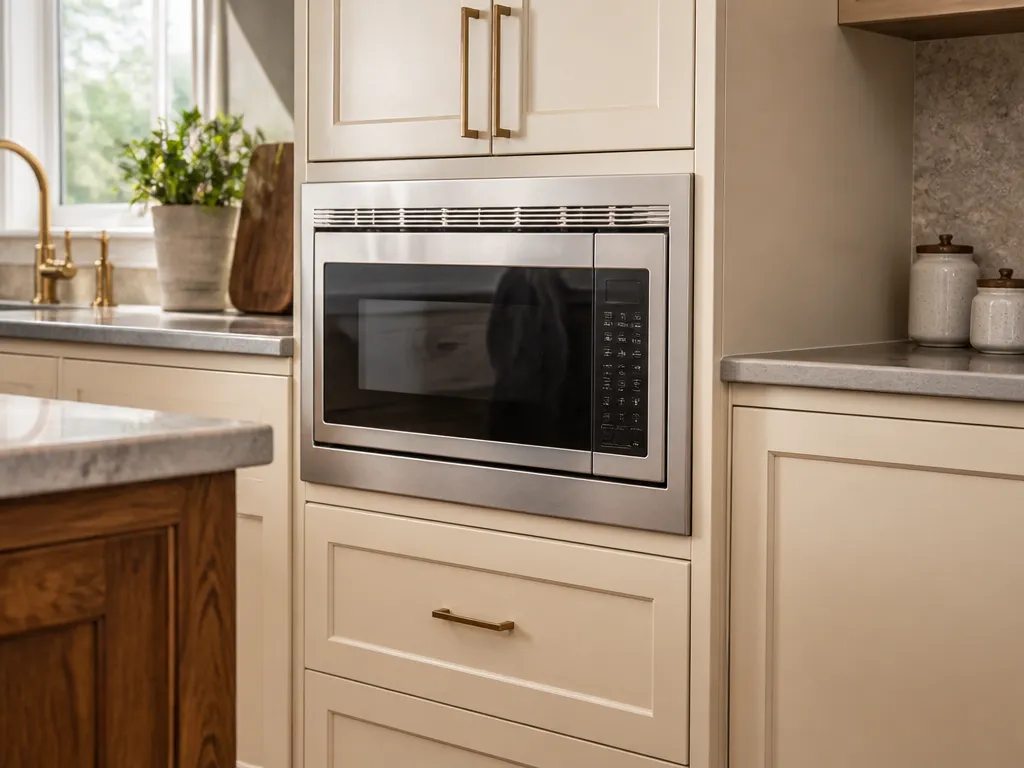
Hardware often reveals a cabinet replacement faster than the door itself. A finish that is too shiny, warm, or cool can make the entire cabinet set look mismatched. Hole spacing and mounting-plate thickness matter just as much when the replacement uses different hardware.
Match the hardware in three ways:
- Finish family: chrome, satin nickel, oil-rubbed bronze, brass, or antique brass.
- Sheen and aging: matte surfaces generally hide small scratches longer than glossy ones.
- Mounting geometry: screw size, thread type when applicable, and hole-to-hole spacing.
Keep the same mounting style for the closest visual match. If the replacement door has the same thickness and hinge system but different hardware spacing, drill the new holes or install conversion plates before finishing. Dry-fit every door with its hardware before applying the final clear coat.
Remove one existing handle or knob and take it to the hardware store. Display-card finishes can look different under retail lighting than they do in your kitchen. Compare the sample under neutral light, then confirm the choice against the installed cabinet.
If the original hardware is no longer available, match its temperature and sheen rather than relying only on the finish name. Oil-rubbed bronze usually reads warm and dark. Satin nickel looks cooler and lighter. Brushed brass looks warm but brighter. Satin and gloss versions of the same metal can still appear to come from different sets.
Check whether the existing hardware is decorative or functional. Decorative plates can conceal minor drilling discrepancies. Functional through-bolt hardware exposes misaligned screw lines. Base the drilling template on the existing door front, preferably before painting or staining.
What Reveal Gaps and Mounting Adjustments Ensure Alignment?
Even reveals between doors, drawers, and frames make a replacement look original. Doors should also sit on the same plane so light does not break across the cabinet faces at the new section.
Copy the existing gap pattern rather than assuming a standard spacing. Use shims and masking tape to establish the reveal before permanently driving the screws. Then check the door under normal room lighting to confirm that its edge shadows align with those of the neighboring doors.
Adjustment depends on the hinge system. Most concealed hinges have screws for vertical, lateral, and depth adjustments. A different hinge brand or door preparation may not provide enough range, so measure hinge-plate positions and overlay settings before finishing.
Common alignment symptoms point to different problems:
- A door that is tight at the top but wide at the bottom usually has a height or hinge-cup-depth issue.
- A door that is too wide on one side usually has lateral hinge-placement trouble or a cabinet box that is out of square.
- A door that sits forward or backward from its neighbors usually needs a mounting-depth adjustment or a shim.
- A bowed cabinet box may need shimming behind the hinge mounting plate or hinge rail.
Set the most visible reveal first, usually the outer edge, then work toward the center. Do not chase every gap at once because one hinge adjustment can move more than one edge.
Install the hardware dry before sanding or refinishing. The door should open and close smoothly, sit in the same plane as its neighbors, and show consistent reveals without binding. Complete the mechanical alignment before committing to the finish.
How Do I Test Samples Before Committing to Finish?
Test samples are essential because kitchen lighting changes both color and sheen. Under-cabinet LEDs can make a sample look too warm, too gray, or too glossy after it has cured.
Test in two stages:
- Finish compatibility and adhesion: Apply a small patch to confirm that the preparation and primer system bond properly.
- Color and sheen after curing: Apply the full number of coats so the sample reflects the final coating thickness.
Use the most realistic substrate available. For stained cabinets, test on hidden wood or a piece of similar wood stock. For painted cabinets, use a primed panel with the same paint system and sheen. Cardboard or poster board can reveal undertone, but it will not reproduce sheen and depth accurately.
Apply samples in small sections beside the existing door. Label each one with the product, number of coats, and other preparation details. Let the samples cure fully. Most coatings need at least a day or two for an accurate sheen reading, and longer for the color to settle and the surface to stop looking wet.
Compare edges and highlights, not just the middle of the sample. Flat panels reveal sheen differences clearly because they reflect light uniformly. Shaker doors can hide small differences in their grooves, so test both the flat panel and the frame when possible.
Use the first round of samples to diagnose the problem:
- Too light: The color may lack depth or the right undertone.
- Too warm or orange: The base is warmer than the aged cabinet.
- Too cool or gray: The base is neutralizing the color too much.
- Too glossy: The sheen level or flattening characteristics do not match.
Once you find a close match, repeat the process exactly: use the same sanding level, primer or no-primer approach, number of coats, and dry times. Cabinet matching depends on reproducing the process, not getting lucky with one color sample.
FAQ
How Do I Match Existing Kitchen Cabinets Without Sanding Everything?
Start with a compatibility-focused spot test. If the existing finish is stable, you can often scuff-sand only the repair areas or inside faces, then prime and paint or stain the new sections without stripping everything.
Keep the test area small, check adhesion after 24-48 hours, and expand to full door preparation only after the coating stays bonded. If the surface chips or delaminates, stop and strip it back to sound material.
What’s the Fastest Way to Identify Cabinet Sheen and Finish Type?
Use a flashlight grazing test and inspect chips near hinges or hardware. A flat sheen shows minimal reflection, satin produces a clear highlight band, and semi-gloss creates a brighter, sharper streak.
For finish type, look for visible wood grain in chips, which points toward stain, versus solid-colored layers, which point toward paint. Confirm the choice with a small adhesion test in a hidden area.
Can I Match Cabinet Color Using a Store Sample Swatch?
A store match is a useful starting point, but a cured test panel is still necessary. The sample must be checked for undertone and sheen under the actual kitchen lighting.
A swatch shows color in isolation. It does not show the final coating thickness, topcoat behavior, or the effect of aging. Plan on at least 2-3 sample iterations before finishing the doors.
Is It Safe to Mix Paint Systems, Primer, Paint, and Topcoat From Different Brands?
Use mixed brands only when the manufacturers explicitly support the combination. Incompatible products can cause adhesion and peeling failures, and some cabinet-grade systems require specific primers and clear coats for proper bonding and sheen control.
When compatibility is uncertain, use one product family for the primer, paint or stain, and topcoat. Verify the result on a test panel before applying it to the cabinet.
What’s the Most Common Mistake When Matching Cabinets?
Incorrect reveal alignment is a frequent problem; uneven gaps make doors look wrong even when the finish matches.
Measure the overlay, install the hardware dry, and check the alignment before finishing.