How To Stain Kitchen Cabinets Without Sanding: 4 Tips
Kitchen cabinets often look “almost ready” for stain, but sanding is the part that makes people quit. The good news is you can stain without sanding if you prep correctly: clean aggressively, break the shine with liquid deglosser, and use the right conditioner and stain method for your cabinet finish. This guide walks you through the full process end-to-end, including how to avoid blotchiness and what to do when the finish won’t accept stain.
Stain cabinets without sanding by cleaning thoroughly, deglossing with a liquid deglosser, conditioning (if needed), then applying stain in thin, controlled coats with consistent timing. Use a foam brush and lint-free cloth, and give the cabinets proper dry and cure time, usually overnight between steps.
Key Takeaways
- Skip sanding safely by deglossing with a liquid deglosser instead of abrading the surface.
- Check finish first because varnish, epoxy, and some factory clear coats can block stain.
- Degrease hard since kitchen oils are the #1 reason stain won’t adhere evenly.
- Condition for blotches using a pre-stain conditioner when staining bare wood or porous surfaces.
- Apply stain consistently with a thin coat, short work sessions, and even wiping.
- Seal and cure with the right topcoat and give it full cure time before heavy use.
How To Stain Kitchen Cabinets Without Sanding
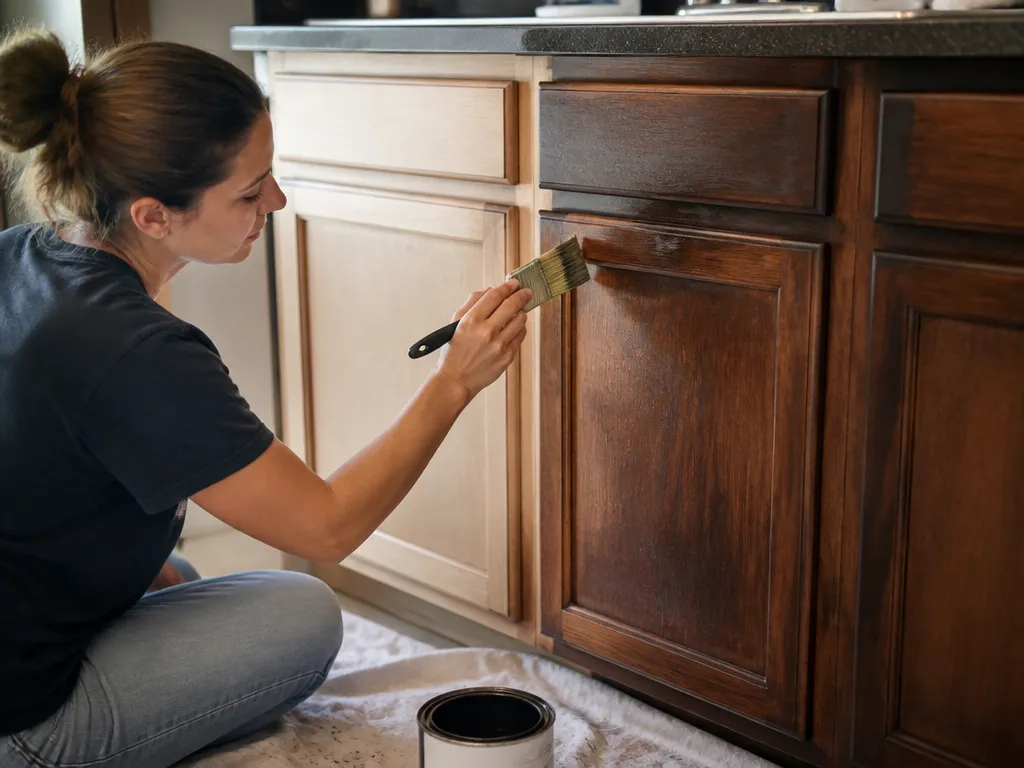
The outcome you want is simple: stained cabinets with even color and no sticky patches, peeling edges, or blotchy spots. Without sanding, your prep has to do the job the sandpaper would normally do, which is why cleaning and deglossing matter more than people expect.
Start by confirming two things. First, your cabinets are stainable with your target stain (more on blocked finishes later). Second, you can control dust and timing while the deglosser and stain are doing their work. If you have real kitchen grime, sugar, or oily residue that you cannot remove, staining without sanding usually ends in uneven color.
Prerequisites before you start
You do not need specialty equipment, but you do need the right workflow:
- Ventilation and dust-free workspace (garage or kitchen with doors open)
- Deglosser, stain, and a compatible topcoat (water- or oil-based depending on your products)
- Foam brushes or natural-bristle brush (foam is great for leveling)
- Lint-free rags or microfiber cloths
- Painter’s tape, drop cloths, and nitrile gloves
- A test scrap or hidden area to confirm adhesion and final color
For example, I’ve seen people “win” the cleaning step but skip a test spot, then discover the finish turns darker in corners or won’t accept stain on the flat panel. That’s why a quick sample saves days.
Step-by-step process (no-sanding staining workflow)
- Remove doors, drawers, and hardware. Label them so reassembly is painless.
- Clean using a degreaser, not just dish soap. Kitchen residue is stubborn and can be invisible.
- Rinse and dry completely. Any leftover cleaner can interfere with deglosser action and stain adhesion.
- De-gloss using liquid deglosser. Keep it controlled to avoid streaks or pooling.
- Wipe residue after deglossing. Follow the product directions for whether you need to rinse or just wipe.
- Let the surface dry fully. Don’t rush this step. Stain laid on damp surfaces can turn blotchy.
- Condition (only if appropriate). Pre-stain conditioner helps for many woods and porous surfaces.
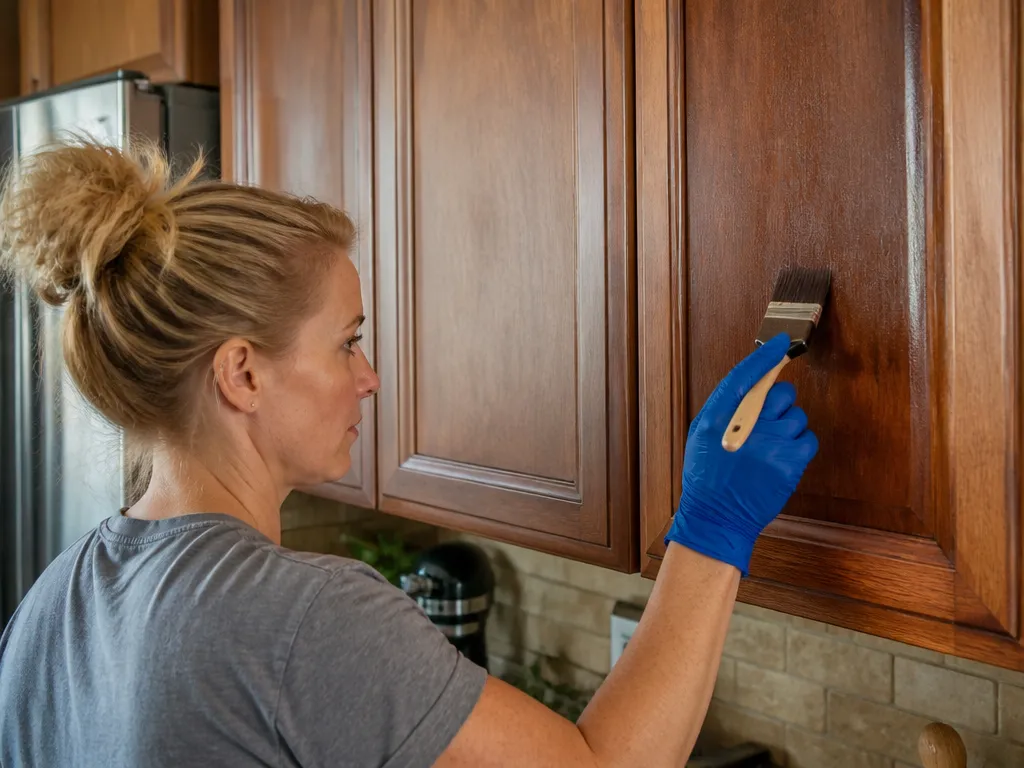
- Apply stain in thin coats. Work a small section at a time, then level and wipe consistently.
- Let stain dry and inspect. If the color is too light, you can add another thin coat after it dries.
- Seal with a compatible topcoat. Apply evenly, then cure according to the schedule.
Which cabinet finishes block stain?
Not all “non-sanded” cabinet finishes are stainable. Some topcoats are effectively stain-resistant because they seal the surface and prevent penetration, even if you degloss and clean well.
Here’s the practical way to think about it. Stain works best when it can soak into wood fibers or porous material. If your cabinet finish is a thick film (like a hard clear coat), stain may sit on top, look uneven, and eventually wear off. You might get color change, but you’re more likely to get adhesion problems.
Common finishes that block or limit stain
- Painted cabinets (especially fully sealed, glossy enamel) – stain generally cannot penetrate and will behave like surface color.
- High-gloss clear coats and some varnishes – stain may not bond unless you’re using a system designed for it.
- Epoxy coatings and very hard catalyzed finishes – these often resist stain penetration.
- Factory catalyzed lacquer on some modern cabinetry – may accept only minimal surface tint or none.
If you’re unsure, do the simplest test. Choose an inconspicuous spot, degloss it, apply a small amount of stain, and watch what happens in 10 minutes and again after it dries. If the surface stays tacky longer than expected or the color doesn’t “grip,” that’s your warning sign.
The “don’t waste a weekend” test
After cleaning and deglossing, let the area dry, then apply stain. You want one of these outcomes:
- The stain penetrates and looks more uniform as it dries
- The surface color fades evenly when you wipe it
If the stain beads, streaks into a pattern, or dries into a blotchy film that doesn’t blend, don’t keep going. Switch to a paint/stain system designed for that finish, or consider sanding on the areas you care about most.
Cleaning and degreasing for stain adhesion
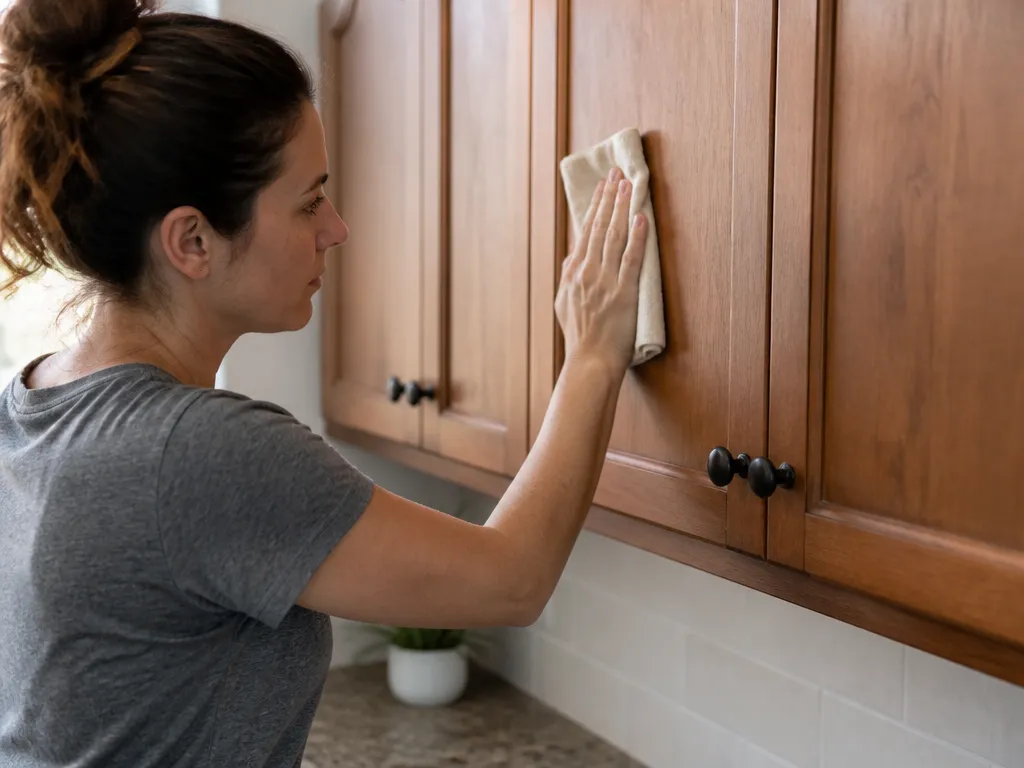
Stain without sanding is only as good as your degreasing. If kitchen oils remain, stain can pull away from the surface or form uneven “islands” where the stain won’t bond.
Think of it like this: deglosser scuffs the surface chemically, but it does not remove oily contaminants that repel liquid. That’s why the cleaning step should be thorough and repeatable, not casual.
What to use for degreasing
Use a kitchen degreaser or a cleaner designed to remove grease and residues, and avoid relying on dish soap alone. Dish soap can help with light dirt, but it often leaves behind surfactants that can interfere with adhesion.
Work in a consistent order:
- Wipe off visible grime first.
- Scrub all surfaces, including rails, raised panels, and around hardware holes.
- Rinse if your cleaner requires it.
- Dry completely before deglossing.
In practice, corners and vertical seams are where oily residue hides. I recommend paying extra attention to those areas because stain defects often show up there first.
Drying matters more than you think
Let cabinets dry fully after cleaning. If the wood feels cool or looks slightly dull from moisture, wait. Stain application on damp surfaces can create patchy absorption and muddied color, especially with darker stains.
De-glossing without sanding using liquid deglosser
Liquid deglosser is the “sandpaper substitute” for a lot of DIY stain jobs. It chemically dulls the glossy surface so stain can grip better and spread more evenly.
The key is control. Don’t flood the cabinet, don’t let it dry unpredictably, and follow the product’s instructions for wiping and rinsing. If you ignore those details, you can get streaking or a residue that later topcoats won’t bond to.
How to degloss cabinets for staining
- Mask areas you don’t want treated (glass, floors, adjacent hardware).
- Apply deglosser with a cloth or foam brush in manageable sections.
- Keep a wet edge so you don’t create lap marks.
- Wipe according to the directions (some products are wipe-only, others need rinse/wipe).
- Allow full dry time before staining.
For example, if you degloss one door and stain it right away while the rest of the set is still being treated, you may end up with slight absorption differences between doors. That can look like “random color variation,” when it’s really timing.
Watch for common deglossing mistakes
- Skipping wipe/rinse steps when the directions require it.
- Overworking (scrubbing too aggressively after deglosser dulls the surface).
- Staining before fully dry, which can cause blotches and uneven sheen.
Conditioner choice for a smooth, even stain
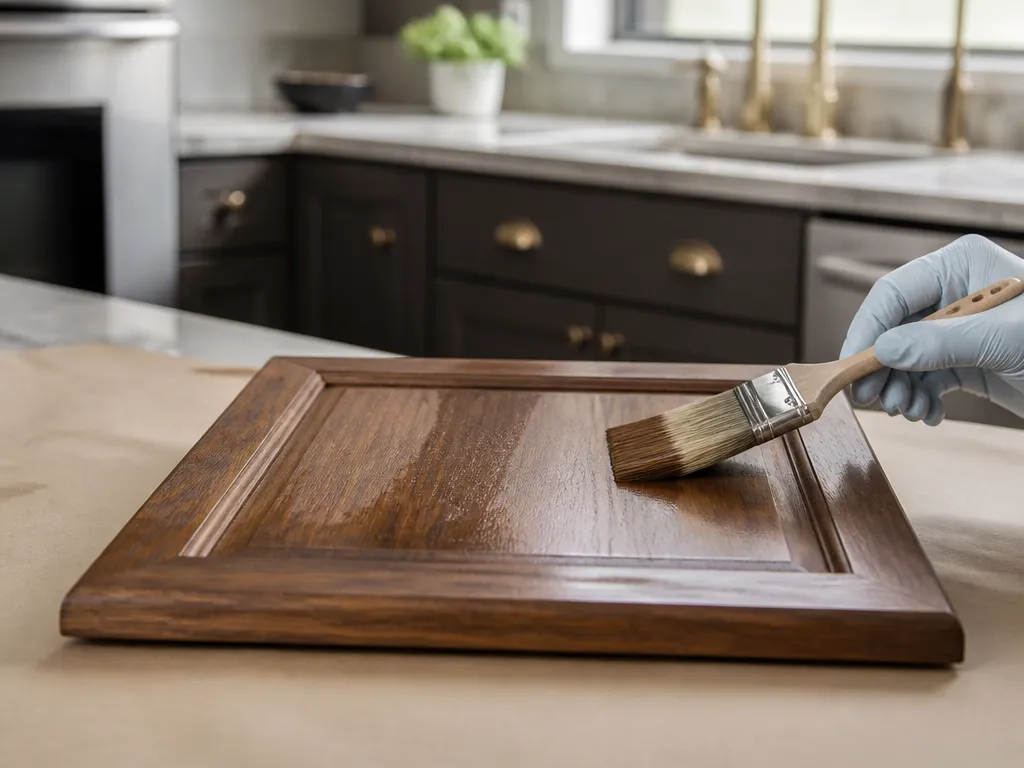
Pre-stain conditioner helps when the wood is porous or prone to blotching. It makes staining more predictable by slowing down how quickly stain soaks in, which reduces dark patches and uneven absorption.
You don’t always need conditioner. If your cabinet material is already relatively non-porous or you’re staining a surface that behaves like sealed wood, conditioner may not improve results much. But if you’re staining bare wood (or a surface that has open grain), conditioner is often worth it.
When to use conditioner (and when to skip)
Use conditioner when:
- Staining raw or lightly sanded-looking wood grain (even if you skipped sanding)
- You know the wood type tends to blotch (many softwoods do)
Skip or reconsider when:
- The finish is mostly film-like, and stain is sitting on top rather than soaking in
- Your test spot shows the stain behavior is inconsistent even after deglossing
If your test spot shows the stain forms a surface film, the problem is the finish blocking penetration, not just blotching. Conditioner can’t fix a non-penetrating base.
How to apply conditioner for best results
Apply conditioner evenly with a foam brush or clean cloth. Don’t over-apply and don’t leave streaks. After the conditioner’s dwell time, wipe off excess if the product calls for it, then stain shortly after so the surface is ready to accept color.
How to apply stain for consistent coverage
Even coverage comes down to three things: thin application, controlled timing, and consistent wiping. When people say “my stain looks patchy,” it’s usually one of those variables drifting.
Also, choose the right approach for your stain type. Oil-based stains tend to stay workable longer, while water-based stains often dry faster. Either way, your method should prevent dried edges from forming while you’re still working.
Application method that works for most cabinet jobs
- Work one door at a time (or one section at a time).
- Apply with light pressure so you don’t flood corners and edges.
- Wipe consistently using the same direction across the grain.
- Keep sections similar size so you can finish before stain starts to set.
A simple rhythm works well:
- Brush stain on the surface.
- Let it sit briefly.
- Wipe off excess evenly.
- Move to the next panel, keeping your timing similar.
For example, if you apply stain to the raised panel and then come back 20 minutes later to wipe it, that panel will often end up darker. The “solution” is not more stain, it’s consistent dwell time.
Blotchy spots and streaks: quick fixes
- Blotchy dark areas: apply a light second wipe rather than piling on more stain. If it’s already dry, you may need a thin recoat after full dry.
- Streaks from wipe marks: wipe more gently and keep your cloth relatively clean, folding to a fresh face.
- Dry edge lines: reduce the section size so you can finish wiping before the stain sets.
Don’t chase perfection on coat one. Get an even “base,” then adjust with controlled additional coats if the color needs to deepen.
Sealing with topcoat and cure time schedule
Sealing is where the job becomes durable. Even a great-looking stain can get damaged quickly if you use the wrong topcoat system or rush the cure time.
Your topcoat must be compatible with your stain and application environment. Mixing incompatible products can cause peeling, soft spots, or adhesion issues. If your stain is water-based, look for a matching water-compatible topcoat. If it’s oil-based, use an oil-compatible clear.
Topcoat basics for stained cabinets
- Apply with a foam brush or high-quality applicator pad to avoid bubbles.
- Maintain even coats and brush direction to reduce visible lines.
- Allow proper dry time between coats if you apply multiple coats.
Cure time is different from dry time. Dry time is when it no longer feels wet. Cure time is when it reaches hardness and chemical resistance, which is what you care about in a busy kitchen.
A practical cure schedule to follow
A safe way to plan your kitchen downtime:
- After final coat dries: avoid heavy handling, but you can reassemble lightly if your topcoat feels dry.
- Full cure: wait several days (often a week or more for many clear coats) before installing in high-traffic conditions.
Because product cure times vary, use your specific topcoat label as the rule. If the topcoat states a cure window, follow that exactly. When in doubt, add extra time, because cabinet doors take constant contact and friction.
For example, I’ve seen people reinstall after “dry to touch” and then wipe the next day with cleaner, which can leave swirl marks or dull patches before the coating is fully cured. That’s preventable by waiting.
FAQ
Can I stain painted kitchen cabinets without sanding?
Usually, no. Paint forms a hard film that blocks penetration, so stain may streak, bead, or peel. If you want a stained look, consider stripping or using a system made for painting over existing coatings, or rework the surface with sanding where needed.
What happens if I skip deglosser and just clean?
You’ll often get uneven stain and poor adhesion because glossy surfaces repel stain. Cleaning removes grease, but it doesn’t remove the slickness that prevents penetration and bonding. For best results without sanding, use liquid deglosser after degreasing.
How long does staining take without sanding?
Most cabinet jobs take multiple days because dry and dwell times are real. Expect time for hardware removal, deep cleaning, deglossing, drying, stain dry time, and at least one topcoat plus its cure window. Plan for overnight drying between stages, not “one afternoon” completion.
Is staining without sanding safe for kitchen use?
It can be safe if you use compatible products and allow full cure before regular use. The biggest risk is rushing the clear coat, which can lead to soft spots that mark or smear. Follow ventilation and recoat/cure instructions on your stain and topcoat labels.
What’s the most common mistake when staining cabinets without sanding?
Overlooking the cabinet finish test. People skip a small test spot, then discover the surface blocks stain or turns blotchy. A quick degloss-and-stain test in a hidden area prevents the “whole kitchen is different shades” problem.