How To Organize Kitchen For Entertaining
Organize your kitchen around four movements – storage to prep, prep to cooking, cooking to serving, and serving to cleanup – and entertaining becomes easier to manage. Plates, glasses, food, and dirty dishes each get a predictable destination, so you spend less time searching and less time carrying mess through the house.
The most useful setup separates clean, used, and returning items. With a little advance staging, you can keep counters clear, find serving pieces quickly, and reuse the same layout for future gatherings.
Key Takeaways
- Start with zones. Organize your kitchen by function: prep, cooking, serving, and cleanup.
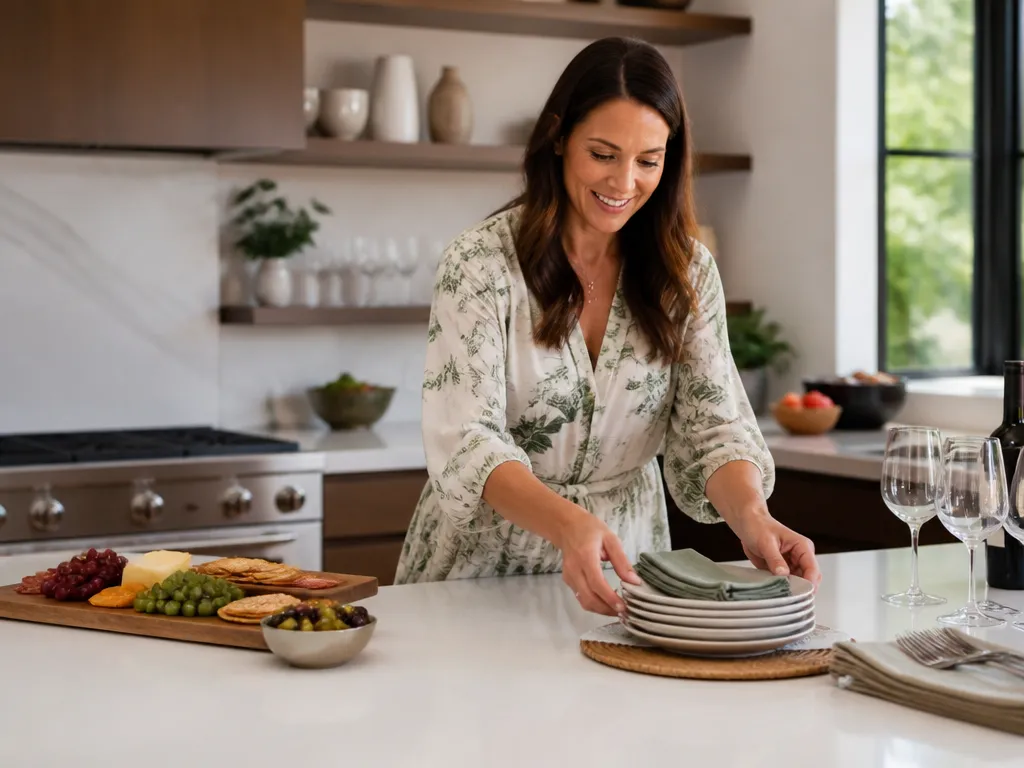
- Stage entertaining supplies. Keep plates, glasses, linens, and serving utensils together near the serving area.
- Build a prep station. Store cutting, mixing, and packing supplies together so you avoid unnecessary trips.
- Protect counter flow. Leave a clear landing zone for plates and hot items away from foot traffic.
- Label storage. Mark bins by type and quantity so you can restock quickly.
- Separate dirty dishes. Create a dedicated drop zone near the kitchen exit path and send used items there immediately.
Build a Four-Zone Kitchen for Entertaining
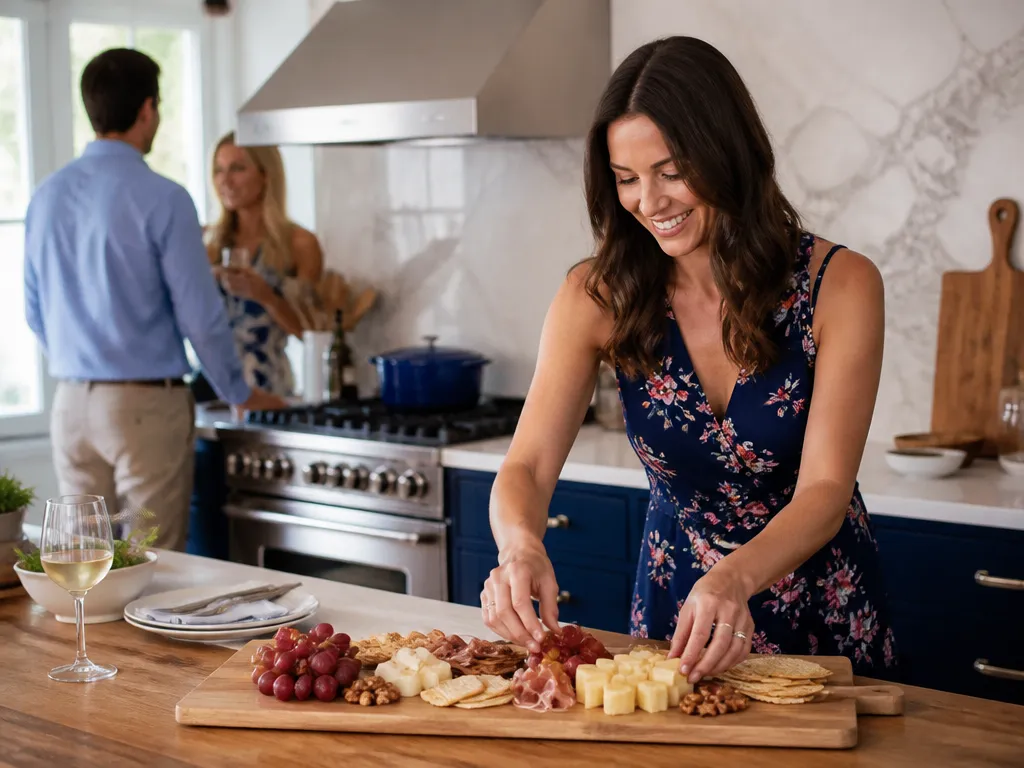
Entertaining runs smoothly when the kitchen works like a simple assembly line: grab supplies, prep food, cook, plate and serve, then move used dishes to cleanup. Every tool should have a predictable place during the party, and each step should reduce walking, searching, and rework.
Start by choosing your host path – the route you will walk most often. In many homes, it runs from storage for serving supplies, to the prep counter, to the stove and oven, then to the serving surface or dining pass, and finally to the sink or dishwasher staging area.
Before moving anything, make a quick list of what you pull out for a typical meal. Your setup should match the way you actually host, whether that means a taco bar, a sit-down dinner, or drinks and appetizers.
Create four zones, even in a small kitchen:
- Entertaining storage: Plates, glasses, linens, and serving utensils.
- Food prep station: Cutting, mixing, packaging, and frequently used ingredients.
- Serving zone: The place for finished plates, sauces, drinks, and serving dishes.
- Cleanup zone: Dirty dishes, trash, recycling, and compost if you use it.
Stage the zones for the menu you are serving. A taco bar needs tortillas, topping containers, and a salsa-handling workflow. Pasta night calls for mixing tools, serving ladles, and a plan for holding hot food. A generic setup helps, but menu-specific staging saves the most time when guests are arriving.
Store Entertaining Supplies Near the Serving Area
Keep entertaining supplies near the places where you use them, ideally within a short reach radius of the serving and prep areas. If party plates are in a basement or a closet by the laundry room, every hosting task takes an extra trip. Reducing that travel distance prevents small delays from piling up.
Choose one primary storage location for the complete entertaining set, then add a backup location if needed. In many U.S. homes, the best option is a pantry shelf, a cabinet above the counter, or a dedicated drawer stack near the sink.
Deep cabinets need pull-out bins or drawer organizers so you can see the contents without digging. In a small kitchen, vertical organizers, stackable organizers, risers, and shelf dividers make better use of limited space than flat piles.
Use a 20-minute dry run to test the location. Pretend you are packing for the party and collect your serving utensils, glasses, napkins, and specialty items. Notice where you hesitate or backtrack. Move those items closer to the points where you got stuck, not merely to the places where they fit.
A practical storage pattern looks like this:
- Plates and bowls: Use one shelf or cabinet section, stacked by type – dinner, salad, and dessert.
- Glasses: Use one bin for everyday drinking glasses or tumblers and another for wine glasses.
- Cutlery: Keep one organizer tray or drawer insert with the plate set.
- Linens and napkins: Store them in a dedicated bin or shelf in a grab-and-unfold arrangement.
- Serving basics: Keep ladles, tongs, spatulas, serving spoons, a corkscrew, and a bottle opener in one container.
Quick Storage
- Can you access everything without moving food or daily dishes?
- Are grab items separated from items you might use?
- Is there a home for disposable items such as plate liners, trash bags, foil, and gloves?
Create a Food Prep Station That Moves Forward
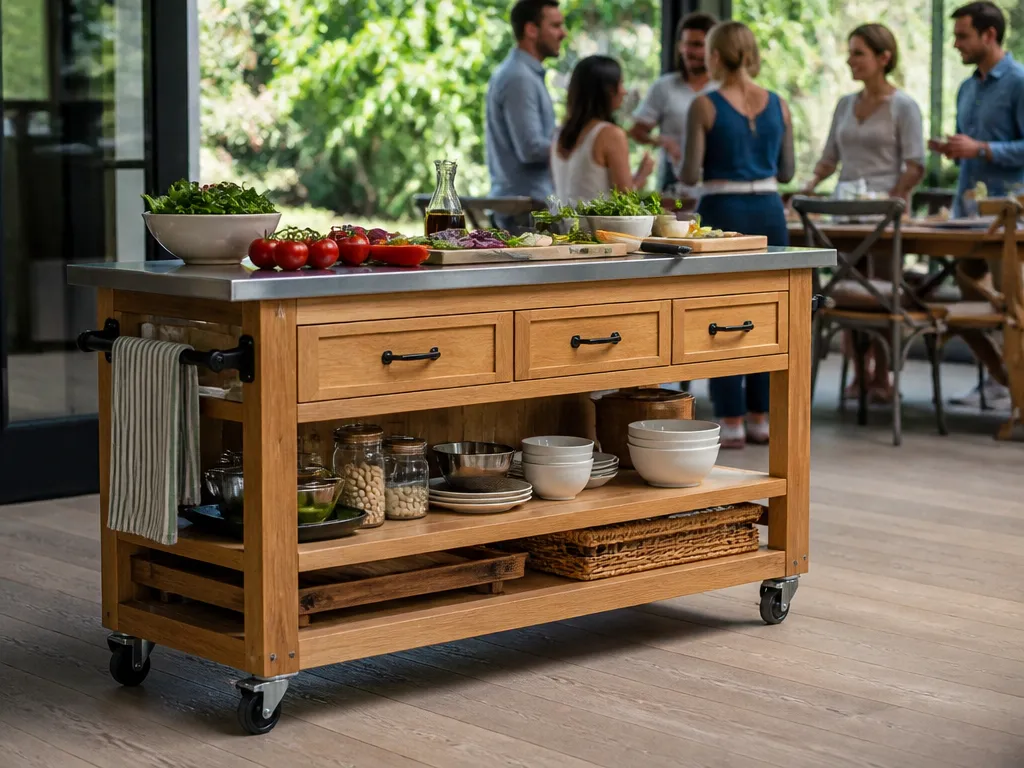
A useful prep station keeps cutting, mixing, and packing in one workflow. It needs more than an empty counter: ingredients, tools, and next-step containers should be ready in the same area. If you have to walk away to find a bowl or rinse a cutting board between tasks, the station needs a better layout.
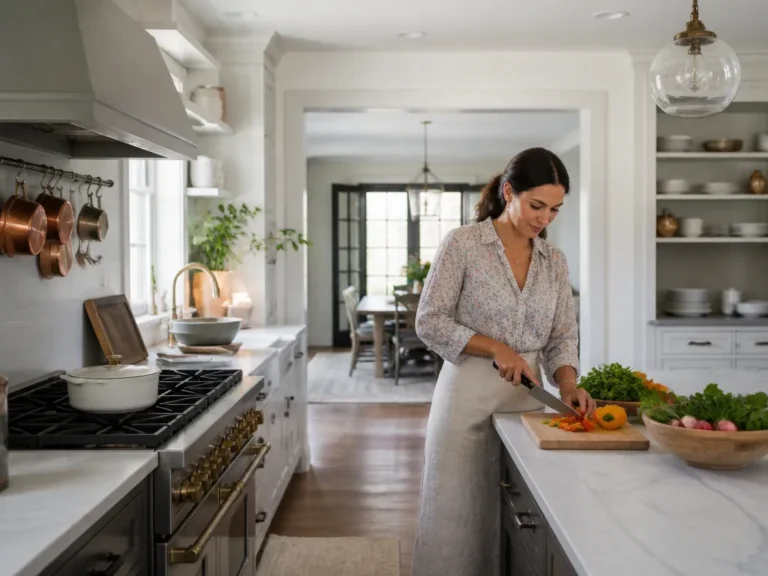
Clear one section of counter as your prep lane. If possible, place it near the sink and near the trash or compost. Keep a cutting board, knife, and small stack of prep containers in that same area. Ingredients should move forward through the process instead of back and forth across the kitchen.
Store paper towels within arm’s reach if you use them frequently. Keep wet or messy tasks close to the sink so spills stay contained.
Arrange containers by task:
- Chop containers: Small bowls or lidded prep tubs for chopped produce.
- Sauce and topping containers: Shallow containers with lids for salsa, dressing, and taco toppings.
- Assembly containers: Larger containers for ingredients that move together at the end, such as taco filling, pasta toppings, or salad mix.
- Trash and scraps: A trash bin and a compost or garbage bowl that is easy to swap or line.
For a taco bar, the prep station might include:
- One knife and cutting board
- One chop bin for onions and peppers
- One drain-and-hold container for cooked meat or beans
- Separate topping containers for chopped lettuce, tomatoes, cilantro, and cheese
- A stack of foil pans or serving containers for quick transfers
Timing also affects the layout. Prep ingredients that do not need last-minute cooking at the prep station, then keep hot items closer to the stove and oven. If you are serving wings, chili, or roasted vegetables, leave room for warming trays and a clear route to the serving zone that does not cross the prep lane.
Organize Servingware by Service Set
Arrange servingware by serve sequence rather than by normal daily use. During a party, you should be able to grab the plate, glass, napkin, and serving pieces for a meal without rebuilding a set from several locations.
Keep each service set together. One cabinet or bin can hold matching plates, bowls if needed, glassware, and napkins for that style of meal. If you host casual and formal dinners, separate them into two labeled groups: Set A – Casual and Set B – Formal.
Protect glassware from chips and clinking with paper towel roll sleeves, foam separators, or rack inserts. A box that originally held the glasses can become a useful storage container. Damaged glassware creates an avoidable interruption during service.
| Item group | Best storage format | Why it works during parties | Host-time shortcut |
|---|---|---|---|
| Dinner plates | Stack in a labeled cabinet section | Lets you grab full stacks fast | Label “Dinner” height spots |
| Salad/dessert | Separate stacks or divider shelves | Prevents wrong stack mixing | Use “Salad” and “Dessert” bins |
| Serving utensils | One caddy or drawer tray | You grab one set, not individual tools | Keep the caddy near the serving zone |
| Tumblers/wine glasses | Separated bin inserts | Reduces chips and hunting | Store wine separately from daily glasses |
| Napkins/linens | One labeled bin per style | Ensures you pull the right look | Pre-fold and stack if you prefer |
Keep serving containers and their covers together. Store lids with trays and dishes so you do not have to improvise with foil or plastic wrap when food needs to be covered.
Reserve Counter Space for Landing, Staging, and Dirty Dishes

Counter space determines whether food service stays orderly or turns into a series of collisions. Create one clear landing zone for plates and a separate active-staging zone for platters, sauces, and drinks. Keep both away from foot traffic and the prep lane.
Remove high-risk clutter several days before the event. Small appliances, mail, paper towels, and daily cookware should leave the counter unless they support the menu. Keep only useful party items, such as a tray, serving caddy, cutting board, or napkin stack.
Use two questions to map the flow:
- Where will you stand to plate food or grab utensils?
- Where will newly used items go during service?
Keep those surfaces separate. If you plate food on a counter, do not use that same counter for dirty cups. Place a dedicated dirty drop near the route from the serving area to the sink or dishwasher staging.
A simple layout works in many U.S. kitchens:
- Prep lane: Where cutting and mixing happen
- Hot lane: Where trays come from the oven and rest temporarily
- Landing zone: Where finished plates wait before going out
- Dirty drop: Where used items go immediately
If you make only one counter adjustment, keep the landing zone easy to see and reset so you can place finished items there without rearranging the kitchen.
Label Bins by Function and Quantity
Labels make the organizing system repeatable. When you host often, the time savings come from resetting and restocking in minutes instead of searching through cabinets after every event.
Use plain-language labels based on how you shop and work:
- Dinner plates
- Wine glasses
- Taco topping containers
- Serving utensils
- Trash bags
- Foil and wrap
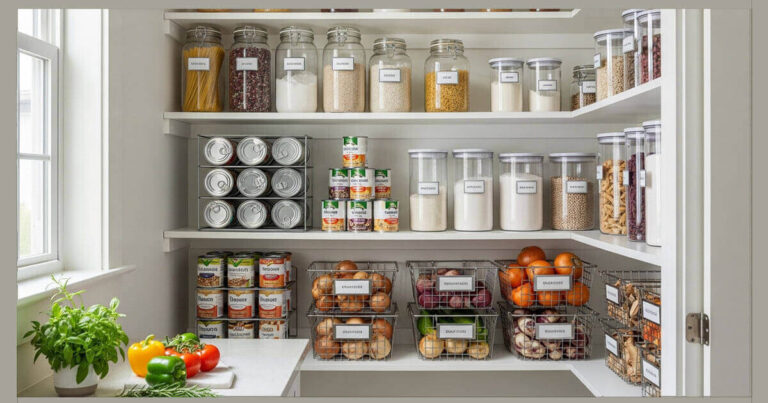
Place labels on the outside of bins or shelves so you can read them without moving items. For larger storage systems, use a shelf label plus a bin label.
Reuse the same prep containers for recurring hosting tasks instead of rebuilding the setup each time. Keep disposable gloves with cutting tools if you use them for prep. Store squeeze bottles with labels that show what belongs in each bottle.
Use these labeling rules to keep the system practical:
- Label by function, not by brand.
- Label in layers: Use a shelf label and a bin label for larger setups.
- Label quantities for restock items such as foil rolls, trash bags, and napkins.
- Use clear tape or label sleeves so labels withstand kitchen steam and cleaning.
A Party Reset Bin can hold small items that are easy to lose, including extra napkins, gloves, a bottle opener, a corkscrew, serving cloths, and cleaning wipes. During reset, grab the bin and use it to wipe surfaces, refill supplies, and return items to storage without searching through several drawers.
Set Up a Contained Dirty-Dish Drop
Cleanup breaks down when used dishes land on random counters, trash is far away, and no one knows where cups or plates belong. You do not need to wash everything immediately.
Place the dirty drop near the kitchen exit path, away from food handling and plating. Use a dish tub, folding dish rack, or designated counter spot with a tray underneath. Containment keeps liquid off the counter and prevents piles from blocking drawers or appliances.
Place trash and recycling near the dirty drop. If the bins are in a far corner, you will carry waste through the house during service. Add a compost bin if you use one, since food scraps spread mess quickly when they have no nearby destination.
A practical cleanup setup includes:
- A large tub or dish bin for used plates and bowls
- A second spot for glasses and silverware, even if it is only a rack
- Paper towels or cloths near the dirty drop for quick wipe-ups
- Trash and recycling bins with lined bags nearby
- Gloves or a small hand-wash setup if you handle raw food close to guests
Adjust the setup for the guest list. If children or beverage containers are likely to create extra clutter, add a return bin for cups. If dirty dishes keep appearing on other counters, label the dirty drop so guests know where used items belong.
The best cleanup station is one you can maintain while hosting. It should not require you to disappear and wash dishes every time someone finishes eating.
FAQ
How far ahead should I organize my kitchen for entertaining?
Organize your kitchen 1 to 2 days before you host. Use a 20-minute dry run to collect everything you need, then move items that are difficult to find closer to the serving and prep areas.
What entertaining supplies should I stage together?
Stage plates, bowls, napkins and linens, glasses, serving utensils, and at least one hot-holding setup, such as lids, foil pans, or serving trays. Keep them in one labeled storage area so you can grab the full set at once.
How can I keep my kitchen clean during the party?
Keep trash bags near the dirty drop, along with cloths or paper towels, so you can handle spills immediately.
What is the biggest organizing mistake people make?
Allowing used dishes to land on random counters spreads clutter and forces repeated resets.
Is there a simple alternative to labeling everything?
Use color-coded bins or shelf stickers for servingware, glasses, prep containers, and cleanup supplies. Color coding makes regrouping faster during reset, although written labels are more precise.