How To Organize Kitchen Zones For Cooking
A well-organized kitchen cuts cooking “walk time” by keeping ingredients, tools, and finished food where your hands already are. A simple zone plan helps you prep faster, cook with less clutter, and plate without scrambling. Most kitchens need four areas: prep, cook, sink, and serve.
Kitchen zones are task-specific areas arranged in the order you use them. Set up at least 3 zones – prep, cook/stove, and sink – plus a small serve area. Keep raw items away from finished food, and place “next-use” tools on the nearest counter.
Key Takeaways
- Start with movement. Arrange prep, cook, and sink in a logical line to reduce backtracking.
- Pick clear boundaries. Give each zone a visible home base for ingredients, tools, and dirty items.
- Stage by recipe. Pre-stage ingredients in order so you only open one container at a time.
- Use a clean-to-dirty route. Raw-to-sink should never cross cooked-to-serve.
- Assign tool homes. Put the knife, cutting board, and trash where you prep, then keep them out of the serve zone.
- Fight weeknight clutter. Use 10-minute reset rules so counters do not turn into storage shelves.
How to Organize Kitchen Zones for Cooking
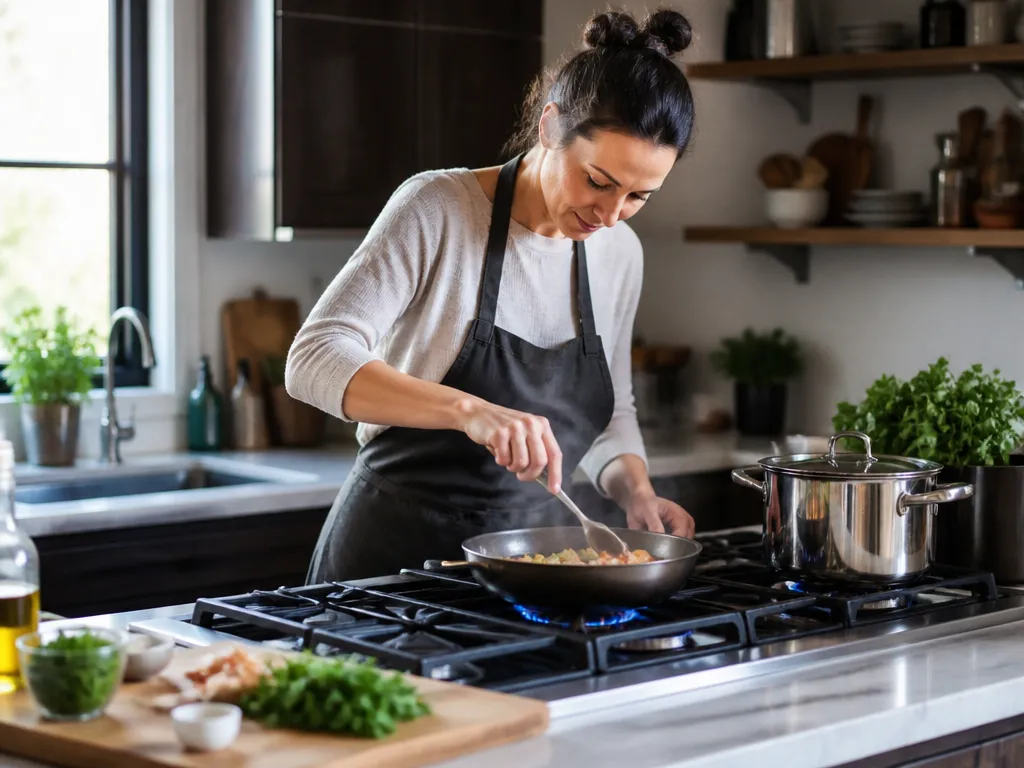
Kitchen zones should follow a repeatable sequence: clean prep, hot cooking, serving, and washing. The goal is fewer cross-moves and fewer “where is the thing?” moments mid-recipe. Treat the kitchen as a workflow, not a display shelf.
You need three basics: a counter or cart dedicated to prep, reachable sink access for washing, and a clear landing spot for cooked food. In a tight kitchen, use smaller stations and trays, but keep at least one surface for prep and one surface reserved for cooked food and plating.
Most US kitchens can use this four-zone baseline:
- Prep zone: cutting, mixing, and staging ingredients
- Cook zone: stovetop and oven tools, plus a hot-pan landing spot
- Sink zone: washing, rinsing, draining, trash, and recycling
- Serve zone: plates, plating utensils, and finished food
Choose Zones That Match Your Cooking Flow
You need a zone wherever your workflow changes, food changes state, or tools shift from clean to dirty. Raw ingredients need controlled handling once you begin cutting or cooking. Finished food needs a separate landing area.
Map the steps for a typical meal: pull ingredients, prep, cook, finish, plate, then clean as you go. If your layout forces you to carry raw items past the stove toward the serving area, the arrangement will keep creating unnecessary movement.
Use this checklist to confirm that your zones work:
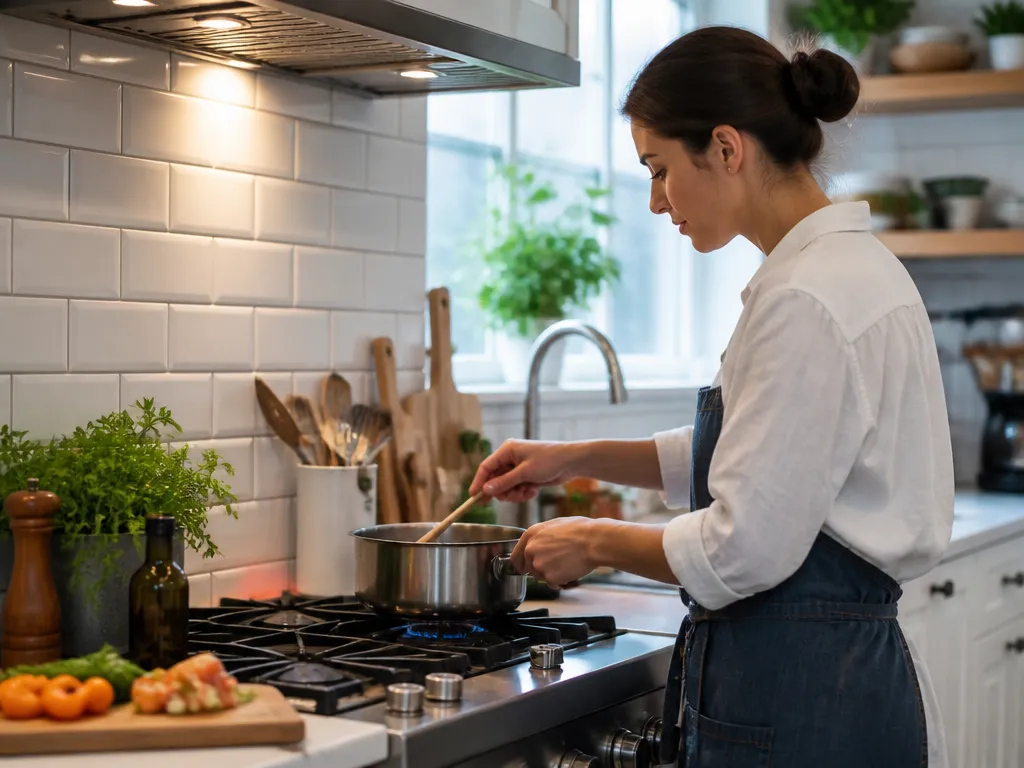
- You can prep without moving raw ingredients near the plating area.
- You can reach the sink without stepping through the stove workspace.
- The stove or oven can hold finished pans temporarily without crowding prep tools.
- Trash and recycling have a dedicated spot so wrappers do not migrate onto the counter.
If a checkbox fails, do not buy new gadgets first. Move existing items, create one tray-based station, and use a temporary staging rule so counters do not become storage while you cook.
Place Prep, Cook, and Serve Zones in Order
Arrange zones in the order your hands and feet naturally travel. In most homes, prep works best near the fridge, cooking stays at the stove, and serving sits near the dining area or on the opposite side of the stove. That arrangement lets ingredients move forward while used items move toward the sink.
Consider making tacos. You pull shells and toppings from the fridge, cut onions and cilantro on the prep counter, and cook the meat on the stove. Finished meat and tortillas go to the serve area, while the cutting board and knife move toward the sink after prep.
Choose a specific staging line on the countertop. Mark one strip as prep, another as hot or served, and keep sink clutter to one side. On an L-shaped counter, use the corner as the boundary between prep and serve instead of letting it become a dumping ground.
Store Ingredients, Tools, and Pots by Task
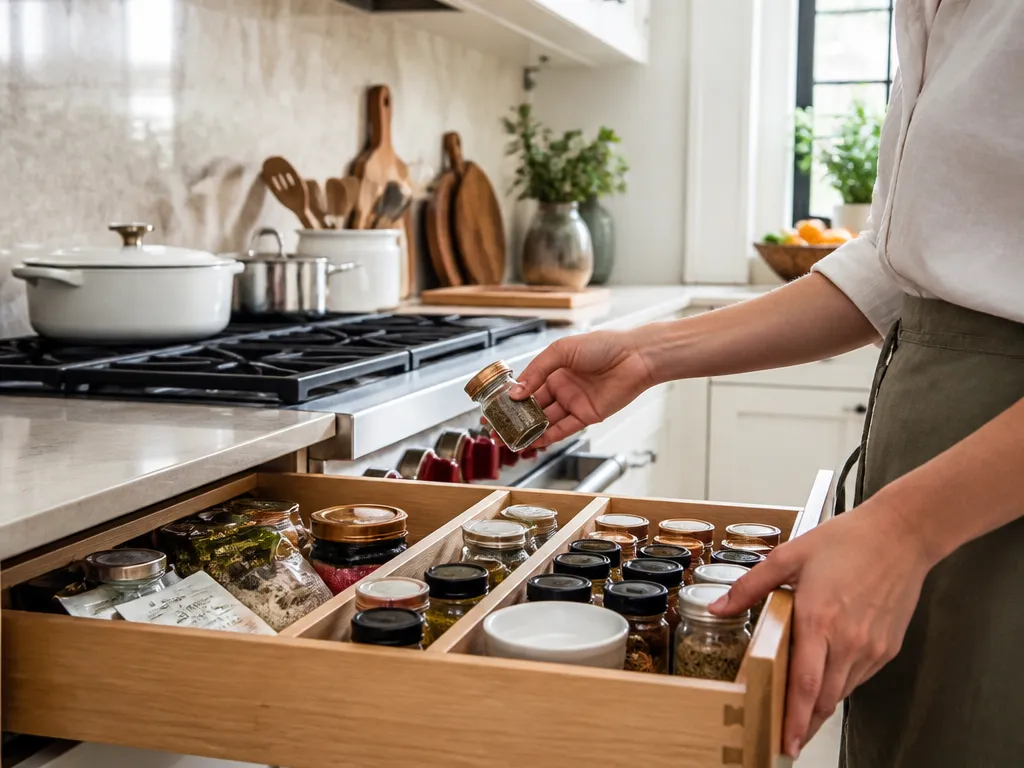
Storage keeps zones functional after cooking starts. Place frequently used, grab-and-go items at the front of each zone and less-used items farther away. The setup should let you open the fridge, stage ingredients at the prep zone, and keep the stove area clear.
Store tools by task rather than by category. In a cabinet near prep, keep the everyday tools used for cutting and mixing. Near the cook zone, store spatulas, tongs, oven mitts, and common pot lids. Give pots and pans a landing spot next to the stove where they can sit briefly without turning the counter into a shelf.
Use a staging tray to contain active ingredients. Keep whatever you will use within the next 10 to 20 minutes on the tray: spices, measured liquids, chopped items, or a bowl headed straight into the cooking step. When the tray is empty, reload it from storage. Loose items then stay off the rest of the countertop.
Use this storage map:
| Zone | Keep Here (Most Used) | Keep Away From Serve |
|---|---|---|
| Prep zone | cutting board, chef’s knife, mixing bowls, measuring cups | raw packaging, trash overflow |
| Cook zone | spatula, tongs, pot holders, timer, cooling rack (if baking) | plates, finished garnishes |
| Sink zone | dish soap, scrub brush, dish drying rack, trash bin | cooked food landing spot |
| Serve zone | plates, serving utensils, clean garnish bowls | knives and raw ingredients |
Give each tool a fixed home. Keep the knife and board with the prep zone. Return stirring tools near the stove after use. Send pots and pans back toward the cook zone or sink zone instead of leaving them on random counters.
Create a Clean-to-Dirty Path Across Zones
A clean-to-dirty route reduces wiping, cross-contamination risk, and unnecessary cleanup. Raw handling should move toward the sink, while cooked food should move toward plating. When those routes intersect, you end up redoing surfaces and carrying used tools through clean areas.
Keep washed produce and cooked food away from drying areas that hold raw cutting tools. If you rinse raw chicken in the sink, wash your hands and clean the sink area before handling cooked food. Do not place finished food in the same area used for raw cleanup.
Set simple no-touch rules and add one physical boundary. Use a dedicated dish towel, or paper towels, for prep wiping only. Do not use that same cloth in the serve zone. A tray or the edge of a cutting board can also serve as a visual divider that keeps cooked items from moving back into prep.
Use these rules in most kitchens:
- Keep the serve zone clean. No raw cutting boards, draining raw meat, or food packaging.
- Let the sink zone take the dirt. Keep trash, rinse water, and dirty tools near the sink until they are washed.
- Make hands follow the route. Wash your hands after raw prep before touching cooked food or plating utensils.
- Move in one direction. Ingredients travel from prep to cook to serve, while trash and used tools travel toward the sink.
If the layout makes perfect separation impossible, use trays, move plates farther away, and create a temporary cook landing spot.
Give the Counter, Stove, and Sink Separate Jobs
Assign each appliance and surface a specific role. The counter handles prep and staging. The stove handles heat and cooking tools. The sink handles washing, draining, and trash control. When one area starts doing another area’s job, the zones collapse.
Give common trouble items a clear destination:
- Cutting board and knife: stay in prep while you cut, then move directly toward washing.
- Lids and hot pans: land in the cook-zone landing spot, never in the serve zone.
- Colanders and draining tools: if they handle raw ingredients, keep them by the sink.
- Trash and recycling: stay near the sink so wrappers do not spill into prep or serve.
A 3-lane layout works even on a small counter:
- Lane 1: prep staging
- Lane 2: cook tools and hot-pan landing
- Lane 3: serve and plating
Keep the sink separate from those lanes. It should not sit between prep, cooking, and serving traffic.
Stop Weeknight Cooking Clutter Before It Spreads
Weeknight clutter usually starts with too many active items, not with a lack of cleaning. Extra bowls, sauce jars, and wrappers spread into the space you need for the next step. Limit what can remain out.
Allow only one active set per zone. The prep zone gets one staging tray, or one cleared strip. The cook zone gets only the pans and tools currently in use. The serve zone gets plates and one bowl of garnish. Everything else returns to storage or goes into a container.
Use a timed reset before clutter gets out of control. Do a 10-minute counter reset mid-recipe instead of waiting until the meal is finished. Clear empty containers from prep, wipe the prep boundary after spills, gather used utensils in one dirty spot, and get the sink ready for the next wash cycle.
For pasta on a busy night, set a timer for 10 minutes after you start boiling water. When it goes off, clear the counter around the pot, return leftover pasta sauce jars to the cabinet, and put a lid and spoon where you can reach them while stirring. That reset keeps the stove area from filling with random items and preserves a prep surface you are willing to use.
Match the fix to the problem:
- The serve zone gets crowded. Garnish and extra dishes are waiting there too early. Move them to a shelf until needed.
- The prep zone becomes storage. You are not containing active ingredients. Switch to one staging tray and reload it as you go.
- The stove area collects dirty tools. Put a dedicated dirty-tool container near the sink.
FAQ
What is the simplest kitchen zoning layout?
Start with 4 zones: prep for cutting and mixing, cook for the stove, oven, and hot-pan landing, sink for washing and draining, and serve for plates and finished food. Arrange them so movement goes from prep to cook to serve in one direction.
How long does it take to set up kitchen zones for cooking?
Most people can build a functional setup in about 30 to 60 minutes by moving items into zone homes and adding one staging tray for prep. The first full reset may take another 10 to 20 minutes because you are training yourself where things go. After that, quick mid-recipe resets should make zone clutter easier to stop.
Will kitchen zones make cooking faster or just create more work?
Kitchen zones reduce time spent searching for utensils, walking back and forth for ingredients, and wiping surfaces after raw and cooked items get mixed. The difference is most noticeable during multi-step meals. With fixed tool homes and staging trays, zones should save time over a few dinners rather than add work.
What is the biggest safety mistake when organizing zones?
Letting raw food touch the serve area is the biggest mistake. It can happen when cooked food, plates, or garnish containers sit near a cutting board, colander, or sink drain area. Use a separate clean landing spot and wash your hands before touching cooked food or plating utensils.
Do I need a special cart, or can I use existing counters?
Existing counters and shelves are enough for most kitchens. A staging tray, or baking sheet, plus one small container for dirty tools near the sink can create a workable system. A cart helps in small spaces by creating a dedicated prep station, but it is not required.
Pick your prep strip, stove landing spot, and serve landing spot today, then add one tray for active prep items. When you cook this week, move from prep to cook to serve and send used tools toward the sink immediately. That single route gives the system a clear starting point and makes it easier to maintain.