How To Organize Kitchen For Gluten Free Cooking
Gluten-free cooking fails most often for a simple reason: crumbs and flour dust travel to the wrong place. If you cook gluten free in a kitchen where gluten is also used, organization is your first line of defense. A dedicated prep area, clear labels, separate high-risk tools, and a repeatable cleaning routine reduce cross contamination and make cooking less stressful.
Key Takeaways
- Start with a zone. Pick one counter area, one shelf, and one workflow so gluten stays away from gluten-free prep.
- Label by category. Put “GF” labels on flour, starches, snacks, and sauces so you can grab the right item quickly.
- Dedicate high-risk tools. Use separate utensils for flour handling, mixing, and baking, especially boards, spatulas, and strainers.
- Control storage. Store gluten-free ingredients in sealed containers in one bin or cabinet to block airborne flour and crumbs.
- Clean on schedule. Wipe counters, then floors, and wash tools with hot, soapy water after gluten-free baking days.
- Handle dining gear safely. Keep gluten-free plates, serving spoons, bakeware, and sponges separate until everything is washed.
How To Organize A Kitchen For Gluten-Free Cooking
A gluten-free kitchen setup prevents tiny transfers rather than aiming for perfection. Flour dust can move from cutting boards, dish towels, open bags, and utensil handles into batter and dough. Cross contamination can happen even when the kitchen looks clean.
Create a system that keeps ingredients and tools in consistent places. A reliable setup lets you pull ingredients from one bin, prep in one spot, and return everything to the same storage area when you finish. For most households, that means a designated workflow, labeled supplies, and high-risk tools that are never shared.
You do not need to ban gluten from the kitchen to create a gluten-free zone. You do need to assume gluten will be present and design around it. If someone puts bread in the toaster and then touches the counter, sealed gluten-free ingredients and covered tools should still protect your prep area.
Create A Gluten-Free Zone For Prep And Cooking
Choose one physically separated prep area, even if it is small. Pick a counter section with a clear boundary, then add a small mat or tray that serves as the gluten-free landing spot for ingredients, mixing bowls, and pans.
Make the area part of a consistent workflow. Start with dry ingredients, move to mixing, and finish with baking. When you are done, place dirty gluten-free tools in the sink or a designated “dirty but GF” container rather than on a shared countertop.
If you share a kitchen with gluten, limit traffic through the zone. Keep paper towels nearby for flour dust, and keep gluten-free ingredients covered. A rolling tote or small box can keep everything you touch inside one footprint and prevent items from rolling onto the rest of the counter.
A Repeatable Gluten-Free Workflow
- Set out gluten-free pans and parchment before opening any flour.
- Pour or scoop dry gluten-free ingredients only over the gluten-free tray.
- Mix with gluten-free-only utensils, then transfer batter with the same dedicated tools.
- Keep the tray in place while baking, and cover bowls when you step away.
How Much Counter Space Do You Need?
If your gluten-free baking uses one bowl and one pan, a prep zone about the size of a half baking sheet plus a mixing bowl is usually enough. If you make pizzas, cookies, or multiple pans, plan for at least two stations along the same counter: one for dry ingredients and one for dough or batter.
Label Everything From Flours To Snacks
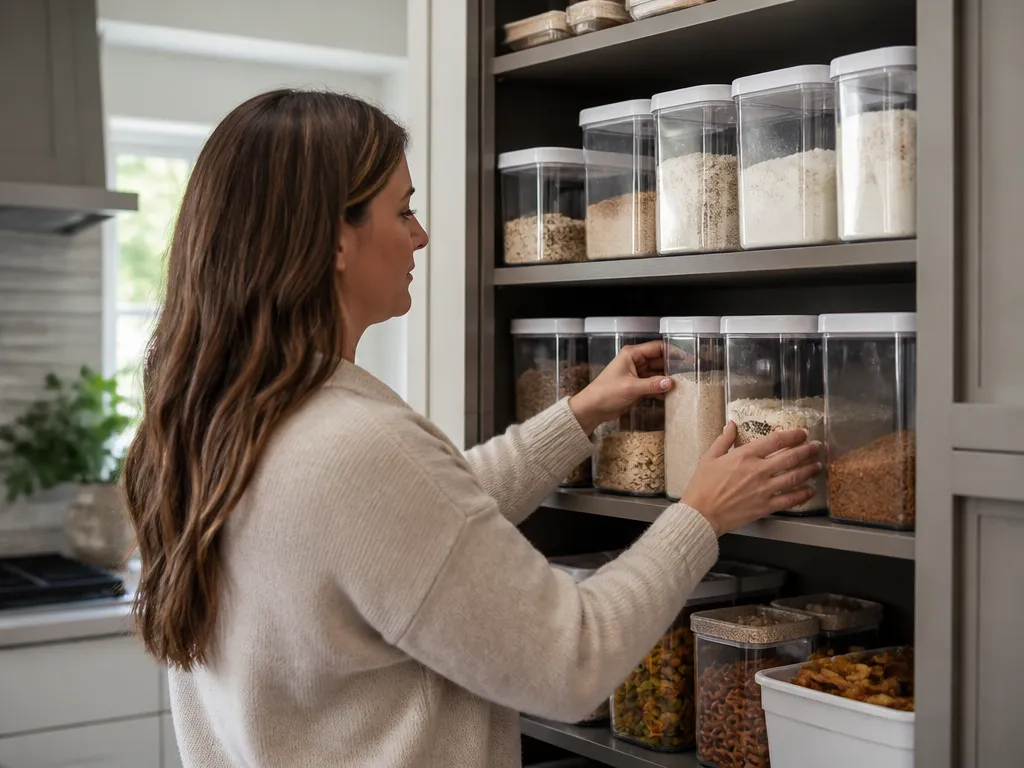
Labels turn “I think this is gluten free” into “this is gluten free.” Clear labels also help family members and guests avoid guessing.
Label ingredients that someone could easily grab by mistake, including flours, starches, baking mixes, breading mixes, snacks, and gluten-free sauces. If you buy from bulk bins, label the product as soon as you transfer it and never leave it loose in the original bag. Labels are especially useful for similar-looking ingredients, such as almond flour and another nut flour blend or two different starches.
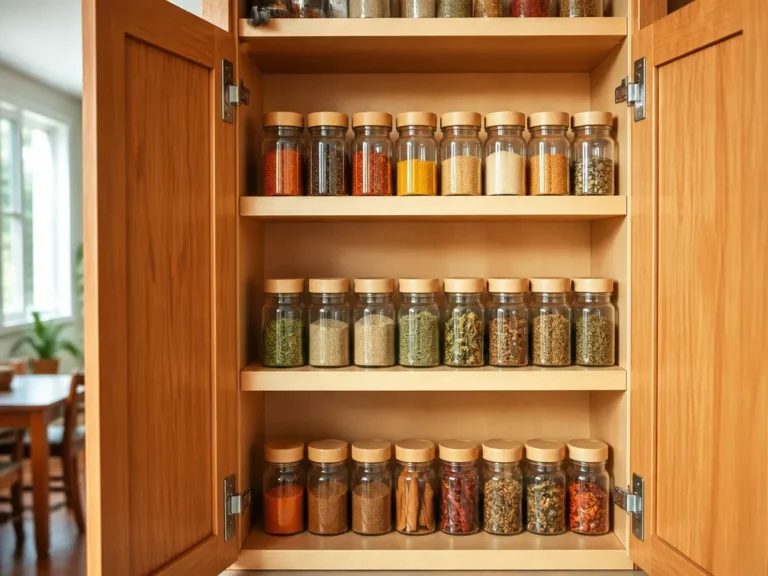
Use the same format every time: “GF” followed by the ingredient name. Add notes when needed, such as “GF verified” or “contains egg” on baking items. Face labels outward so you can read them without lifting each container.
What To Label First
- Flours and starches. Gluten-free flour blends, rice flour, tapioca starch, and corn starch substitutes.
- Baking mixes. Muffin mix, brownie mix, pancake mix, and any ready-to-use blend.
- Snacks and toppings. Chips, crackers, cereal, crumbs, chocolate coatings, and sprinkles.
- Sauces and seasonings. Anything drizzled or used as a topping where crumbs could transfer.
- Helper ingredients. Thickeners, breadcrumbs alternatives, pie crust mixes, and gravy mixes.
Labeling Mistake To Avoid
Do not rely on the original bag once an ingredient has been opened or partially stored. When you decant or transfer food to another container, make the new label clear and easy to read.
Use Dedicated Tools To Prevent Cross Contamination
If a tool touches flour, batter, or dough, treat it as high risk. That includes flour measuring cups, mixing bowls used for gluten-free blends, rolling pins, pastry boards, and anything that scrapes dough.
Start with tools that are difficult to clean completely. Wood and other porous surfaces can retain particles, while metal tools may trap flour in crevices. A shared utensil set also creates unnecessary uncertainty. Dedicated tools remove the question of whether a rinse was enough.
My practical rule is simple: if you cannot confirm that a tool was cleaned, do not share it. A strainer used for pasta water or flour sifting can trap particles. Stand mixer attachments can collect flour around the head and couplers.
Tools To Dedicate
- Dry measuring cups and spoons used only for gluten-free flour or starch.
- Mixing bowls used for gluten-free dough or batter.
- Spatulas and scrapers that contact flour or batter.
- Baking sheets, cake pans, and pizza tools used only for gluten-free food.
- Rolling pins and pastry tools used to roll dough.
- Colanders or strainers used to sift gluten-free flours.
Can You Clean Shared Tools?
Many tools can be cleaned thoroughly enough for general preparation, but strict gluten-free cooking calls for extra caution with high-risk items. If you are making gluten-free brownies on the same day someone made bread dough, dedicated tools are safer than relying on a quick wash. Avoid sharing porous tools whenever possible.
Set Up Storage Systems For Gluten-Free Ingredients
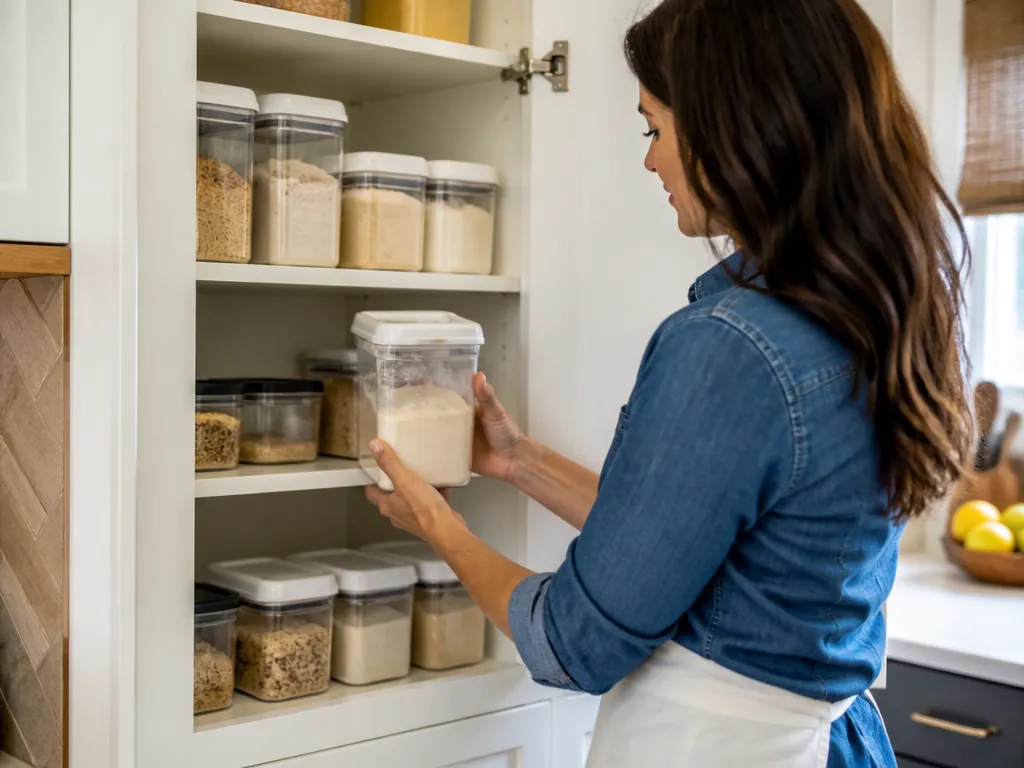
Storage keeps flour dust out and reduces the chance of grabbing the wrong container. When gluten-free ingredients are spread across several cabinets, every extra location creates another opportunity for mistakes.
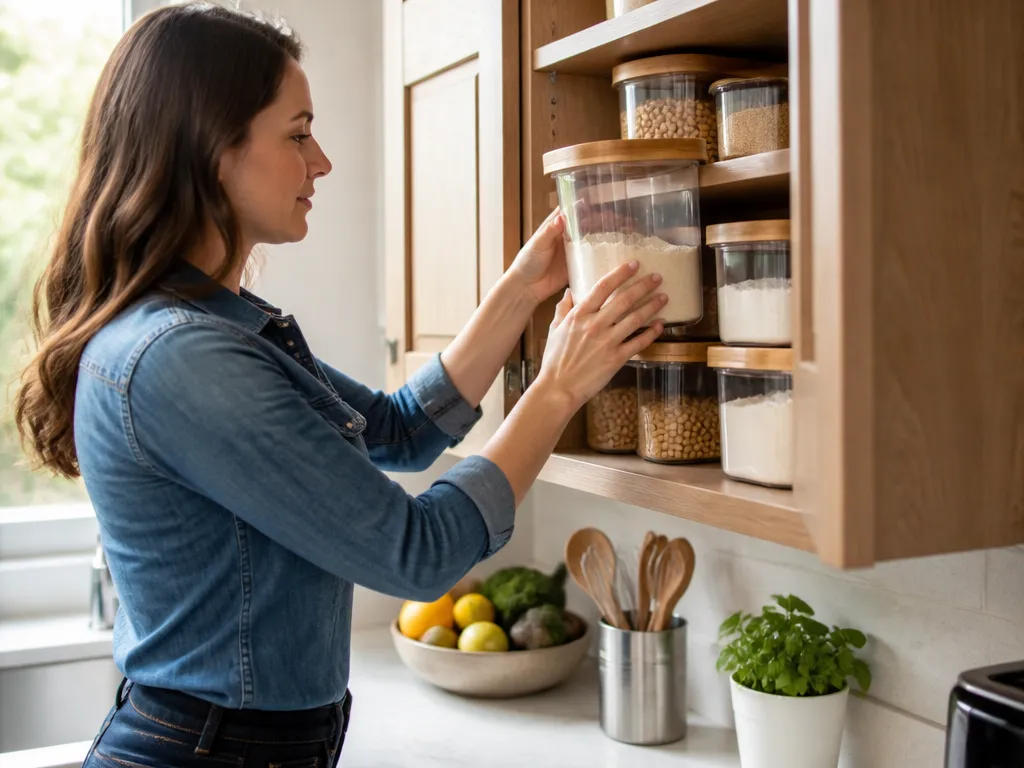
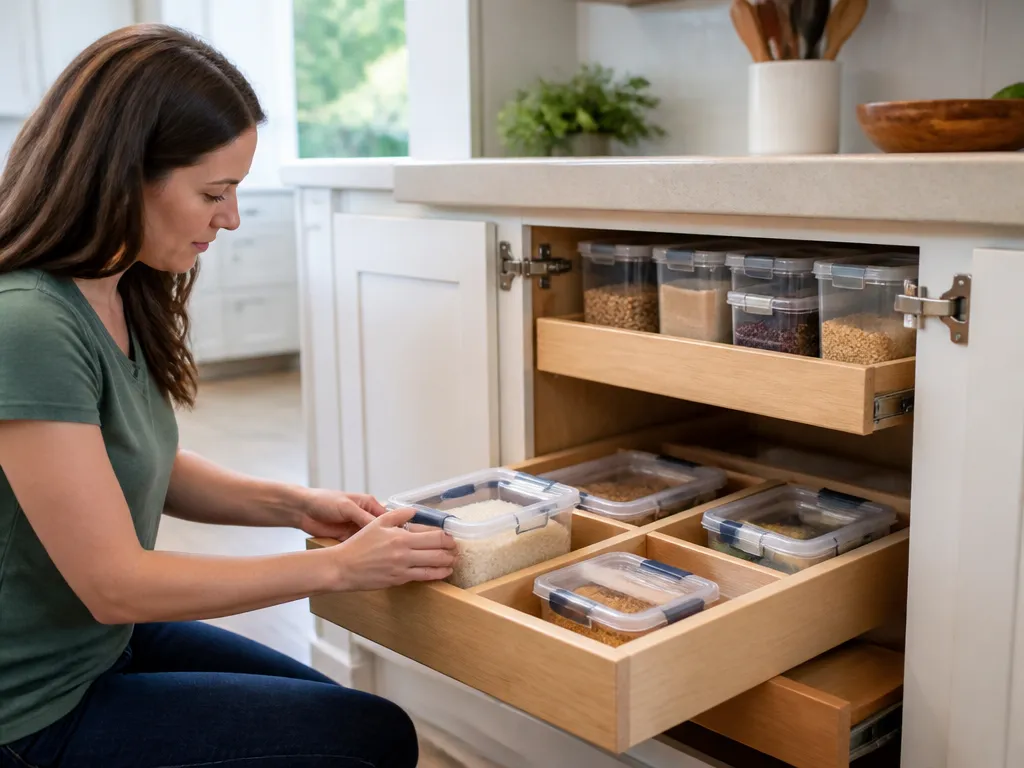
Choose one consistent gluten-free home: a pantry shelf, drawer, or dedicated bin. Keep it physically separated from shared gluten items, and place it away from open baking activities where flour dust may settle.
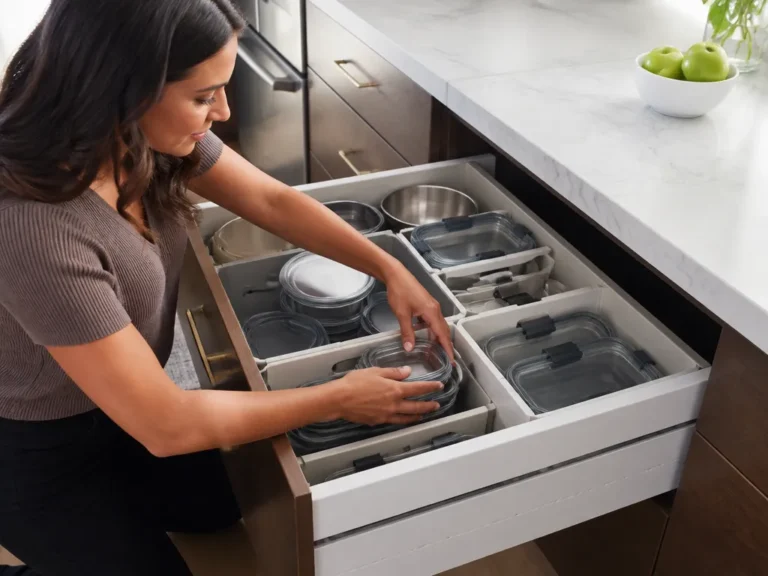
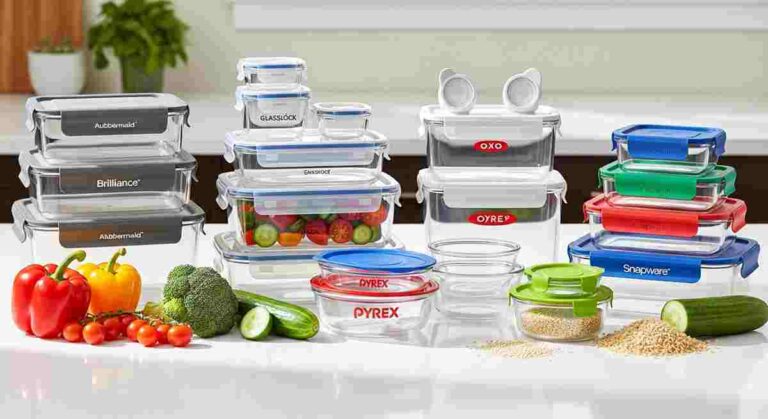
Use sealed containers for anything you pour, scoop, or open. A container with a gasket lid blocks dust better than a paper bag. For smaller items such as snack packs, use a lidded bin so loose crumbs do not mix with other stored foods.
A Two-Level Storage System For US Kitchens
- Main bin: Store gluten-free flours, baking mixes, and staples here.
- Working shelf or drawer: Keep the ingredients you are using during the current week here.
Return everything to the main bin when you restock. This keeps half-used packages off the counter and prevents them from drifting into the rest of the pantry.
Plan A Cleaning Routine For Countertops And Surfaces
A cleaning routine keeps the gluten-free zone useful instead of letting crumbs and flour dust build up over time. Clean the surfaces and transfer points that you may touch during preparation.
Schedule the routine around the moment flour enters the kitchen. Before gluten-free prep, wipe the zone and any nearby surfaces you will touch. If the kitchen was used for gluten baking earlier, wipe more thoroughly, including counter edges and backsplash areas where flour may have settled.
Keep paper towels or wipes near the zone during baking. Use them to remove spills and visible dust immediately. Afterward, clean in one direction so you do not spread crumbs across the same surface.
A Simple Cleaning Routine
- Before you start: Wipe the gluten-free zone and the surrounding area where you will set bowls and pans.
- During prep: Wipe spills immediately and remove dust after pouring flour.
- After baking: Wash the tools, wipe the counters again, and clean the floor beneath the work area.
Clean The Transfer Points
Handles and utensil parking spots are easy to miss. Wipe the counter edge where spoons rest, the refrigerator handle you touch while holding a mixing bowl, and the sink area where flour-coated tools go.
Manage Dining Ware, Bakeware, And Sponges Safely
Cross contamination can occur after baking. A shared spoon used to taste batter or a serving utensil stored beside gluten-containing bread can undermine an otherwise careful prep system.
During the cooking session, use designated gluten-free dining ware and bakeware whenever possible. That includes the spatula used to lift a cake, the serving spoon placed in a pan, and the plate used for tasting. Wash everything thoroughly after the meal or baking session.
Sponges and dish towels deserve special attention because they trap crumbs and moisture. Use a dedicated sponge or disposable wipes for gluten-free cooking, along with a separate drying area for gluten-free tools. If you have only one sponge, treat it as a shared-risk item and replace it frequently.
A Practical Serving Setup
- Keep a gluten-free serving utensil in the gluten-free zone while portioning food.
- Use one set of gluten-free plates for serving until all food is plated and moved away.
- Wash baking sheets and pans immediately instead of stacking them with shared pans.
Protect Bakeware After The Oven
Do not place a hot gluten-free pan directly on a shared cooling rack without protecting the surface. Set it on parchment, a clean tray, or a dedicated rack instead.
FAQ
How Do I Organize A Gluten-Free Kitchen In A Small Apartment Or Shared Space?
Choose one counter landing spot as the gluten-free zone. Use one lidded bin as the gluten-free home for flours, mixes, and snacks. Keep gluten-free tools in a separate cup or drawer, including measuring cups, mixing utensils, and spatulas, and return them there after use.
What Is The Minimum I Should Buy To Start Organizing For Gluten-Free Cooking?
Start with one sealed bin for gluten-free ingredients, labels for containers, and dedicated high-risk tools such as measuring cups and a mixing spatula. If you bake, dedicate your mixing bowl and baking sheet as well. If you share a sponge, switch to disposable wipes or use a dedicated gluten-free sponge.
How Long Does Cleaning Need To Take After Gluten-Free Baking?
Plan for about 10-20 minutes for a typical baking session. Wipe the gluten-free zone, wash the used tools, and complete one more surface wipe. The exact time depends on the amount of flour and how much traffic the kitchen had, but the sequence stays the same.
What Is The Biggest Mistake People Make When Organizing For Gluten-Free Cooking?
Leaving gluten-free ingredients unsealed or unlabeled is one of the most common mistakes. An unlabeled jar creates guesswork later, while an open flour bag can release dust. Seal and label ingredients first, then add dedicated tools.
Are There Safer Alternatives To Dedicated Sponges And Utensils?
Disposable gloves can help during messy prep, but they do not replace tool separation when utensils touch flour or batter. A safer alternative is a strict tool workflow: use gluten-free-only utensils for flour contact, then use disposable wipes or replaceable pads for cleaning. If you must share tools, clean them thoroughly between uses and avoid porous surfaces.