How To Maintain A Refrigerator For Efficiency
A refrigerator uses less energy when it can seal in cold air, move heat out efficiently, and circulate air inside the cabinet. The biggest gains usually come from keeping the door gasket clean and tight, cleaning dusty condenser coils, setting the refrigerator near 37°F and the freezer near 0°F, and keeping vents clear.
You need a refrigerator thermometer, a vacuum with a brush attachment, warm soapy water, a cloth, and a strip of paper or a bill for testing the door seal. Unplug the refrigerator before removing grilles or working near wiring.
Key Takeaways
- Check the door seal first. Replace a failing gasket if the door cannot hold a paper test firmly.
- Clean condenser coils periodically. Dust and pet hair make the compressor run longer.
- Use practical temperature targets. Aim for 37°F in the refrigerator and 0°F in the freezer.
- Treat frost as a warning. Excess ice insulates cold surfaces and slows heat removal.
- Protect airflow. Leave space around vents and return paths inside the cabinet.
- Use a seasonal checklist. Inspect the gasket, coils, frost pattern, vents, and temperature settings every season and after deep-cleaning.
Daily Habits That Keep a Refrigerator Efficient
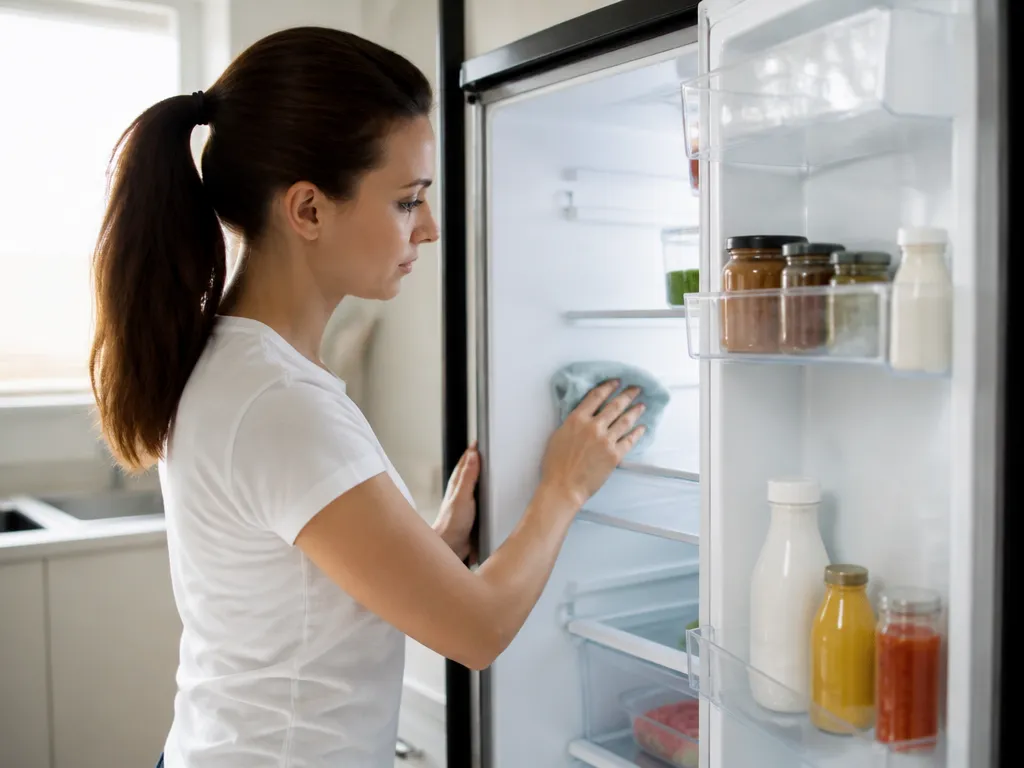
Close the door promptly and avoid leaving it cracked open while deciding what to take out. Every extra minute lets warm, humid air enter, which makes the compressor run longer and increases the risk of freezer frost.
Keep food away from vents and the back wall where cold air enters or circulates. Wipe up spills so the cabinet stays clean and dry, and organize frequently used items where you can reach them quickly. In the freezer, find items before opening the door whenever possible because warm, humid air can accelerate frost buildup.
Watch for signs that the refrigerator is working too hard:
- The compressor runs for unusually long periods.
- Warm air seems to leak around the door.
- The refrigerator cycles on and off constantly.
- Frost keeps returning after defrosting.
- Temperatures vary sharply between shelves.
These symptoms usually point to a leaking gasket, blocked airflow, heavy frost, or dirty coils rather than normal operation.
Check the easy visual details as well. Make sure the interior light turns off when the door closes, since a sticking door switch can add heat. Push drawers fully into place so they do not obstruct vents or prevent the door from sealing. If the refrigerator has an ice maker, keep the ice bin from overfilling or interfering with the mechanism.
How Often to Clean the Condenser Coils
Inspect the condenser coils every 3 months and clean them every 6 months when you see dust buildup. Homes with shedding pets, smoke exposure, or dusty surroundings may need cleaning closer to every 3-4 months.
Condenser coils release heat from the refrigerant. Lint, pet hair, and dust reduce heat transfer, so the compressor runs longer to reach the temperature setting. That extra runtime can raise energy use and put more strain on the appliance.
Use this cleaning process:

- Unplug the refrigerator if you need to remove a grille or access the coils.
- Use a vacuum with a brush attachment to remove dust from the coils and fan area.
- Work slowly and avoid pushing debris deeper into the fins.
- Reinstall every grille or panel securely so it does not restrict airflow.
If the model has a power switch, you can turn it off while cleaning an accessible area, but unplugging is safer when you are near wiring or removing panels. Do not spray water on coil areas that are not designed for it, especially near electrical components.
Coils may sit at the bottom front, behind a rear panel, or behind a side grille. Check the manufacturer label inside the refrigerator door or consult the manual if you are unsure. Cleaning the wrong area leaves the actual coils dusty and solves nothing.
Temperature Settings That Reduce Energy Waste
Set the refrigerator to 37°F and the freezer to 0°F, then keep those settings steady.
A setting that is too warm can allow food temperatures to rise, while a setting that is unnecessarily cold wastes energy because the appliance must maintain a lower temperature than food generally requires.
For most refrigerators in the United States, 37°F in the fresh food compartment and 0°F in the freezer compartment are practical targets. Setting the refrigerator to 34°F may make food feel colder, but it can increase compressor cycling and raise energy use.
Change settings in small steps over 24-48 hours, especially if the appliance is far from the target. Gradual adjustments reduce temporary overshooting and unnecessary cycling after the refrigerator has already been working hard.
Do not rely on the refrigerator door for an accurate temperature reading. Door shelves are warmer than the middle of the cabinet, and inexpensive stick-on sensors can drift. Place a reliable refrigerator thermometer near the center of the main compartment to check the actual temperature.
Common energy-wasting habits include:
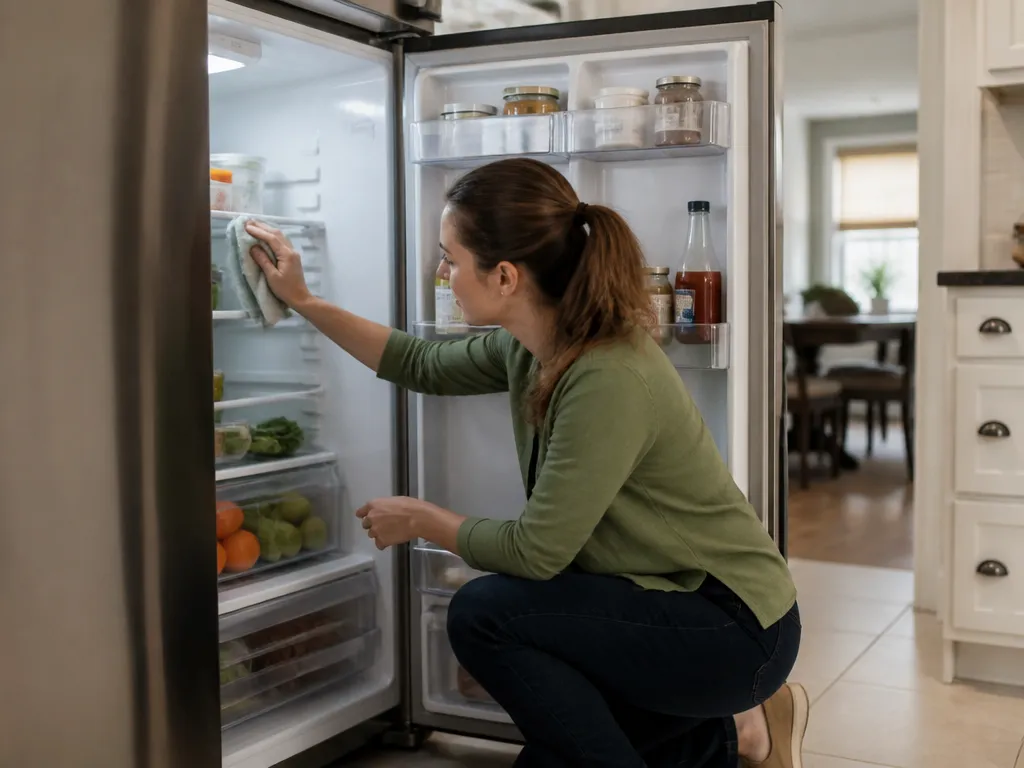
- Setting the freezer to “max” because ice seems slow to form. Maximum settings usually increase runtime without fixing the ice maker’s timing or fill cycle.
- Turning the refrigerator colder while adding warm leftovers. The compressor must remove the food’s added heat while maintaining an unnecessarily low setpoint.
- Keeping the refrigerator at a very low setting after moving it into a hot kitchen. Adjust the appliance to actual room conditions rather than assuming colder is always better.
After changing the settings, watch for shorter compressor cycles and an improved freezer frost pattern. Persistent heavy frost requires more than a temperature adjustment.
How to Check and Replace the Door Gasket
A leaking door gasket wastes energy continuously. Test it with paper, clean it before replacing it, and check the hinges if the seal remains uneven.
Close the door on a strip of paper or a bill at several points around the gasket, including the corners and center. Pull the paper out gently:
- If it slides out easily in every location, the gasket is weak or misaligned.
- If it holds firmly in some spots but not others, look for debris, a torn section, hinge misalignment, or a sagging door.
Clean the gasket before ordering a replacement. Wipe it with warm soapy water, rinse it, and dry it completely. Grease and food residue reduce contact between the rubber and the cabinet.
If cleaning does not improve the seal, inspect the mechanical alignment. Hinge wear, an unlevel refrigerator, or a broken hinge can keep the door from contacting the gasket evenly. A new gasket will not solve a door that sags or needs extra force to close.
Replace the gasket when it remains damaged or fails the paper test:
- Order the gasket using the refrigerator’s model number. Universal gaskets often seal poorly because mounting profiles and shapes differ.
- Remove the old gasket carefully. Many clip-on designs pull free without tools, while others fit into a retaining channel.
- Install the new gasket evenly, beginning at one corner and working around the door.
- Avoid stretching the gasket as you install it, since uneven tension can create gaps.
- Repeat the paper test around the entire perimeter.
A properly sealed door should provide consistent resistance when you pull the paper. It should also close without extra pressure at one side.
Unplug the refrigerator if the repair requires access near panels or wiring. Many gasket replacements are simple, but careless work can damage connectors or other components.
Why Frost Buildup Raises Energy Use
Frost makes a freezer less efficient because ice insulates cold surfaces and forces the compressor to run longer.
As frost thickens on freezer walls or coils, cold must pass through the ice before it can remove heat from stored food. Heat transfer slows, compressor runtime increases, and moisture in the freezer air feeds additional frost growth.
Common causes include:
- A weak or damaged door gasket
- Frequent door openings
- Blocked airflow inside the freezer
- A malfunctioning automatic defrost system
Inspect the frost pattern before deciding that the freezer simply needs defrosting:
- Frost mainly on one side: A partial door-seal leak may be allowing humid air to enter.
- Frost on the back wall: Some frost can result from normal evaporator cycling, but thick, widespread ice may indicate a defrost problem.
- A weaker-than-usual freezer fan: Blocked airflow can cause icing where circulation should prevent it.
Manual-defrost refrigerators are less common in modern US homes, but they should be defrosted according to the manual before ice becomes excessive. Automatic-defrost models can still develop problems. A freezer that never seems to clear frost may have a failed defrost heater, thermostat, or control.
During a scheduled maintenance weekend, empty the freezer and inspect the ice pattern. If the seal is leaking, replacing it often reduces frost because less humid air enters the freezer.
Food Organization for Better Cooling
Airflow inside the refrigerator works as a circulation system. Cold air enters through vents, moves through the cabinet, and returns through other openings. Packing food against those paths makes the compressor run longer because cold air cannot reach the center of the compartment efficiently.
Leave space between containers and the back wall, especially near air-delivery areas. Keep gaps around vents and avoid tall stacks that block return paths. Temperature sensors often measure conditions near the middle of the cabinet, so blocked circulation can create warm areas even when the control panel shows the correct setting.
Use these organization rules:
- Let very warm leftovers cool before putting them in the refrigerator. Hot food adds heat and humidity, which can lengthen compressor runtime.
- Cover open liquids and store raw meat in sealed containers. Excess moisture can increase icing risk over time.
- Keep food away from vents and return pathways.
- Avoid overfilling produce drawers. Bulging items can prevent drawers from closing fully and interfere with the door seal.
- Store frequently used drinks on the door, but do not stack containers so high that the door cannot close properly.
- Arrange frequently used foods where they are easy to reach, reducing door-open time.
Use produce bins according to their intended moisture settings instead of lowering the refrigerator temperature to compensate for poor storage. If the back of the refrigerator is much colder than the front, check airflow clearance first, then test the door gasket. Organization can fix blocked circulation, but it cannot stop warm, humid air from entering through a leaking seal.
FAQ
1) How much money can I save by maintaining a refrigerator for efficiency?
The largest savings usually come from fixing a poor door seal and reducing heavy frost rather than making one small temperature adjustment. Start with the paper test, then clean the condenser coils every 3-6 months based on dust. If the freezer has thick frost, defrost it and check whether the automatic defrost system is working properly. Reducing unnecessary compressor runtime is where the energy savings occur.
2) How long does it take to clean condenser coils?
Coil cleaning usually takes 20-40 minutes once the coils are accessible. Models that require front grilles or panels take longer because you need to remove and reinstall those parts carefully. For a first cleaning, allow an extra 10-15 minutes to locate the coils and fan area.
3) Is it safe to clean condenser coils with a vacuum?
Yes. Vacuuming with a brush attachment is the safest approach for most refrigerators. The brush removes dust without bending the coil fins. Unplug the refrigerator when removing grilles or working close to fan wiring.
4) What is the fastest way to troubleshoot high energy use?
Inspect the freezer for heavy frost, check that food is not blocking vents, and confirm that the door closes without extra effort. If those areas look normal, clean the condenser coils and verify temperature stability with a reliable thermometer placed in the center of the refrigerator.
5) Why does my refrigerator make ice or frost even when I keep the temperature set correctly?
Ice and frost usually result from humid air entering the freezer or a defrost system that is not clearing frost effectively. A failing gasket can admit humid air even when the temperature setting is correct, while blocked airflow can worsen the frost pattern. If frost is excessive or returns quickly, look for unusual frost distribution and signs of poor defrost performance.