
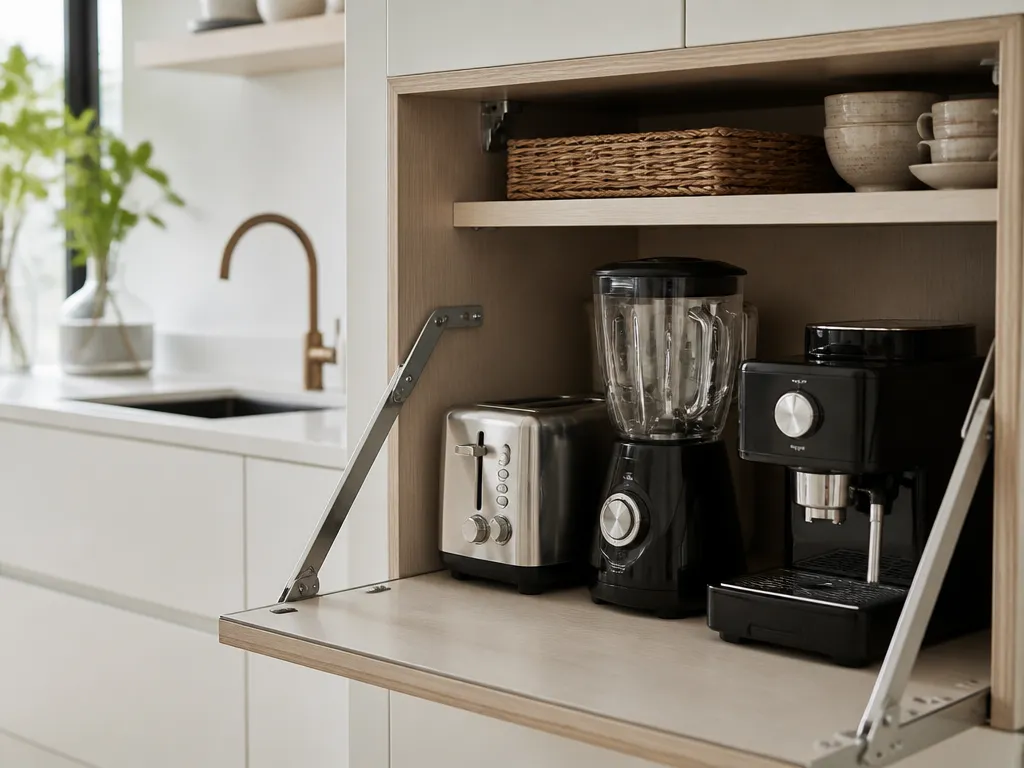
How To Organize A Kitchen For Small Appliances
A kitchen full of small appliances is organized when you can find the right one in seconds. If you spend 3 to 5 minutes hunting for blender parts or a toaster bag, the storage system is costing you time. The fix is straightforward: give every appliance a home, keep frequently used tools within reach, and store accessories with the appliance they belong to.
Small appliances need two things: a clear home and fast retrieval. Put daily-use tools near an outlet, store rarely used items behind doors or on higher shelves, and use dedicated bins for lids and attachments. Labels make the system easier to maintain because each item has one obvious place to return.
Key Takeaways
- Start with reality checks. List what you use weekly, daily, and never, then match storage to those habits.
- Prioritize workflow. Set prep, cook, bake, and storage zones around where you use each appliance.
- Reduce movement. Store daily appliances on the counter or in easy-access cabinets near outlets.
- Control accessories. Keep lids and attachments in dedicated bins so they do not wander.
- Label storage locations. Use clear, consistent labels for bins and drawer dividers.
- Reset the kitchen regularly. Spend 5 minutes after cooking returning items before clutter builds.
How To Organize a Kitchen for Small Appliances
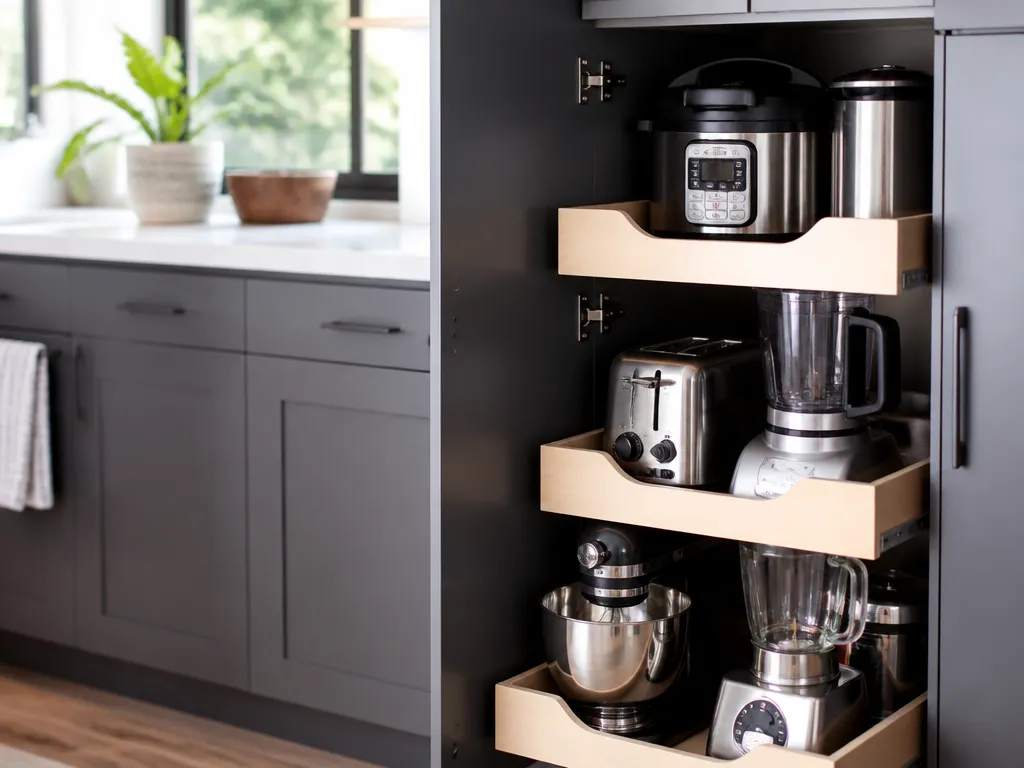
Organizing small appliances starts with a repeatable workflow. When the blender, stand mixer, air fryer, and food processor parts have assigned homes, you make fewer extra trips and stop stacking items in temporary places.
In a small kitchen, the best setup reduces the distance from storage to outlet, matches storage height to how often you use an item, and keeps each appliance’s accessories together. A system that looks tidy but makes daily tools difficult to reach will not last.
Prerequisites for a System That Sticks
You do not need a warehouse’s worth of organizers. You need a few basic supplies and an honest assessment of your habits.
Gather these first:
- A trash bag and a donation box for broken items and duplicate parts
- A measuring tape so you do not buy organizers that will not fit
- Shelf liner or non-slip material to keep bins in place
- Dividers, bins, or drawer organizers that fit your cabinets
- Labels for bins and drawers, rather than necessarily labeling every appliance
Then take a quick inventory. For each appliance, decide whether you use it daily, weekly, seasonally, or rarely. An appliance that comes out only for holidays does not belong in a prime counter spot.
Match Storage to Retrieval Time
Assign storage based on how quickly you need to grab an appliance, not on how attractive the arrangement looks. Items used several times a week should stay near the area where you cook. Items used once a month can go higher, deeper, or behind a cabinet door.
Use this order:
- Daily-use small appliances get the easiest access.
- Weekly-use appliances get fast access behind one cabinet door or in one drawer.
- Seasonal appliances go in storage that is slightly harder to reach.
- Rarely used items go on top shelves or in a dedicated closet bin.
Check Whether the System Is Finished
After organizing, you should be able to answer these questions in one minute each:
- Where does the appliance live when it is not in use?
- Where does its cord live?
- Where do its accessories and lids live?
- Where do its cleaning tools, such as the brush, paddle, or measuring cup, live?
If you have to figure out any of these each time, the system is not finished.
Which Small Appliances Need Daily Access?
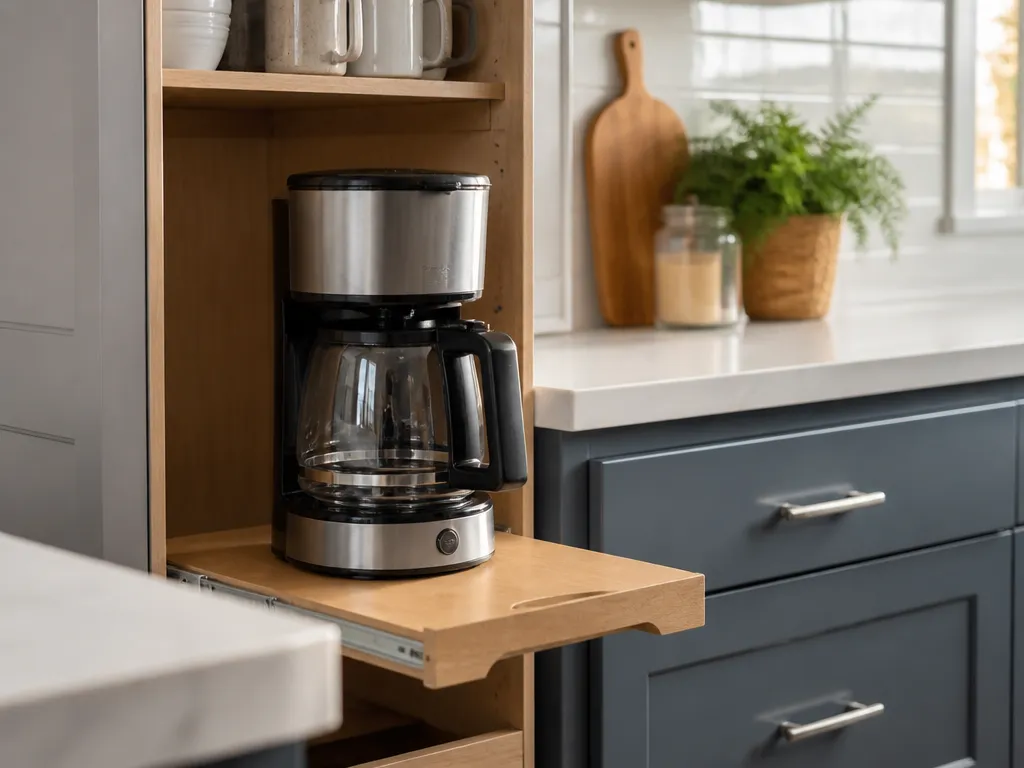
Daily access belongs to appliances you grab without thinking because they support your normal cooking routine. In many US households, that means a coffee maker, toaster or air fryer, blender or immersion blender, and whichever appliance you use to heat or cook most meals.
Use a plain test: anything you use at least 3 to 5 times per week earns daily-ish access. The number is not magic, but it catches appliances you repeatedly search for even when you have not noticed the pattern.
A Realistic Daily-Use
Many kitchens have a short group of frequent-use appliances. The exact list varies, but these are common candidates:
- Coffee maker or espresso machine, with cups and filters nearby
- Toaster, toaster oven, or air fryer if you use it often
- Blender or immersion blender for smoothies and soups
- Electric kettle for frequent tea or instant meals
- Hand mixer if you bake regularly, even 1-2 times weekly
- Instant Pot or multicooker if it is part of your meal routine
A food processor often belongs in weekly or prep-batch storage. It may feel essential when you need it, but many people do not use it every day.
Keep the Counter Focused
Counter space is limited. Put every appliance on the counter and you create a different kind of mess. My rule is to keep only the appliances you use frequently and store the rest where you can reach them without digging.
A good target is 1 appliance per main meal-task area, rather than a full lineup of every gadget you own.
Use Prep, Cook, Bake, and Storage Zones
Zones turn random countertop clutter into a predictable path. Prep tools stay together, cook tools stay together, and bake tools stay together, so the kitchen supports the way you work.
Each appliance gets a zone, and its accessories stay in a drawer or bin within that zone.
A Zone Map for Small Kitchens
You do not need a floor plan. You need four functional areas:
- Prep zone: Cutting board, utensils, mixing bowls, measuring cups, immersion blender, or hand mixer if you use it for sauces and quick blends
- Cook zone: Air fryer, toaster oven, microwave if it stays, grill-pan tools, and appliances used during active meal preparation
- Bake zone: Stand mixer, food processor attachments used for dough, baking sheets, cooling racks, and measuring tools
- Store zone: Bins or shelves for seasonal appliances and rarely used parts
Zones can overlap. An air fryer and toaster oven might share the cook zone, while a blender belongs in the prep zone if you use it to puree sauces and soups.
Keep Accessories Near Their Appliances
Putting the blender on the counter while storing its extra jars and blades elsewhere still creates unnecessary work. Each zone should include the accessories for the appliances stored there, whether those accessories sit in a drawer, bin, or nearby cabinet.
Example Layout for a Small Kitchen
For a common layout with limited cabinet depth:
- Use the counter near an outlet for the coffee maker, paper filters, and mugs.
- Place the air fryer in a counter corner near the stove, with its crisper tray in a nearby bin.
- Use an upper cabinet shelf for bake appliances and baking tools, limited to what you use for baking.
- Store the food processor and seldom-used attachments in a deep cabinet or on a top shelf.
If the food processor is mostly in “weekend mode,” it belongs in the store zone rather than in the middle of daily prep.
Choose Between Countertop and Cabinet Storage
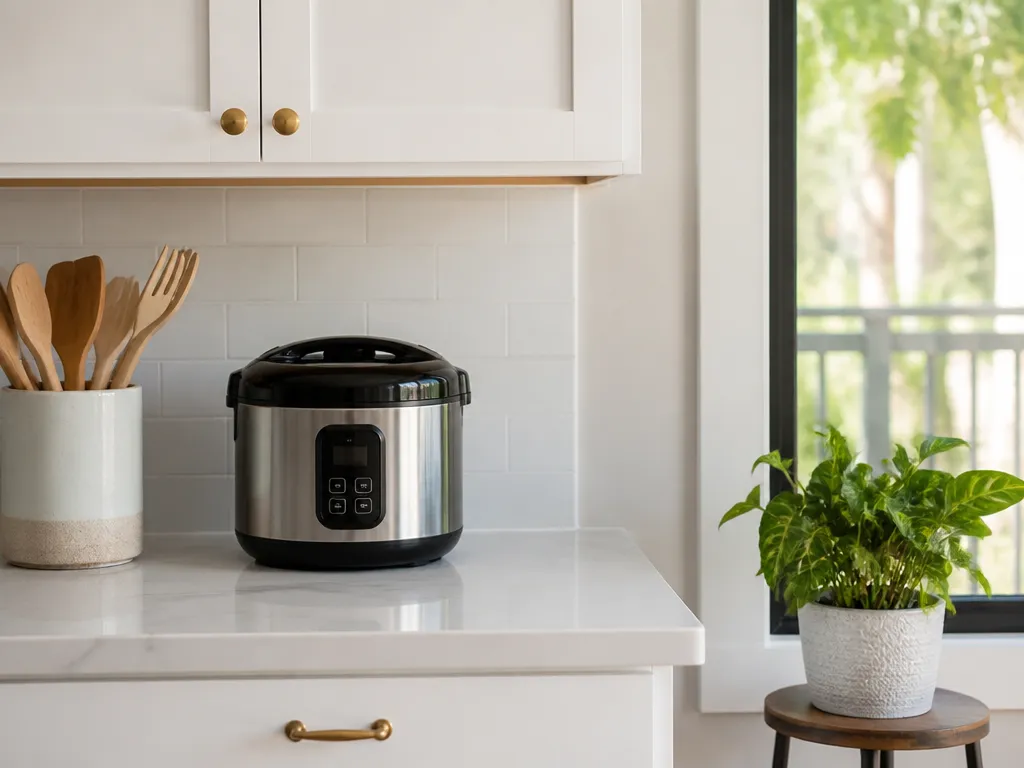
Countertop storage offers the fastest access but takes up workspace and can make the kitchen look crowded. Cabinet storage preserves counter space but needs internal organization so appliances do not disappear behind stacks of other items.
If you use an appliance often enough to resent opening cabinet doors, countertop storage is the better choice. If you use it occasionally, cabinets usually work better.
When Countertop Storage Wins
Keep an appliance on the counter when:
- You use it daily or nearly daily.
- You need to plug it in every time and want easy outlet access.
- It is bulky or awkward to lift in and out frequently.
- Its accessories need to stay close by, such as filters, cups, or attachments.
Coffee makers and kettles are classic countertop appliances. Air fryers also belong there for people who use them as a daily cooking method.
When Cabinet Storage Wins
Cabinets work better when:
- You use the appliance weekly or less.
- You need counter space for actual food preparation.
- You can place the appliance near the right outlet with a pull-out shelf, lazy Susan, or bin.
- You can keep the cord and parts bundled together.
If you have pulled out a cabinet and found three lids with one matching blade, the cabinet did not fail. The storage system inside it did.
Use an Open-Access Cabinet
An open-access cabinet offers speed without permanent counter clutter. Set one up with:
- A clear bin system and one landing spot per appliance
- A pull-out shelf that lets you reach the entire appliance without digging
- A dedicated drawer for cords and small parts
This arrangement preserves workspace while keeping frequently used appliances within easy reach.
Store Cords, Lids, and Attachments Together
Cords, lids, and attachments cause many organization problems. Appliances are easy to assign homes, but accessory piles quickly fill shallow drawers and deep cabinet corners.
Keep cords and small accessories with their appliance identity, rather than putting them in a general miscellaneous drawer. A food processor blade should not sit in a drawer labeled “blenders.”
Keep Cords From Tangling
The most useful cord system keeps each cord bundled with one appliance.
Use these methods:
- Add a hook or small cord clip behind the appliance’s storage spot.
- Wrap the cord loosely and secure it with a Velcro strap.
- Store the cord in the same bin as the accessories or directly beside the appliance.
Avoid loose cords draped behind appliances, where they can get pulled or damaged. Avoid temporary cord piles in a junk drawer, too.
Give Each Appliance One Container
Lids and attachments need a permanent container. If one appliance has several attachments, use small dividers inside its bin.
A practical container layout includes:
- One outer bin labeled with the appliance name
- Inner sections labeled by attachment type, such as “blade,” “dough hook,” or “disc 1”
- A lid for the bin so pieces do not slip out
Match Storage to the Item
| Item type | Best storage method | Why it works in small kitchens |
|---|---|---|
| Cords | Velcro-tied bundle near the appliance home | Prevents tangles and “mystery outlets” |
| Appliance lids | Dedicated bin with the matching appliance label | Stops lid swapping and lost matches |
| Attachments (blades/discs) | Small divider bin inside the appliance bin | Keeps similar parts together and easy to grab |
| Loose small tools (brushes, paddles) | Drawer or bin next to the appliance bin | Reduces the number of trips during cooking |
Label Storage for Faster Put-Away
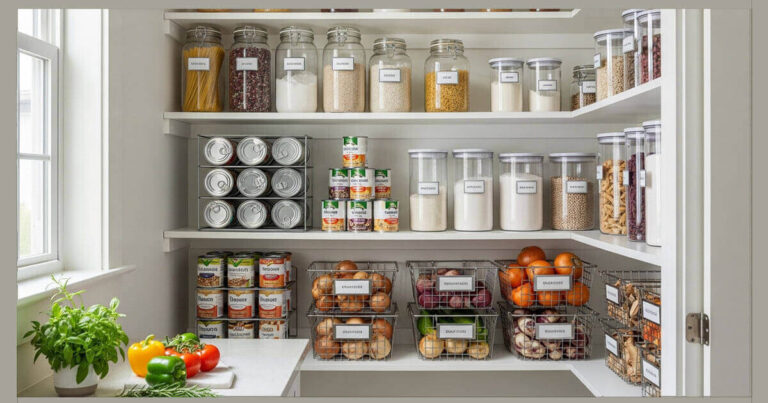
Labels make organization easier to maintain. Without them, people have to decide where items belong every time they help in the kitchen or put things away while tired.
Keep labels simple and consistent. The goal is a system that works at speed, not a museum display.
Label the Delay Points
Label the storage locations that commonly cause confusion:
- Bins for attachments
- Drawer sections for small tools
- Cabinet shelves for specific appliance accessories
- Landing zones for cords
Do not label everything. When every surface has a label, the labels become background noise.
Use an Appliance-Based Format
Use formats such as:
- “Air Fryer – Accessories”
- “Food Processor – Blades”
- “Coffee Maker – Filters”
If several people use the kitchen, appliance names work better than generic labels such as “Blender parts.”
Follow a 60-Second Put-Away Routine
After cooking:
- Return the appliance to its zone.
- Put the accessories directly into the labeled bin.
- Wrap and replace the cord.
- Wipe and reset the appliance’s surface so it is ready next time.
This routine prevents the “I’ll put it away later” habit from turning into permanent clutter.
Maintain the System With a 5-Minute Reset
A reset routine keeps a one-time organizing project from unraveling. Small parts drift back to empty spaces when no one returns them after cooking.
The process does not need to be long. Attach it to meal cleanup, when you are already handling dishes.
The 5-Minute Reset Plan
After meals:
- Put appliances away immediately after use.
- Return lids and attachments to their labeled bins.
- Re-wrap cords and place them with their appliances.
- Scan the counters for leftovers, such as measuring cups or attachments set aside during cooking.
When everything returns to its assigned spot, the system stays stable.
Fix the Reason Items Drift
Recurring problems usually point to a storage problem:
- The accessory bin is too small, so people shove items around it.
- The bin is hard to reach, so people leave parts on the counter.
- Labels are unclear, so people guess.
- The appliance’s home is inconvenient, so cords and accessories stay behind.
Fix the cause instead of repeatedly correcting the symptom. If people leave cords on the counter, change the cord storage location so returning them takes less effort.
FAQ
How do I organize small kitchen appliances if my counters are tiny?
Use cabinets for everything except true daily appliances. Keep daily tools in one counter area near an outlet, and store accessories in labeled bins inside the nearest cabinet. Add one landing-spot tray for small parts so they do not spread across the counter while cooking.
What storage items are worth buying first for appliance organization?
Buy bins and dividers before decorative organizers. Start with one bin per appliance for lids and attachments, plus a small drawer organizer or bin for cords. If you still have space problems, add a pull-out shelf or stackable containers after measuring your cabinet depth.
How long should it take to organize a kitchen for small appliances?
Plan a first pass of 2 to 4 hours for a typical small kitchen, including disposal and emptying cabinets. The first setup takes longer because you are building the system and labels, rather than simply putting items back. Afterward, maintenance should take about 5 minutes after cooking.
What is the most common mistake when organizing appliance accessories?
Mixing accessories from different appliances in general-purpose drawers or “misc kitchen” bins creates the most confusion. When lids, blades, and attachments are not grouped by appliance name, you waste time matching parts and people stop returning them correctly.
Is there an alternative to labeling everything with permanent stickers?
Use removable labels or label sleeves on bin handles if you want flexibility. You can also write directly on storage bins with a washable marker, provided the writing stays readable and wipes clean. Consistency matters more than the label material.
You do not need a perfect kitchen. Empty one cabinet section this weekend, build one appliance bin at a time, and do a 5-minute reset after your next meal.
One Comment