How To Organize A Kitchen Without A Pantry
A pantryless kitchen can still keep dry goods, snacks, and cooking staples organized and off the counters. Assign consistent storage zones, choose containers that keep food visible, and use FIFO labels – first in, first out – so older supplies get used before they expire.
Store shelf-stable foods in a cool, dark cabinet or drawer, refrigerated items in clear bins, and frozen foods in one labeled area. A quick 10-minute inventory check each week keeps the system from falling apart.
Key Takeaways
- Start with outcomes. Pick one dry, one fridge, and one freezer storage location before buying containers.
- Match storage to temperature. Dry goods belong in cool, dark cabinets; refrigerated foods belong in the coldest shelf; frozen foods belong in one zone.
- Limit stacking. Use shallow bins and drawer dividers so items do not get buried behind taller boxes.
- Build zones by function. Store everyday items near where you cook and backup items higher or farther back.
- Label for FIFO. Write dates on bins and pull older stock first to prevent mystery expiration.
How To Organize A Kitchen Without A Pantry
You can organize a pantryless kitchen in a weekend by treating it as three connected systems: where food goes, which containers keep it accessible, and how you track what you have. Every ingredient you reach for while cooking should be visible and easy to grab without moving half the cabinet.
Start by measuring what you already have. Open every cabinet and drawer that could hold food, note the approximate usable width and height, and decide whether you will use shelves and accept stacking or rely on drawers and bins to avoid it. If you rent or plan to move soon, choose removable bins and labels that you can take with you.
Create one dry-storage area for shelf-stable food, one refrigerated area for items in rotation, and one freezer area for backups. If you only have room to build one system at first, start with dry goods. They are easy to overbuy and difficult to keep orderly without a pantry.
A common pantryless layout might use a tall cabinet next to the fridge for dry goods, a lower cabinet near the sink for snacks and baking items, and one fridge shelf plus one drawer for frequently used foods. Frozen food often becomes the messiest category, so dedicating one bin or basket to meal ingredients can make the biggest immediate difference. Leave the rest of the freezer as a separate zone.
Starter Setup
- A clear counter space, kitchen island, or large table
- Pens or labels, plus painter’s tape or sticky labels for temporary locations
- 10 to 20 shallow bins or baskets; start smaller if needed
- A trash bag and a small donate-or-discard box
- A notepad or phone notes for items that need restocking
Where Should Food Storage Go Without Shelves?
Drawers and cabinet interiors can replace shelves when they let you store food in a flat, single layer that is easy to scan.
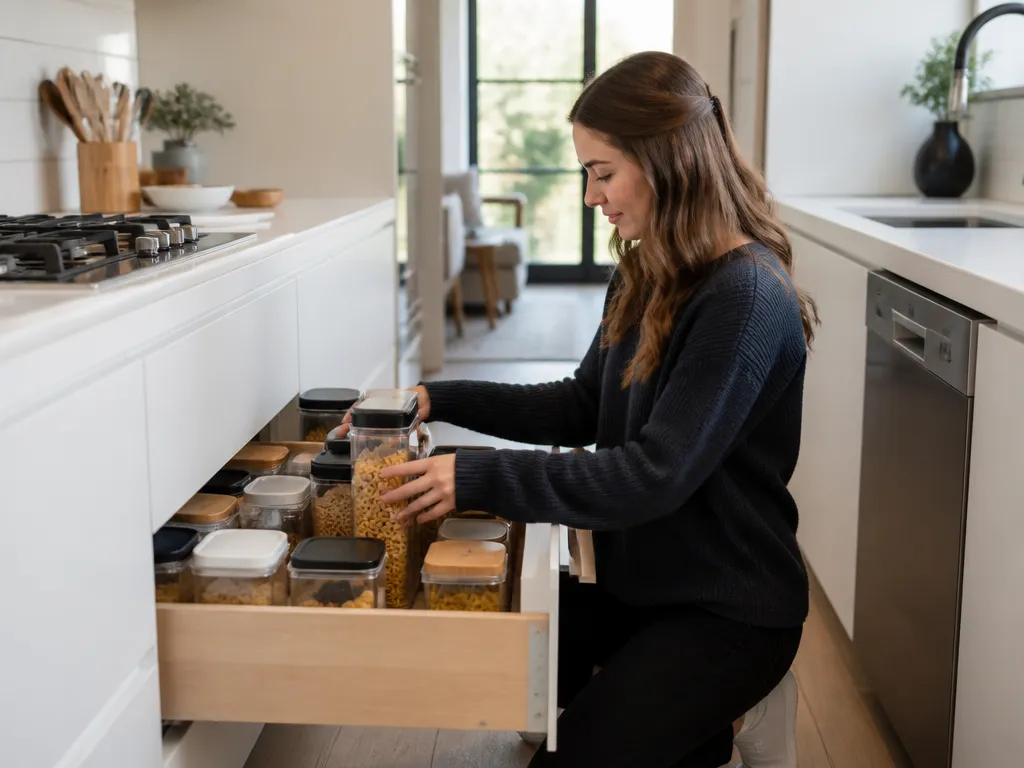
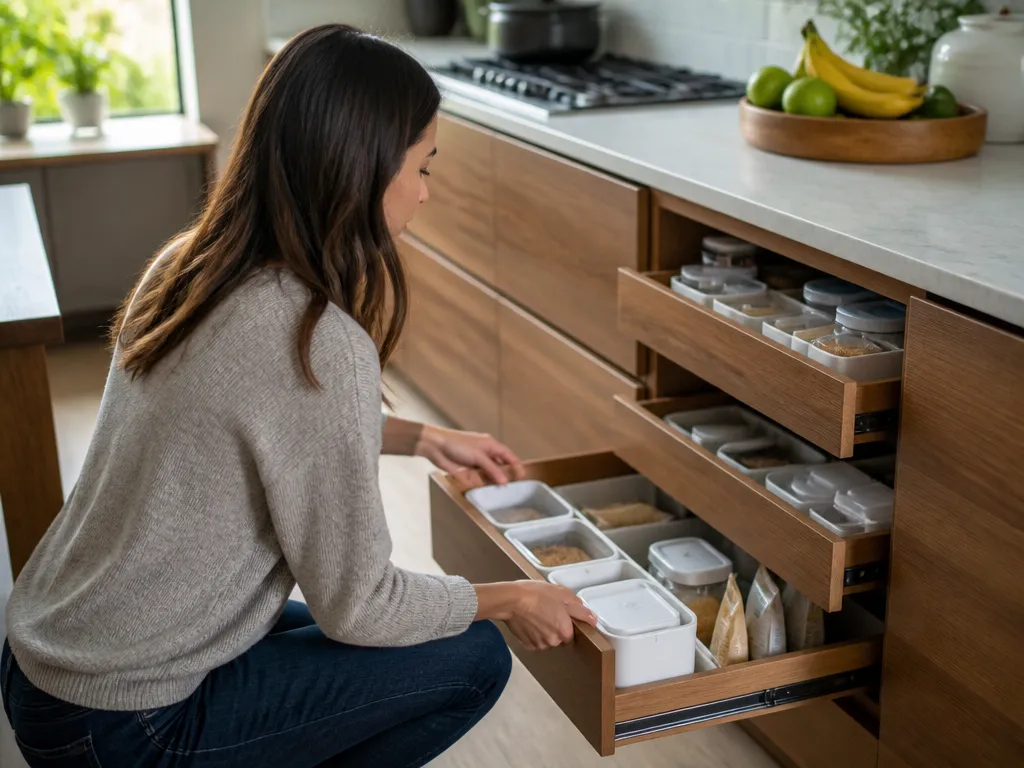
Use drawers as your default no-shelf pantry. Put dry items in bins inside the drawers, then pull out the entire bin to see everything at once. Cabinets without shelves can work too if you use containers that are stable when stacked and easy to remove.
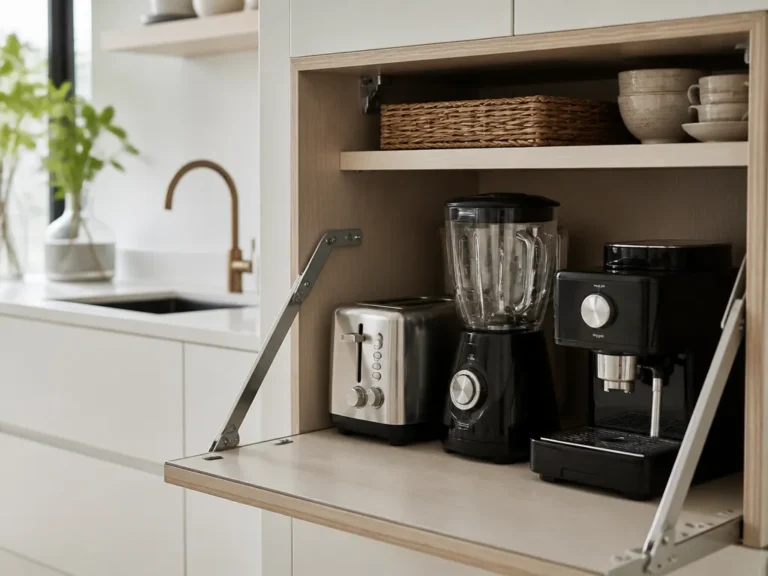
Countertop storage helps only when you control it. Keep daily-use items such as coffee filters, oils, baking sheets, or cereal in a sealed container on the counter. If a container cannot be wiped down and moved in under a minute, it is too large for daily countertop storage.
Give empty corner cabinets and hard-to-reach areas a specific job. Use one labeled bin for backup rice, pasta, and canned goods, if you keep them. Backups can go higher or farther back, but they should still be grouped and labeled so you never have to dig through loose packages.
Cabinet Types That Work Best
- Drawer-and-bin setups for dry goods, snacks, and baking basics
- Tall cabinets with pullout baskets for boxed items you want to keep visible
- Door-mounted racks for small packages such as tea, spices, and snack packs
- Fridge shelf bins for items in rotation, so refrigerated food does not get lost
Create Zones For Dry, Refrigerated, And Frozen Food
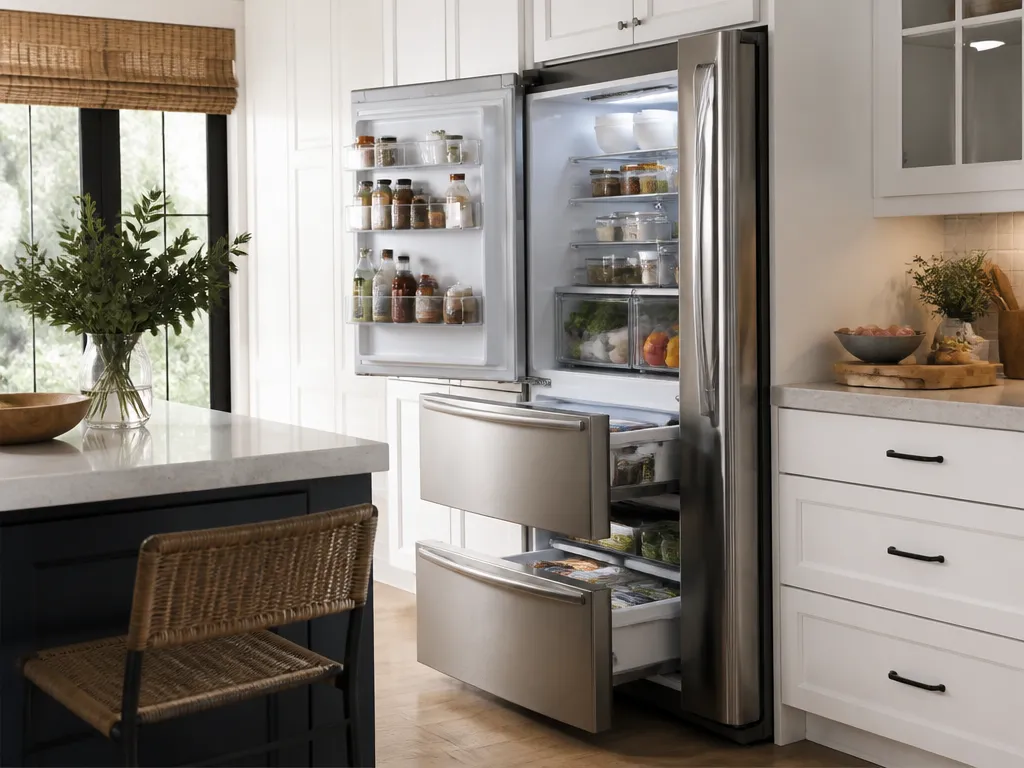
Zones stop food from landing in the nearest open space. Give each temperature category a permanent home, then assign consistent locations to the same food groups every week.
Keep dry storage in the coolest, darkest cabinet available. Use it for shelf-stable staples such as flour, sugar, rice, pasta, canned goods, spices you do not use daily, and backup snacks. Storing dry goods near the stove exposes them to heat and humidity swings, which can speed up staleness and clumping in flour-based baking mixes.
Separate everyday refrigerated foods from backups. Reserve a small area for foods you grab most often, such as condiments in one bin, cheeses and leftovers in another, and produce in a crisper drawer with a single liner. Move foods that will not be used quickly deeper into the fridge so the front stays visible and easy to clean.
Prevent a freezer avalanche by assigning one basket or bin to meal ingredients such as frozen vegetables, proteins, and ready-to-cook mixes. Label it clearly. If you use multiple freezers or a second fridge, keep meal ingredients in one predictable location so you are not hunting for them midweek.
Place everyday items on lower shelves or in front-facing bins. Keep backups above or deeper in the cabinet. Store seasonal extras in one dedicated seasonal bin instead of mixing them with everyday basics.
Zone Plan
- Dry Zone: One cabinet or drawer with shallow bins for staples and snacks
- Fridge Zone: One shelf plus one bin or drawer for in-rotation items
- Freezer Zone: One basket or bin labeled for meal ingredients and quick-grab meals
Use Door And Counter Space For Small Pantries
Door and counter space work best for small, frequently used products rather than bulky backups. Without limits, these areas quickly become visual clutter.
Use cabinet doors for lightweight categories such as snack bars, tea bags, drink mixes, small spice jars, packets of oatmeal, and foil or parchment wrap stored in a container. Door storage keeps these items out of drawers and reduces the need to stack them in open cabinets.
Give daily-use items a defined countertop landing spot. Oil, salt, pepper, a knife roll, and perhaps a canister of cereal or baking flour can stay out if you use them weekly. Keep everything else off the counter by default. A pantryless kitchen benefits from fewer visible items and fewer storage decisions.
If your kitchen has no pantry cabinet, use one tall cabinet as the dry zone and reserve its door for small packages. When you open the cabinet, you should be able to see what is running low without searching through random drawers.
Keep uncovered food off surfaces that are difficult to clean. Countertop pantry containers should be sealed, wipeable, and easy to move because dust and crumbs are unavoidable.
Door Storage Targets
- Tea, cocoa, and instant drink mixes
- Spices you use weekly, stored in small organizers
- Snack packs and grab-and-go items
- Baking add-ons such as vanilla and baking powder, kept in a small bin
Choose Containers That Prevent Stacking And Spoilage
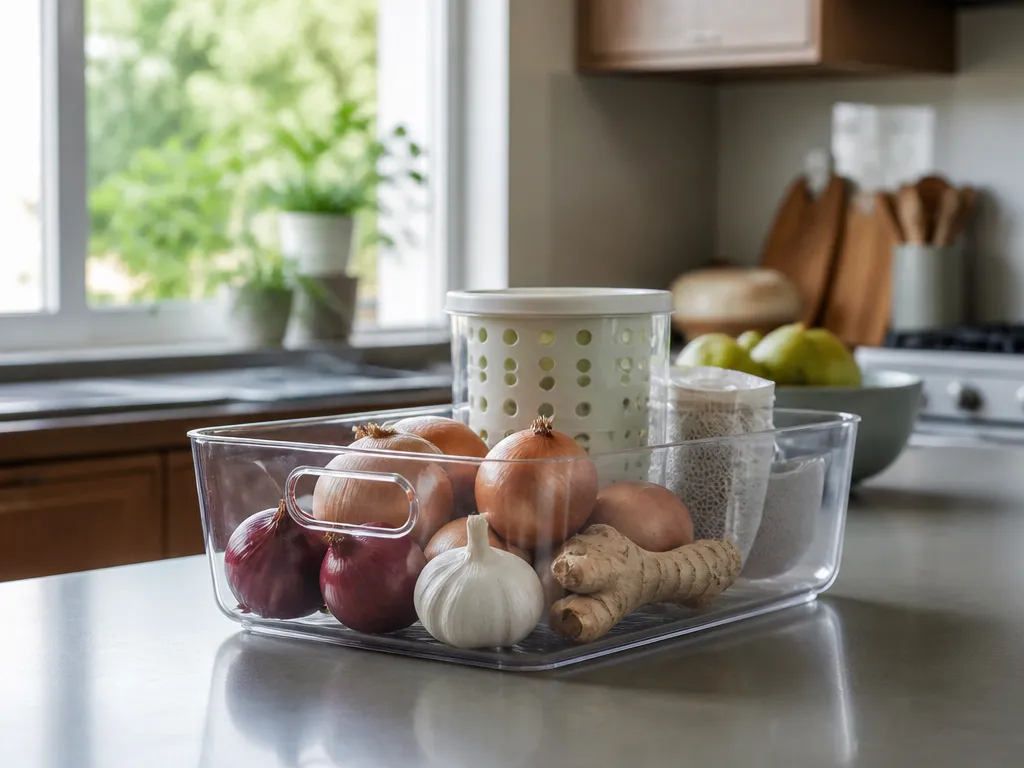
Containers determine whether the kitchen stays organized after the first week. Choose options that keep food visible, prevent items from being buried, and protect supplies from moisture, pests, and stale air.
Start with bins sized to each dry-goods category. Wide containers make contents easier to see, and keeping food categories separate helps prevent items from disappearing behind unrelated packages.
Use airtight containers or lidded baskets for liquids and sticky items. Condiments and sauces can tip and spill, leaving grime that makes the cabinet harder to maintain. Clear snack containers let you check the contents without opening several packages.
Control moisture and exposure to reduce spoilage. Flour, sugar, and cereal keep better in airtight containers. Use fridge bins to separate produce from raw juices when applicable and to contain condensation.
Frozen food still needs a rotation system. Label freezer bags and flatten them for easier, stacking-free storage. If you use boxes, position them so the labels face forward.
Container Types That Work
- Shallow, labeled bins for dry snacks and staples
- Airtight canisters for flour, sugar, cereal, and baking mixes
- Pullout baskets for canned goods or boxed items
- Lidded bins inside the fridge for condiments and meal ingredients
- Flat-lay frozen packs with labels to prevent pile burial
Label Systems For FIFO And Quick Inventory
Labels turn a one-time cleanup into a repeatable routine. Without them, it is easy to forget what you bought, purchase duplicates, and overlook food nearing its expiration date.
Use FIFO labeling by category and date. Add a start date when you restock each bin, or write the purchase date on the container so you can pull the oldest supply first. For rice, flour, and pasta, purchase dates make it easier to use what you already have instead of buying more “just in case.”
Keep labels simple enough to scan quickly:
- Category + size: “Oat flour – 1 bag”
- Category + date: “Rice – 7/12”
- Category + quantity target: “Back-up snacks – 6 packs”
You only need to track three things: what is in rotation, what is running low, and what needs to be used soon. A clear label lets you check all three in under a minute.
Use two label types if you want a low-maintenance system. Put FIFO date labels on bins where older stock matters, and use “Low alert” labels or a marker strip for items you refill often.
Labeling Rules That Prevent Mess
- Label the bin, not the individual item. Consistent containers make inventory easier.
- Use one date format. Pick a format such as MM/DD and use it everywhere.
- Keep labels on the front. You should be scanning, not digging.
- Use color for categories. Assign one color to dry goods, one to fridge items, and one to freezer items if that speeds up sorting.
Meal Prep Storage Routines For Busy Weeks
Meal prep works well in a pantryless kitchen when storage is planned before you start cooking. Store food the same way each week so containers have predictable homes.
Choose one meal-prep landing zone in the fridge and another in the freezer. In the fridge, use a bin or shelf for prepared components such as cooked rice, chopped vegetables, and sauces. In the freezer, reserve one basket for portion-ready items so you can pull one category without rearranging the entire compartment.
Portion food according to how you actually cook. One large container of chicken and three unrelated sauce cups create extra decisions. Divide food into usable portions and keep the lids or covers tightly sealed.
A practical busy-week routine might look like this: cook one base, such as rice or pasta, and divide it into 3 to 4 containers. Prep vegetables into one bin, portion sauces into smaller containers, and freeze a protein portion or two for quick meals when you are tired.
Cool hot food safely and store it promptly. Add the date to each container so you know what to eat first. When you are unsure about cooling times for your situation, follow food-safety guidance and local recommendations.
Busy-Week Routine
- Sunday or prep day: Cook bases and portion them into fridge containers.
- Freeze day: Portion proteins and quick-add vegetables.
- Daily use: Keep in-rotation containers at eye level.
- Weekly reset: Remove leftovers that have passed your personal timeline.
FAQ
What If I Don’t Have Pantry Space For Dry Goods At All?
Use one cabinet drawer as your dry zone and place everything in shallow, labeled bins. If you have no drawers, use a tall cabinet with pullout bins so items remain visible. Keep most snacks and backups in sealed containers, and reserve the counter for foods you use daily.
How Long Will It Take To Organize A Pantryless Kitchen?
Plan for 2 to 4 hours the first time. Emptying cabinets, discarding expired food, wiping surfaces, and rebuilding the storage zones takes most of the time. Afterward, the system should be easy to maintain.
Is It Safe To Store Dry Goods In Airtight Containers Without Shelves?
Yes. Airtight containers help protect dry goods from moisture and pantry pests. Make sure each container is clean and fully dry before filling it, and keep the dry zone in a cool, stable cabinet away from heat sources. Label the containers so you rotate stock consistently.
What’s The Fastest System Who Hate Labels?
Start with two labels: “Dry – FIFO” and “Backup.” Put weekly-use items in one bin without a date, and place backup items in labeled bins with purchase or restock dates. Once that feels easy, add date labels to the bins you open most often.
What’s The Most Common Mistake When Organizing Without A Pantry?
Overbuying creates the biggest problem. Too many supplies lead to duplicates and forgotten food. Keep the front visible and store backups in a higher or farther-back bin with clear labels.