How To Use Open Shelving In Kitchen
Open shelving makes a kitchen feel bigger and lighter, but it also exposes clutter, grease, and dust. Plan it around daily routines, keep the display area controlled, and you get easy access without turning the kitchen into a storage demo. The right shelf location, material, load support, and cleaning routine make the difference.
Open shelving works best when it serves daily use, stays within easy reach, and uses finishes that tolerate moisture and grease. Mount shelves at reachable heights – roughly at or below eye level for most items – limit what goes on them, and plan for regular wipe-downs.
Key Takeaways
- Pick a purpose first. Use open shelves near the fridge, coffee zone, or cooking area for items you touch daily.
- Plan your reach. Mount shelves so plates and mugs are reachable without stretching or bumping.
- Limit the display. Keep most dishes in closed storage and display only repeat-use staples.
- Choose grease-friendly finishes. Sealed wood, laminate, and metal are easier to wipe clean.
- Install for real loads. Use studs, correct bracket spacing, and load-rated hardware.
- Clean on a schedule. Wipe shelves weekly and deep-clean them monthly to prevent sticky buildup.
How to Use Open Shelving in a Kitchen Layout
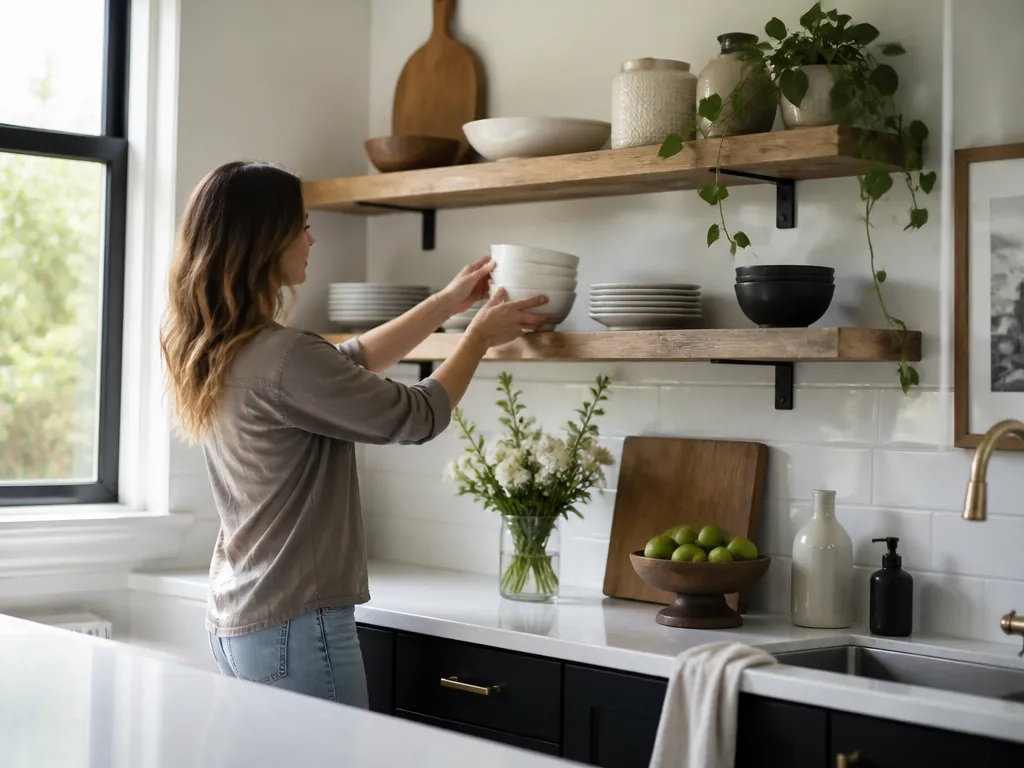
Open shelving works when it supports traffic flow instead of interrupting it. Put shelves where you already move during daily routines, such as between the fridge and prep area or next to the coffee station. Shelves over the stove are more difficult to maintain because grease can stain them unless the finish is highly wipe-friendly and you clean them often.
Decide what the shelves will replace before you install them. If you are removing upper cabinets, measure the storage volume and access you will lose. Replace that function with a nearby drawer, pantry, or lower cabinet. Many kitchens struggle with open shelving because the owner treats it as overflow storage and has nowhere left to put the extra items.
Match shelf height to the items you plan to store. Dishes and platters usually belong lower so you can lift and stack them without reaching. Glassware and mugs can go higher if they are lightweight and you have a clear landing space below.
Sightlines matter, too. Open shelves are visually active and pull the eye across the room. If you install them on multiple walls, keep the styling consistent with similar color tones or matching container styles so the kitchen does not feel busy.
What to Put on Open Shelves for Daily Use
Open shelves should hold items you use often enough to justify seeing them every day. In most kitchens, that means mugs, a daily drink setup, frequently used plates, serving bowls, and go-to pantry basics. Holiday dishes and special-occasion pieces usually belong in closed storage.
Choose containers and tools that look orderly. Clear glass jars can work if you keep them full and clean. Labeled bins or matching canisters are often more practical for flour, sugar, coffee, and pasta because they reduce visual noise and make restocking faster.
A useful daily-use setup might include:
- Coffee mugs and a small stack of everyday plates
- Oils, vinegars, and frequently used spices in small containers
- Cutting boards stored upright and everyday serving bowls
- A couple of cookbooks or recipe cards if you actually use them
- Teacups, short glasses, or a wine glass set you reach for regularly
Weight matters. Large stoneware platters on a top shelf can stress brackets and become dangerous when you pull them down. Keep the heaviest items on lower shelves and distribute weight evenly across the span.
If grease and dust concern you, treat open shelving as “display plus access,” not as your entire storage system. Keep extra plates, rarely used appliances, and backup supplies in closed cabinets, drawers, or a pantry.
How to Style Open Shelving Without Clutter
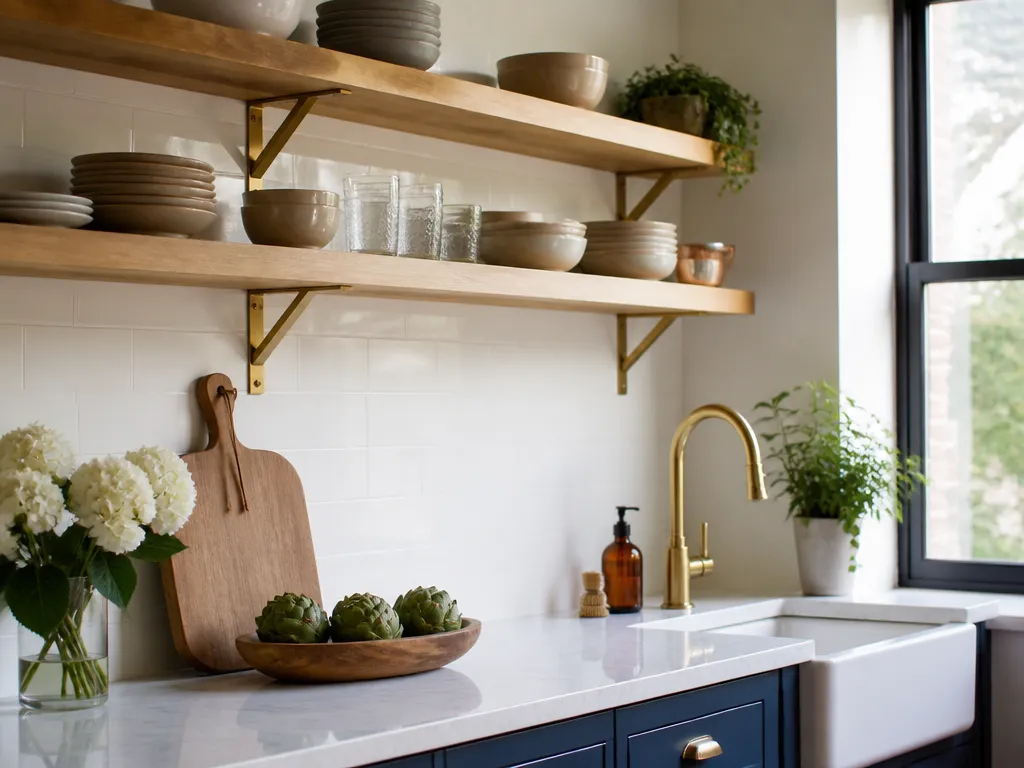
Clutter usually comes from too many items and mismatched visual sizes. Set a limit on quantity and use a repeatable layout. If you cannot describe the shelves in two sentences – for example, “mugs and everyday plates on the left, spices and oils on the right” – you probably have too much on them.
Group similar items instead of scattering them. Stack plates in a clean pile and add one vertical element, such as a cutting board or tray, to create structure.
Leave room between groups. Empty shelf surface is not wasted space; it keeps the display from looking crowded. Avoid filling every inch with dishes or decor.
Use a simple container strategy. Matching jars, identical baskets, or a consistent palette such as white ceramic and clear glass can make the kitchen feel calmer. If you prefer colorful dishes, limit the palette to a couple of accent colors instead of displaying every piece you own.
Three practical styling patterns work well:
- Stack and tray: Stack plates or bowls, add one tray per shelf, and line up small essentials.
- Coffee zone: Center the mugs, add a small caddy for filters and spoons, and include no more than one extra item.
- Spice strip: Align small containers along the back edge while keeping the front clear and easy to wipe.
If you keep rearranging items to make the shelves look right, remove some of them. Styling should be easy to maintain, not a daily chore.
How to Choose Shelf Materials and Finishes
Kitchen residue is mostly grease and humidity, not dust alone. Shelf finishes need to tolerate wet hands, splatters, and frequent wiping without absorbing stains or becoming permanently cloudy.
Good choices include:
- Sealed wood: Use wood that is properly finished and sealed, not raw or lightly finished.
- Laminate: It wipes clean easily and handles everyday spills well.
- Metal: It is often durable and wipe-friendly, but check how the shelf and brackets mount.
- Painted wood: Choose it only when the paint is fully sealed and will not chip during cleaning.
Avoid unsealed or porous surfaces near the stove or beneath a cooking vent that does not remove grease effectively. Porous wood can absorb cooking vapors and develop a dull, grimy surface that never fully cleans up.
Check the underside and edges, not just the top. Grease mist settles on shelf fronts and sides, so a finish sealed on every surface is more forgiving than one applied only to the top.
The wall connection affects maintenance as well. A backsplash, back panel, or design that hides brackets can reduce dust-catching seams and make wiping easier. Wide gaps behind shelves collect dust and grease in back corners.
How to Install Open Shelves for Safe Loading
Proper installation keeps shelves sturdy instead of wobbly or dangerous. The most common mistake is anchoring into drywall alone. In most kitchen walls, shelves should attach to studs or use appropriate heavy-duty anchors when studs are unavailable.
Base the installation on the items you plan to store. Plates and glassware are heavy, and pulling items forward creates concentrated, shifting weight. Put heavier items on lower shelves, distribute them evenly, and avoid treating the maximum load rating as an everyday target.
Choose bracket spacing and type according to the shelf and bracket specifications. Bracket models vary, so follow the manufacturer’s requirements. In general, several supports under a shorter span are safer than one long plank that flexes whenever you reach for an item.
Use this installation process:
- Locate studs where you will mount the brackets.
- Mark bracket positions with a level so the shelf stays straight.
- Pre-drill into wood studs to reduce splitting.
- Secure the brackets with the correct screws for the hardware.
- Test for movement gently before installing the shelf.
- Install the shelf and check the level again after mounting.
If you must use wall anchors, choose heavy-duty rated anchors and keep the shelf span conservative. Do not rely on random anchors from a mixed hardware bag when the shelf will carry kitchen dishes.
Check clearances before final tightening. A shelf can be perfectly level and still interfere with cabinet doors, drawer handles, or the swing of a nearby appliance. Dry-fit the parts and test door and drawer movement first.
How to Manage Grease, Dust, and Shelf Cleaning
Open shelves collect residue because air carries grease mist through the kitchen. The residue first appears as a sticky haze near cooking zones, then attracts dust. A short, repeatable cleaning routine prevents that buildup.
Wipe the shelves weekly with a microfiber cloth and a gentle degreasing cleaner that is safe for the finish. On sealed wood or laminate, follow the cleaner with a clean, damp cloth to remove residue, then dry and buff the surface.
Spot-clean shelves near the stove more often. Grease can form a film before the next weekly cleaning, and that film makes dust cling faster. A slick feel or visible streaking means the shelf needs attention.
For most kitchens, deep-clean the shelves monthly. Remove everything, wash the shelf surfaces and undersides when possible, and let them dry fully before replacing the items. Clean jars, wipe labels, and check for sticky spice residue at the same time.
Use this maintenance schedule:
- Daily or after cooking: Wipe splatters immediately with a damp cloth.
- Weekly: Wipe the shelves with a degreaser-safe cleaner and microfiber cloth.
- Monthly: Remove all items, clean the edges and undersides, and check the finish.
- Quarterly: Tighten brackets if the shelf shows any movement.
Choose shelf contents carefully. Leaking oil bottles, unlidded spice containers, and open bags of flour create mess regardless of how good the shelf finish is.
For hard-water spots on glassware, clean the shelves and glasses separately. Placing damp glassware back on a clean shelf can leave streaks and create a surface that attracts dust.
How to Transition From Closed Cabinets to Open Shelves
Move to open shelving in phases. Removing every upper cabinet at once eliminates storage overnight and can push you to overload the shelves. Start with one wall or zone, then adjust your habits for restocking, cleaning, and styling.
Empty the cabinet you plan to convert and sort its contents by frequency of use. Move infrequently used pieces to drawers or other closed storage, where the kitchen can absorb the overflow.
Measure the replacement storage before removing the cabinet. Extra dishes, seasonal bakeware, backup supplies, and rarely used appliances still need a home. Without one, the shelves will become the kitchen’s dump spot.
Use a small test set for the first week. Put out half of the items you think belong on the shelves and see what happens during normal cooking and cleanup. Real use will show which pieces you reach for and which ones only seem like they should be visible.
Reorganize by task rather than by storage type. Closed cabinets encourage vertical stacking and bulk storage, while open shelves work better when grouped around activities such as coffee, prep, and cooking. Functional groupings look intentional without requiring constant rearranging.
Keep a troubleshooting plan. If dust and grease become irritating, move the shelves farther from the stove, add a backsplash or back panel, change to a more wipe-friendly finish, or shorten the display list. Open shelving is an adjustable setup, not a decision you can never revisit.
Make Open Shelving Work Long-Term
Open shelving earns its place when it supports a specific kitchen task and remains easy to maintain. Treat the setup as a flexible design choice: adjust the location, finish, or display when daily use reveals a problem.
Materials and installation determine whether the shelves stay clean and secure. Choose sealed wood, laminate, metal, or properly finished painted surfaces, and use manufacturer guidance for brackets and hardware.
FAQ
How much weight can open kitchen shelves hold?
Weight depends on the shelf thickness, bracket model, and whether the shelf is mounted to studs or anchors. Follow the shelf and bracket manufacturer’s load rating and treat that number as the maximum.
Do open shelves make a kitchen harder to keep clean?
They can because grease mist and dust land on exposed surfaces. Shelves near the stove require more frequent attention, especially when the finish is porous.
What is the fastest way to install open shelves?
Locate the studs, mark bracket positions with a level, and pre-drill before attaching the hardware. Dry-fit the shelf to confirm clearance with nearby cabinets and drawers, then secure the brackets with the correct screws. Test for movement before installing the shelf plank so you can fix a weak connection early.
What should I put on open shelves first when converting from cabinets?
Start with a small daily-use set: mugs, everyday plates, a couple of serving bowls, and frequently used oils and spices. Keep backups and infrequently used items in drawers or remaining cabinets. If you are unsure, place half your likely display items on the shelf for a week and adjust based on how you actually cook.
What is the most common mistake with open shelving in kitchens?
Overloading the shelves to create a “full” look is the most common mistake. When every inch is filled, the display collects grease and dust faster and looks visually chaotic. Leave negative space, group items by function, and limit the display to what you reach for every day.