How To Finish Unfinished Kitchen Cabinets Like A Pro
Transforming raw wood cabinets into a polished, custom-grade kitchen centerpiece is one of the most rewarding home improvement projects you can undertake. While the process requires significant time and patience, the result is a durable, professional-looking surface that stands up to the daily heat, moisture, and grease of a working kitchen. By controlling the finish yourself, you avoid the heavy markup of pre-finished cabinetry while gaining total control over the exact color and sheen of your workspace.
Achieving a professional finish on unfinished kitchen cabinets requires a systematic approach to surface preparation, material selection, and application technique. You must dedicate at least four to five days to the project to allow for proper drying and curing cycles between coats. Proper sanding and high-quality topcoats remain the primary factors that distinguish a DIY finish from a factory-grade result.
Key Takeaways
- Surface preparation is everything. You must sand through multiple grits, starting at 120 and finishing at 220, to remove all mill marks and grain fuzz.
- Remove all dust. Use a vacuum with a HEPA filter followed by a tack cloth to ensure the wood surface is completely free of debris.
- Choose the right primer. Always use a high-quality oil-based or shellac-based primer for wood to block tannins and ensure the paint adheres to the raw grain.
- Apply thin coats. Multiple light coats prevent drips and sagging, which are the most common defects in DIY cabinet finishing.
- Allow for cure time. Even if a finish feels dry to the touch in hours, wait at least 48 hours before attaching hardware or closing doors.
- Use the right tools. Invest in a high-quality synthetic brush or a HVLP sprayer to minimize brush marks and achieve a smooth, level finish.
How to Finish Unfinished Kitchen Cabinets Like a Pro
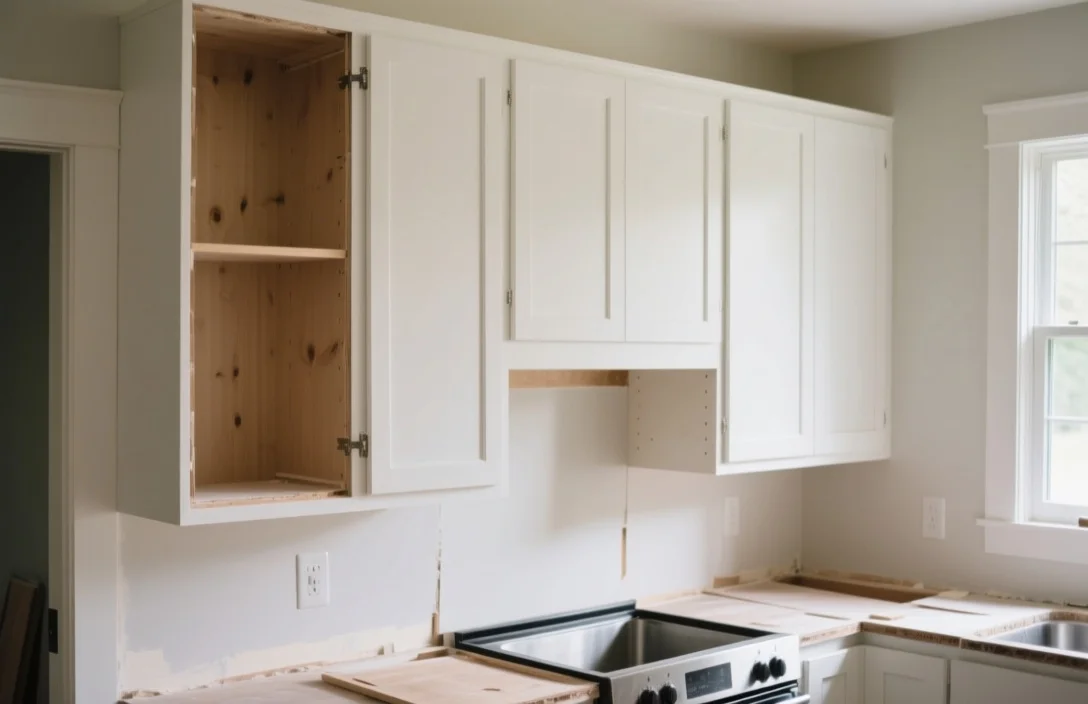
Professional results rely on a clean environment and a methodical workflow that treats every cabinet door, drawer front, and frame as a distinct project. Before you open a single can of paint or stain, clear a dedicated space in a garage or workshop where you can lay out every component flat. Working on a horizontal surface is the only way to prevent paint runs and ensure an even distribution of color across complex profiles like Shaker or raised-panel doors.
For instance, trying to paint a door while it hangs vertically on the cabinet box almost guarantees that the finish will pool in the corners or sag along the edges. You should remove every hinge, handle, and drawer slide, labeling them in separate bags so they return to their original locations later. This organization saves hours of frustration during reassembly and ensures the cabinet doors align perfectly once you finish the job.
Prepping Unfinished Cabinets for a Flawless Finish
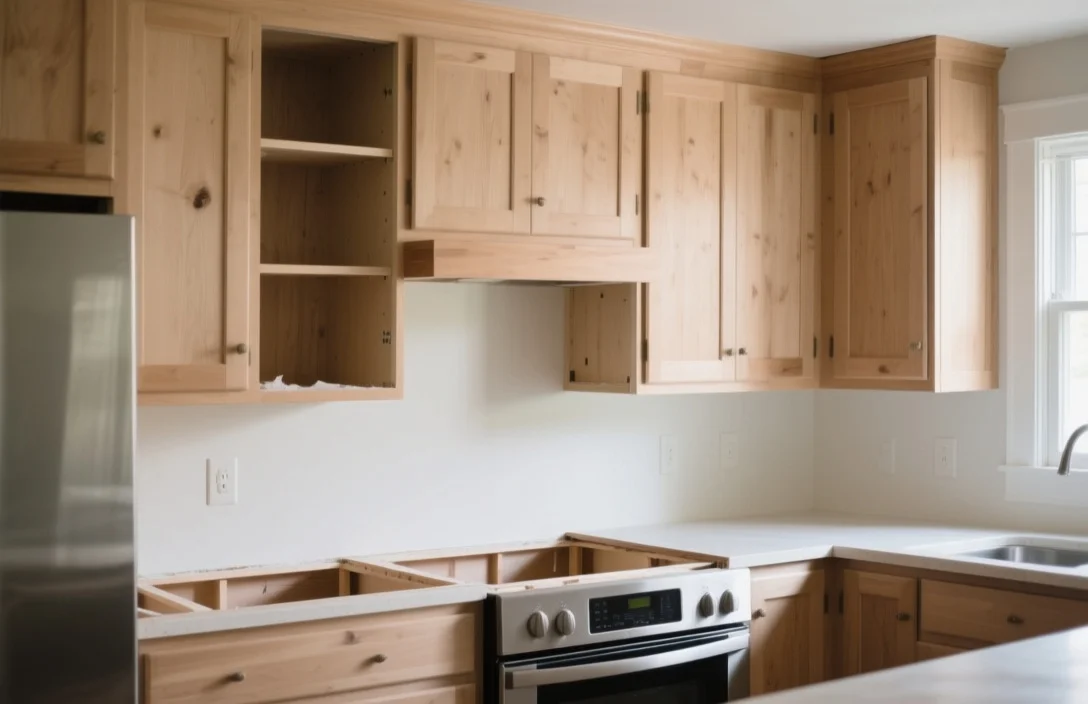
Raw, unfinished cabinets often arrive with surface imperfections, raised grain, or leftover debris from the manufacturing process that will ruin a topcoat if left untreated. Your first step is to inspect the wood for any knots or deep scratches that require wood filler. Use a stainable wood filler if you plan to stain the wood, or a standard paintable wood filler if you are going for a solid color finish.
After filling, you must perform an initial sanding to level these patches with the surrounding wood grain. Ensure you remove all dust from every crevice, as even a tiny amount of trapped sawdust will create a gritty, rough surface once you apply your finish. A vacuum with a brush attachment followed by a tack cloth is the industry standard for ensuring a truly clean surface.
Choosing the Right Stain or Paint for Your Kitchen Cabinets
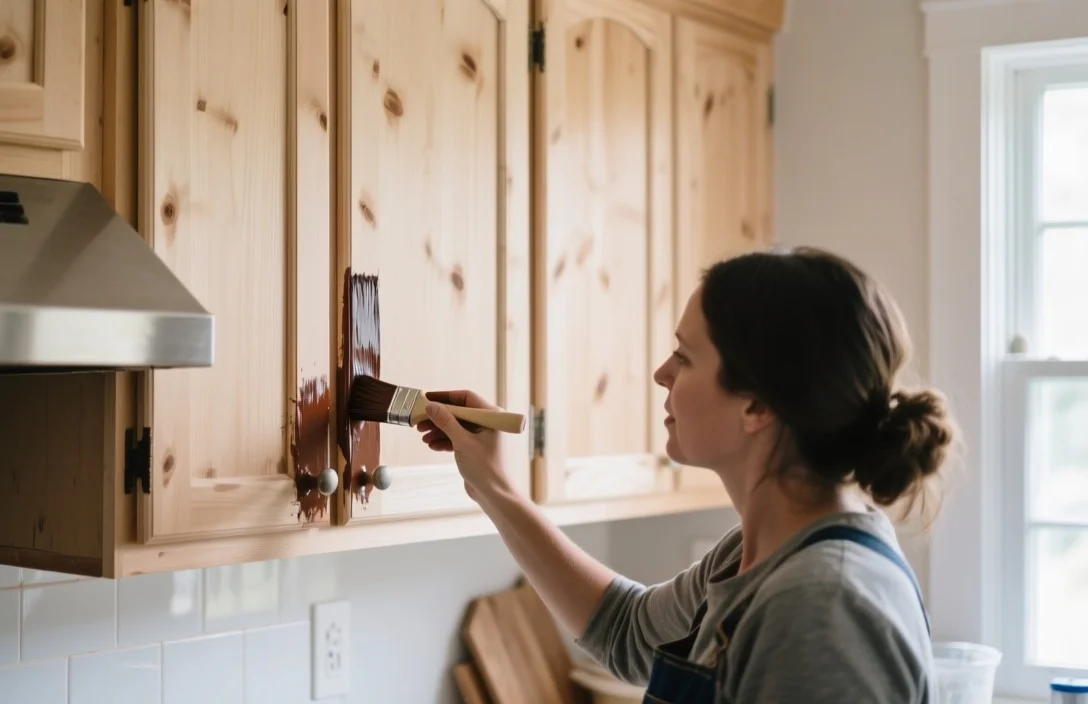
Selecting the right product depends on your desired look and the level of durability you need for your household. Stains are best if you want to highlight the natural beauty of the wood grain, but they require a separate clear protective topcoat to resist kitchen spills. Paints offer a wider range of colors and generally provide a more uniform, modern look that hides knots or color variations in the raw wood.
| Finish Type | Durability | Application Difficulty | Best For |
|---|---|---|---|
| Water-Based Stain | Moderate | Low | Light-colored wood, subtle grain |
| Oil-Based Stain | High | Moderate | Richer, deeper wood tones |
| Water-Based Enamel | High | Moderate | Modern, solid-color kitchens |
| Oil-Based Enamel | Very High | High | Heavy-use kitchens, high-gloss |
If you choose paint, look for products specifically labeled as “cabinet enamel” or “alkyd-modified paint.” These formulas are engineered to level out, meaning they flow smoothly to hide brush strokes, and they cure to a much harder finish than standard wall paint. Standard wall paint will become sticky and peel under the heat and moisture of a kitchen, so do not attempt to use leftover latex wall paint for this project.
Step-by-Step Guide to Sanding Unfinished Kitchen Cabinets
Sanding is the mechanical process of opening the wood pores and removing the microscopic “fuzz” that prevents a smooth finish. Start your sanding process with 120-grit sandpaper to remove any rough patches or factory machine marks from the wood surface. Move systematically across the face of the wood, always sanding in the direction of the grain to avoid leaving cross-grain scratches that will become highly visible once you apply stain.
Once you have completed the initial pass, step up to 150-grit or 180-grit sandpaper to refine the surface. After the final sanding pass with 220-grit, the wood should feel smooth to the touch, similar to the texture of high-quality furniture. If you are painting the cabinets, you can stop at 220-grit, but if you are staining, be careful not to over-sand, as this can close the pores and prevent the stain from absorbing deeply into the wood.
Sealing and Protecting Your Finished Kitchen Cabinets
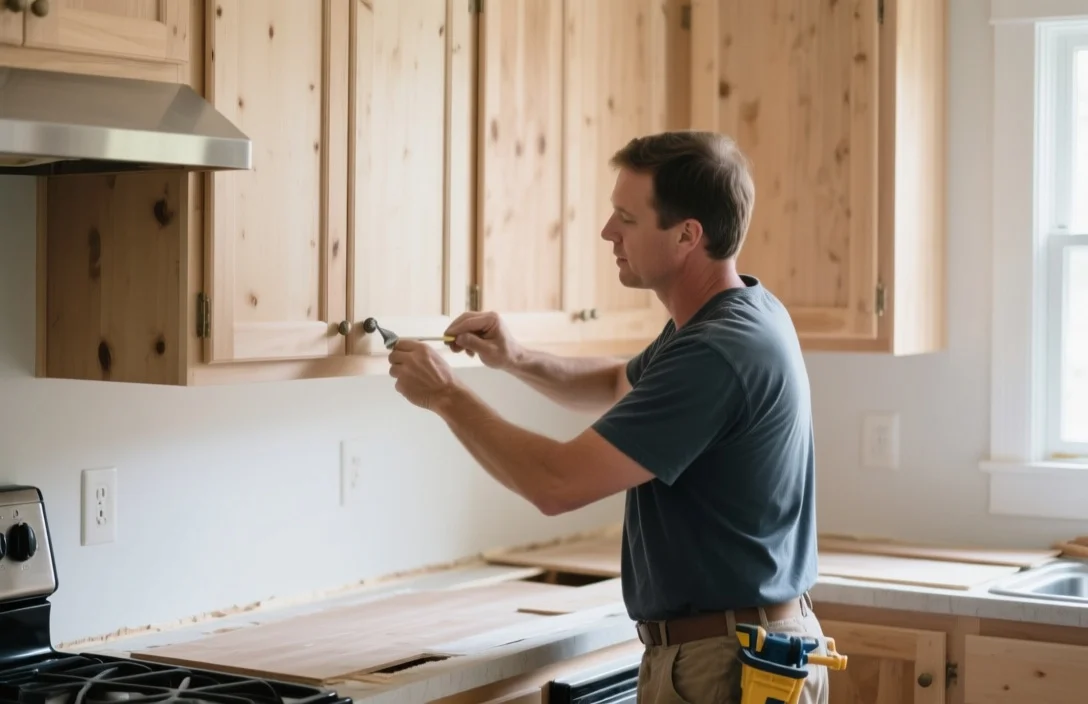
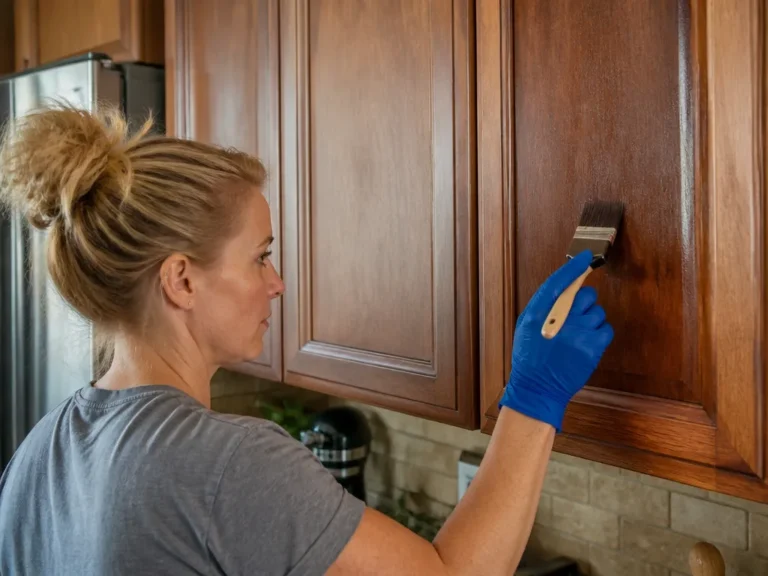
Sealing is the crucial final barrier that protects your hard work from water, grease, and cleaning chemicals. If you are painting, the sealer is often built into the high-quality enamel you choose, but if you are staining, you must apply a clear protective topcoat. Polyurethane is the most common choice for DIYers, as it provides a tough, scratch-resistant barrier that is easy to apply with a brush or a foam applicator.
When applying your topcoat, work in a well-lit area so you can see the “wet edge” of the product as you move across the wood. Avoid over-brushing, which can introduce air bubbles or create streaks in the finish. Apply at least two to three thin coats, and perform a very light “scuff sanding” with 320-grit sandpaper between each coat to ensure the surface remains perfectly smooth.
Hardware and Final Touches for Professional-Quality Cabinets
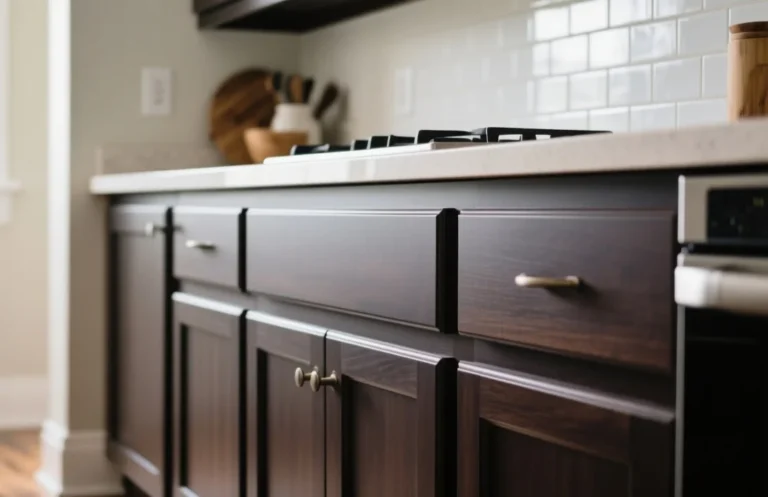
New hardware is the single most effective way to make a DIY kitchen project look like a custom renovation. Before you install your pulls or knobs, ensure you have a template or a jig to mark your hole positions so every piece of hardware sits at the exact same height and spacing. Tighten every screw firmly, but be careful not to overtighten, as this can strip the wood or crack the newly applied finish around the screw hole.
If you have upgraded your hardware style from the original, you may have old, visible holes that need filling. Use a wood plug or a high-quality filler to patch these holes before you start your painting process, as hardware covers do not always hide the old drilling marks. Once the hardware is on, stand back and check that every door closes flush and every drawer slides smoothly without catching on the frame.
Troubleshooting Common Finishing Problems on Kitchen Cabinets
Even with careful preparation, issues like drips, orange peel texture, or dust nibs can occur during the application process. Drips usually happen because you applied too much paint in a single pass, and the best way to fix them is to wait until the paint is fully dry, sand the drip flat, and re-apply a light, smooth coat. If you find dust nibs in the finish, use a fine-grit sanding sponge to gently buff them away before applying your next coat of sealer.
For instance, if your paint looks like the skin of an orange, it is often a sign that you are working in a room that is too hot or that your paint is too thick. You can thin water-based paints slightly with water or a specific paint conditioner to improve the flow and help it settle into a smooth, level surface. Always keep a clean, damp cloth nearby to wipe up any accidental splatters immediately before they have a chance to harden on your floor or countertops.
FAQ
How long does it take for cabinet paint to fully cure?
While most cabinet paints feel dry to the touch in a few hours, they require 21 to 30 days to reach their full, rock-hard cure. You can use your kitchen gently after 48 hours, but avoid aggressive scrubbing or heavy impacts on the door surfaces during the first month.
Can I skip the primer if I use a paint-and-primer-in-one?
No, you should always use a dedicated primer on raw, unfinished wood cabinets. A high-quality shellac-based or oil-based primer is necessary to seal the wood pores and prevent natural wood tannins from bleeding through the paint and causing yellow or brown stains over time.
What is the best way to avoid brush marks?
Use a high-quality synthetic bristle brush designed for water-based enamels and apply the paint in thin, even layers. You can also add a small amount of a paint extender or conditioner to the paint, which slows down the drying time just enough to allow the brush marks to level out and disappear.
Is it necessary to remove the cabinet doors before finishing?
Yes, removing the doors and drawer fronts is essential for a professional result. It allows you to paint on a flat, horizontal surface, which significantly reduces the risk of drips, sags, and uneven coverage that almost always occur when painting vertical surfaces.
How do I clean my cabinets after they are finished?
Use a soft, damp microfiber cloth and a very mild solution of dish soap and warm water. Avoid harsh chemical cleaners, ammonia, or abrasive scrubbing pads, as these can dull the sheen of your topcoat or scratch the surface of the cured paint.
Start by inspecting your cabinets for any remaining raw wood spots and perform a final wipe-down with a tack cloth. Once you finish the last topcoat, maintain a climate-controlled environment in your kitchen to allow the finish to cure evenly, and enjoy the transformation of your space.