How To Keep Moisture Out Of Kitchen Cabinets: 3 Tips
Kitchen cabinets are built to hold dishes and supplies, not moisture. Repeated dampness causes swollen particleboard, bubbling veneer, and musty odors that deodorizer cannot fix. Stop it by finding the water or humidity source, drying the cabinet completely, improving airflow, and sealing the routes moisture uses to get inside.
Check plumbing leaks, steam, exterior-wall condensation, and spills that reach the back panel or toe-kick. Then reduce lingering humidity with ventilation and targeted absorbers such as silica packs in enclosed areas with limited airflow.
Key Takeaways
- Find the entry path. Check for plumbing leaks, cooking steam, spills, and condensation on cabinet surfaces.
- Dry fast, then seal. Remove wet items, wipe the cabinet, and run airflow before closing it.
- Prioritize ventilation. Toe-kick airflow and small intentional gaps help prevent trapped humidity.
- Choose moisture-resistant materials. Sealed plywood and finished solid wood handle dampness better than raw particleboard.
- Use absorbers selectively. Silica packs work best in enclosed cabinet sections with limited airflow.
- Call a pro early. Visible mold, soft spots, or recurring wetness require more than surface cleaning.
How to Keep Moisture Out of Kitchen Cabinets
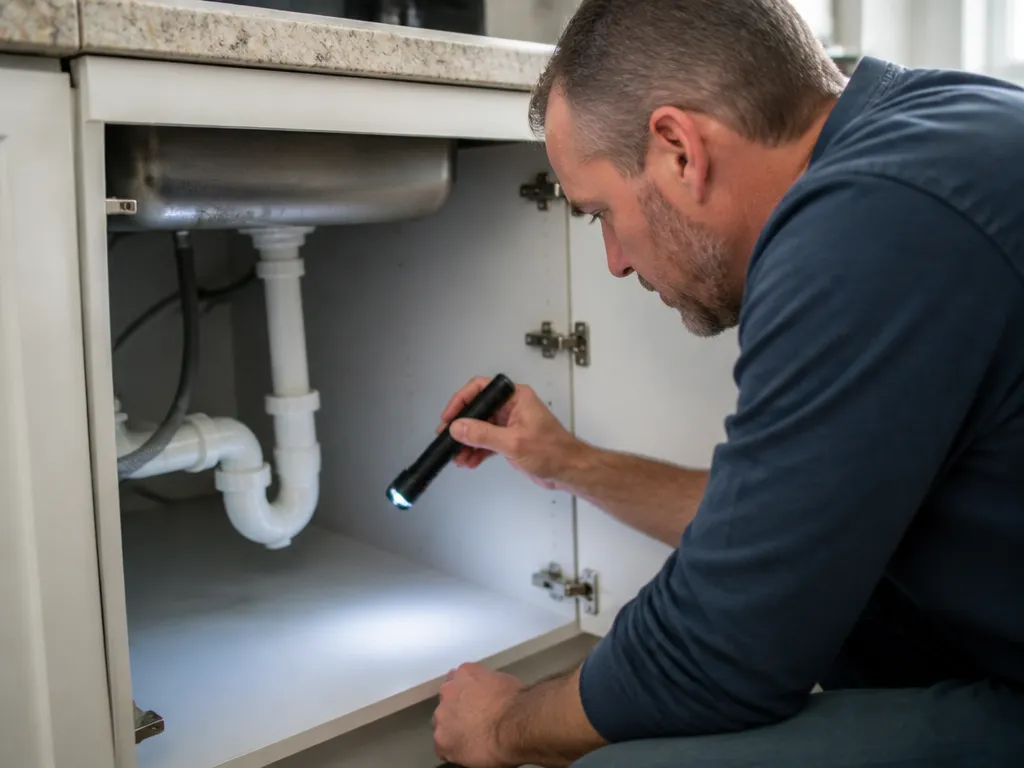
Start with a cabinet moisture audit before buying supplies. Open the suspect cabinet, remove everything, and use a flashlight to inspect the back panel, corners, and bottom edges where water collects. Water stains, dark patches, or damp wood near the toe-kick indicate an active moisture problem rather than an isolated spill.
Use a cheap hygrometer to establish a baseline. Place it inside the cabinet for a few days, ideally near the back corner without touching the wall. If relative humidity remains high for long stretches, the cabinet still lacks airflow or the moisture source remains active.
Use this action order for most kitchens:
- Fix any leak behind the cabinet, under the sink, or at dishwasher connections.
- Dry the cabinet thoroughly with a fan or HVAC airflow before closing it for long periods.
- Reduce steam exposure by using the range hood and putting lids on pots.
- Improve air exchange through ventilation gaps and toe-kick airflow.
- Use absorbers in areas that remain slightly humid after the other fixes.
What Causes Humidity Damage in Cabinets
Cabinet damage usually comes from liquid water or high humidity. Liquid water causes quick swelling and staining. Repeated humidity cycles encourage condensation and slowly saturate wood-based materials. Once moisture becomes trapped behind a back panel or along a bottom seam, the cabinet can remain damp long after the original event.
Common sources include under-sink plumbing leaks, dishwasher leaks or drainage problems, and cooking steam. Steam condenses on cooler cabinet surfaces, especially along exterior walls or poorly insulated areas. Cleaning can create the same problem when mop water or steam-cleaner spray reaches the toe-kick or base-cabinet edges.
Exterior walls create another path for condensation. A cold wall pulls water vapor from indoor air, leaving moisture on the cabinet back panel or in the corners. Cabinets that worsen in winter or during humid summer weeks may have a condensation problem rather than an obvious leak.
Common triggers include:
- Dishwasher pooling at the bottom after a cycle
- Dripping supply lines under the sink, including intermittent leaks
- Wet sponge storage inside cabinet doors, where water can migrate into seams
- Leaky trash compactor or garbage disposal fittings, if present
- A range hood that is not vented outdoors or is used inconsistently
How to Identify Moisture Sources Behind Cabinet Doors
Isolate the cabinet zone that is actually getting wet. Doors hide the problem, so inspect the inside edges, back panel, and bottom corners where moisture collects first. Wiping the door frame will not reveal a damp pocket behind it.
Keep the cabinet open during a short evidence-check period. After cooking or using hot water, inspect the interior within 30 to 60 minutes. Look for fresh condensation droplets, darkened areas, or surfaces that feel unusually cool, especially near an exterior wall.
To check for plumbing problems, dry the cabinet completely and repeat the activity that usually triggers the leak. Turn on the sink, run the dishwasher, or use the garbage disposal if you have one. Watch for fresh dampness from a dry starting point. Slow and intermittent leaks are easy to miss without a repeatable test.
Use this checklist:
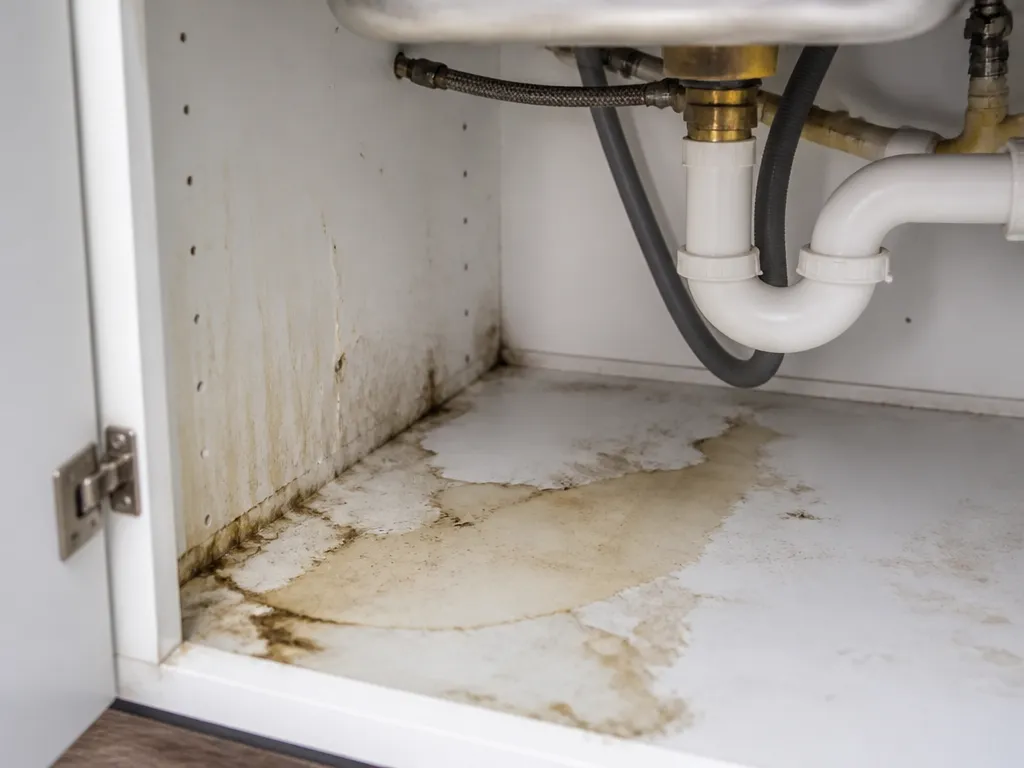
- Back-panel stains near corners: Often caused by condensation or splash migration
- Dampness along the bottom seam: Usually liquid intrusion or trapped cleaning water
- Musty odor: Moisture has lingered long enough to support microbial growth
- Wetness after hot showers or cooking: Steam-driven condensation is likely
- Wetness after running the dishwasher: A drainage or connection leak is likely
Check the cabinet face and hinge-side areas for additional clues. Moisture traveling from the back toward the front may leave faint staining around door-frame seams. If the interior stays dry but the door edge is damp, inspect plumbing penetrations and backsplash gaps.
Remove one screw at a time when checking access points. Creating extra holes can give water and pests new routes into the cabinet. Find the moisture path, then block it without damaging the cabinet structure.
Which Cabinet Materials Resist Water Better
Cabinet materials vary in how quickly they absorb water and deform. Particleboard and unsealed wood products are especially vulnerable because they wick water into the core, swell, and often remain distorted. Properly sealed plywood resists penetration better and usually recovers more effectively after drying.
Solid wood is generally more forgiving than raw particleboard, but it still needs a finish that can withstand repeated wetting. Finished wood may discolor if it stays damp, yet it is more likely to recover after drying than an engineered core that has swollen.
Veneered cabinets require close inspection. The veneer may look intact while moisture enters through edges and seams. Bubbling veneer or peeling along the bottom edge usually indicates damage beneath the surface.
| Material type | Key moisture behavior | Best for |
|---|---|---|
| Sealed plywood | Slower absorption, better recovery after drying | Most kitchens where you want resilience |
| Solid wood with good finish | Handles occasional wetting, discoloration can occur if prolonged | Households that act quickly on spills |
| Veneered MDF/particleboard | Absorbs at edges and seams, can swell and stay warped | Only if well-sealed and kept dry |
| Raw/poorly sealed particleboard | Wicks moisture, stays swollen and weak | Avoid for under-sink and wet zones |
Material alone will not solve an active moisture problem. A particleboard cabinet can last for years when kept dry, while a higher-quality cabinet can fail if a leak runs for weeks.
How to Ventilate Cabinets Without Creating Leak Paths
Ventilation helps dry moisture you cannot completely prevent, but it should not expose the cabinet to new water. Aim for air exchange rather than large openings that allow steam to condense and drip inside.
Create gentle airflow through the cabinet interior and along the toe-kick area. Moving air helps cabinet surfaces equalize with room humidity, reducing the chance that condensation will form and linger. Stagnant air is a common reason cabinets stay damp after cooking or cleaning.
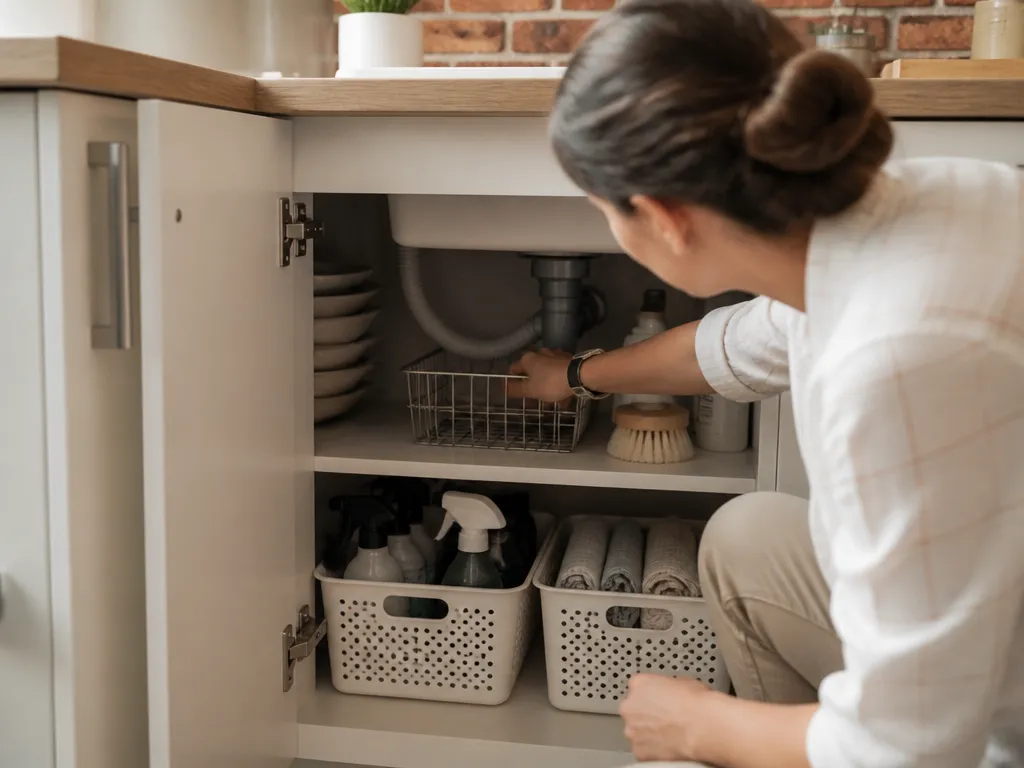
Start with the range and sink areas. Use the range hood correctly, preferably with outdoor venting, and put lids on boiling pots. Keep cabinet contents organized so air can circulate. Crowded shelves filled with towels, sponges, or storage bins trap humidity against the cabinet walls.
Add ventilation where it makes sense:
- Check toe-kick airflow: Make sure a solid obstruction is not blocking HVAC airflow or the natural air path near the kick space.
- Use small gaps, not open holes: Intentional ventilation gaps can reduce stagnation without creating large routes for water.
- Use a fan during drying: Point a small fan into an open cabinet during cleanup to speed evaporation.
Avoid drilling random holes near plumbing lines. Unsealed openings can create paths for water or pests. Do not install vents that blow cold, humid air directly onto cabinet interiors in winter, since that can create condensation instead of drying the cabinet.
An HVAC register near the cabinet can also affect airflow. A cabinet stack that blocks the room’s natural air path may stay damp even when the rest of the kitchen feels dry.
Make ventilation part of your routine. After a dishwasher cycle or heavy cooking, leave the affected cabinet open briefly so moisture can escape. Constantly open doors are unnecessary, but a dry window after each moisture event helps.
How to Use Silica Packs and Moisture Absorbers
Silica packs reduce water vapor in cabinet compartments with limited airflow. They do not repair leaks. If the cabinet is actively wet, absorbers may slow odors and humidity, but they will not prevent swelling or mold growth.
Place silica packs where air can reach them. A breathable mesh pouch or small perforated container works better than a pack buried in a corner. Keep packs away from standing water, and spread multiple packs across separate compartments instead of placing one large pack in a single spot.
Use a hygrometer to monitor the cabinet for a week or two. If humidity drops and stays lower, the packs may be helping. If humidity rises quickly after normal cooking, cleaning, or dishwashing, the source remains active.
Follow these rules:
- Replace or regenerate absorbers on schedule, especially when they change color or feel spent.
- Keep airflow open by avoiding tight placement against cabinet walls.
- Keep the packs dry on the outside so they do not become another damp surface.
In an under-sink cabinet, an absorber is a backup measure. A small drip can continue wetting the underside while the silica pack only slows odors. Repair the plumbing first.
Absorbers tend to work better in drawers and small shelf units because those spaces hold less air. In a full cabinet bay, distribute packs across shelves to avoid leaving one humid corner untreated.
When Mold or Rot Requires Professional Help
Call a professional when you see mold growth, soft or crumbling materials, or recurring wetness after addressing the suspected source. Mold and rot are different problems, but both can signal moisture damage inside seams, panels, or cabinet supports.
A musty cabinet that remains damp after drying and improved airflow needs more than surface cleaning. Hidden damage may sit behind panels or inside seams. An inspection is also worthwhile when the problem is near plumbing that may require pressure testing.
Stop DIY investigation and escalate if you find:
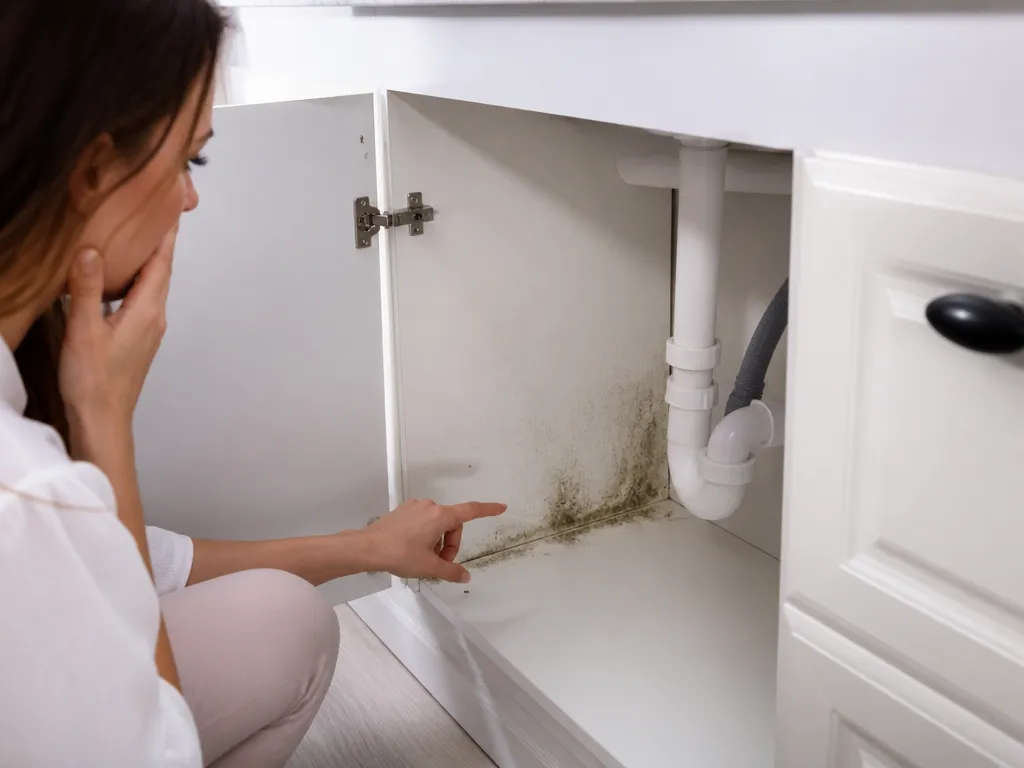
- Visible mold on back panels or inside corners
- Soft spots when you press the material
- Peeling veneer with dark staining underneath
- Repeated wetness after correcting ventilation or cleaning splashes
- Rot around fasteners or swollen base edges
If you must use the kitchen while waiting for an appointment, limit moisture exposure. Wipe spills immediately, avoid storing wet items inside, and leave the cabinet open briefly during and after hot cooking. Do not rely on more absorbers while the underlying condition keeps returning.
Suspected moisture behind a wall or beneath the floor also calls for professional help. A technician can locate hidden moisture faster and open the right areas without unnecessarily damaging the cabinets. The cabinet may be the symptom rather than the source.
FAQ
What is the fastest way to stop moisture in kitchen cabinets?
Dry the cabinet immediately, then determine whether the cause is a leak or condensation. Remove everything, wipe the surfaces, and run a fan for a couple of hours. After cooking or dishwashing, leave the cabinet open briefly to create a drying window. If it stays damp after a leak check, improve ventilation and use moisture absorbers as a backup.
How long should I run a fan to dry cabinets?
Run the fan until the cabinet surfaces feel dry and condensation stops forming, typically a few hours for moderate dampness. If the back panel or corners remain cool and damp after a couple of hours, moisture is probably still entering. Continue drying while checking plumbing and steam routes, then use a hygrometer for a few days to reassess conditions.
Can I use moisture absorbers in cabinets with leaks?
You can use absorbers alongside a leak repair, but they cannot replace the repair. If water continues entering, the absorbers will saturate quickly while the damp area may still support mold. Treat them as temporary odor and humidity control while repairing supply lines, dishwasher connections, or drainage problems.
What’s the most common DIY mistake when trying to prevent cabinet moisture?
The most common mistake is treating moisture like a cleaning problem. Wiping the door frame, spraying deodorizer, and ignoring a damp route behind the panels leaves the source untouched. The cabinet then becomes damp again, and hidden materials may swell or support mold. Start with leak checks and steam or condensation inspection.
Are there alternatives to silica packs that work better?
Better airflow and sealed moisture-entry points often help more than absorbers. If the room itself is humid, use a commercial dehumidifier and monitor conditions with a hygrometer. You can also choose absorbers that regenerate or clearly indicate when they are spent, then replace them on schedule. Persistent wetness requires repairs rather than more products.
Choose one cabinet that repeatedly feels damp, fix any source you find, dry it with airflow, and measure humidity for several days. That test will show whether you stopped the moisture cycle or only covered up its symptoms.