How To Organize Baking Supplies In Small Kitchen
You can make a small kitchen feel much larger by organizing baking supplies into clear zones and routines instead of cramming everything into open spaces. The result is practical: you can find ingredients quickly, contain spills, and avoid duplicate purchases because you can see what you already have.
Baking supply organization comes down to three moves: group items by baking zone, store them by frequency of use, and keep dry goods in labeled containers. In a small kitchen, place daily supplies within arm’s reach, move weekly or seasonal items higher or deeper, and keep measuring tools and pans together in one basket, tray, or drawer organizer.
Key Takeaways
- Start with zones. Pick 3-4 storage zones so you always know where flour, tools, and pans belong.
- Keep daily items reachable. Store frequently used supplies in the easiest-to-reach spots, not at the back of a cabinet.
- Label dry goods clearly. Add the ingredient name and date to flour, sugar, and spice containers to prevent mix-ups and stale ingredients.
- Use right-sized containers. Choose containers that fit your pantry shelf depth and avoid excessive empty space.
- Contain measuring tools and pans. Use a tray or organizer so baking tools stay together.
- Prevent moisture and mess. Seal dry ingredients, contain open spices, and keep leaky oils and syrups separate.
How to Organize Baking Supplies in a Small Kitchen
Make baking as close to grab-and-go as possible. In a small kitchen, that means reducing the time spent deciding where things belong, preventing spills, and keeping baking tools from migrating into random drawers.
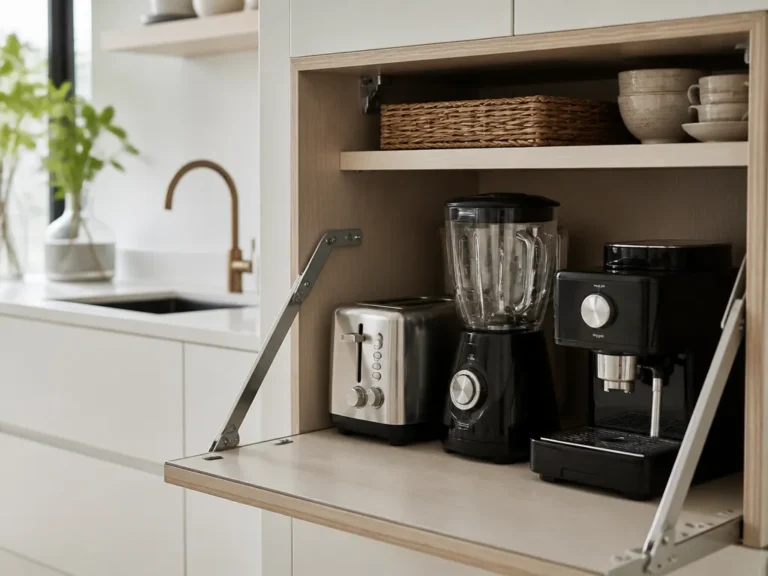
A practical setup needs only four storage surfaces: a counter area, at least one cabinet shelf, one drawer or bin for tools, and one container for items used during a baking session. If counter space is limited, keep the counter clear and store those items together in a contained zone. The important part is returning frequently used supplies to the same place every time.
Start with a quick inventory before buying organizers. Gather everything baking-related, including flour, sugar, baking powder, vanilla, spices, chocolate chips, sprinkles, measuring cups and spoons, mixing bowls, and baking pans. Throw out expired ingredients you know you will not use again, and note duplicates. You do not need to purge every extra item; you need to understand what you have and how much storage it requires.
Then create a baking kit. Use a basket, tray, or lidded box for the items you reach for during active baking, such as measuring tools, paper liners, a spatula, parchment, and other mid-recipe essentials. Keep the kit in one spot and return it there after each baking session.
Use one rule throughout the setup: every item needs a home that matches how you use it.
Which Baking Zones Fit Your Counters and Cabinets
Place items according to how often you use them and how much trouble a spill would cause. Flour and sugar are high-mess ingredients. Measuring cups and baking pans are active-use items. Spices are small and easy to lose, while oils, extracts, and syrups take up little space but can create sticky leaks.
A typical small U.S. kitchen can usually support these four zones:
- Zone 1: Daily reach – A front counter corner or eye-level cabinet shelf.
- Zone 2: Baking-session access – One drawer or cabinet bin near the mixing area.
- Zone 3: Dry storage depth – A middle or higher shelf, or the back of a pantry.
- Zone 4: Low-frequency and seasonal – A top shelf, deep cabinet, or closet.
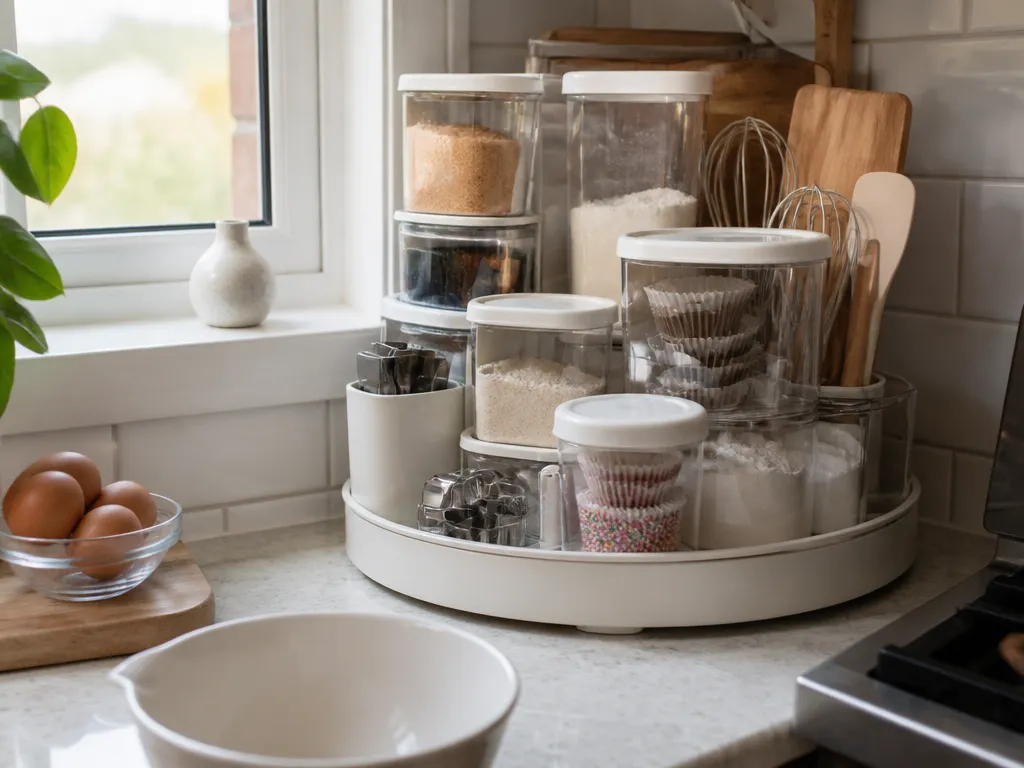
Use the counter only for items you can keep tidy. If you have room for a small canister set or baking tray area, use it for your most frequently used supplies. Otherwise, place those items in a lidded caddy and bring the caddy to the counter only when you bake. A contained caddy prevents the scattered-counter problem that quickly returns in a small kitchen.
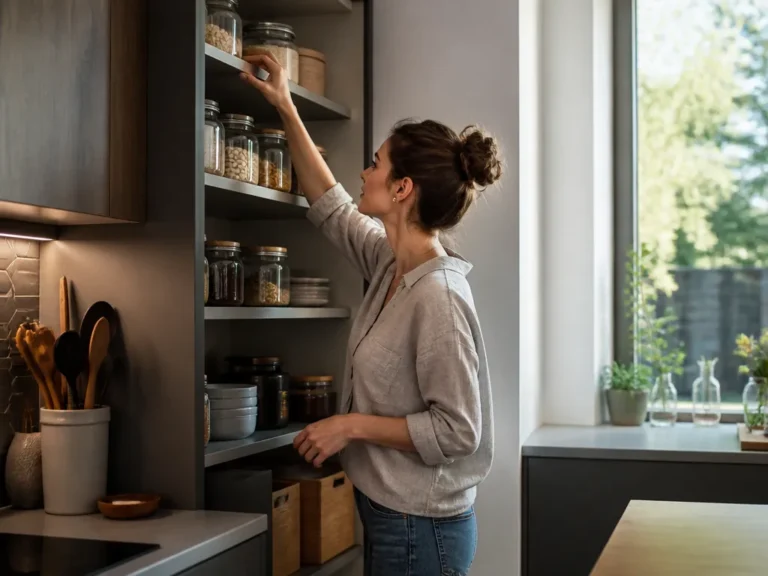
For cabinets, create a front zone for go-to basics and a deeper zone for less-used supplies. Avoid storing flour and sugar behind bulky appliances, where you will have to reshuffle everything each time you bake. Keep dry ingredients near the spot where you pour and measure them.
| Zone | Where to place it (small kitchen) | Put in it | Why it works |
|---|---|---|---|
| Daily reach | Counter corner or cabinet shelf at eye level | Flour, sugar, baking soda/powder, vanilla | You grab it quickly and keep spills contained |
| Baking-session access | Drawer or cabinet bin near mixing area | Measuring cups/spoons, whisk, spatula, parchment | Everything for active baking stays together |
| Dry storage depth | Middle or back shelves or pantry | Cocoa, specialty flours, mixes, baking chips | Less-used items stay out of the clutter |
| Low-frequency | Top shelf or higher cabinet | Seasonal sprinkles, rarely used cake pans, extra cutters | Infrequent items stay out of the way |
What to Store by Frequency of Use
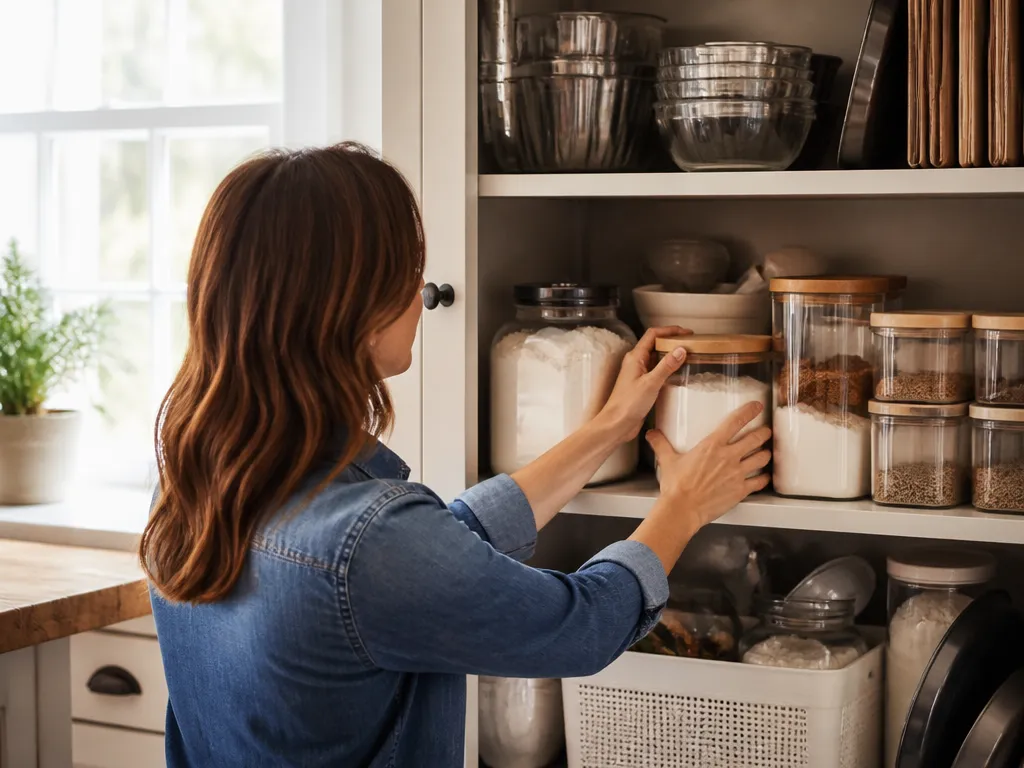
Frequency-based storage separates an organized kitchen from one that is merely full. If you bake once a week, your daily-reach zone should contain the supplies used in that weekly routine. If you bake once a month, most ingredients can live on deeper shelves.
A useful target for a small kitchen is to keep about 20-30% of your items in the easiest-to-reach zone. Store the rest on middle or higher shelves. This prevents every baking item from competing for the same small amount of accessible space.
Sort your supplies into these groups:
- Daily or weekly front zone: Flour, sugar, baking powder, baking soda, vanilla extract, salt, and common spices such as cinnamon.
- Weekly to monthly mid zone: Cocoa powder, chocolate chips, cornstarch, oats, brown sugar if you buy it occasionally, and specialty ingredients.
- Seasonal or occasional deep zone: Holiday sprinkles, shaped cookie cutters, specialty flours used for one type of recipe, and extra baking pans.
You can also group supplies by recipe type to match your routine.
Store backup ingredients in a different container style from opened ingredients. For example, keep opened flour and sugar in labeled canisters, but place backup bags in a separate sealed bin. You will know when a canister is running low without digging through loose bags.
How to Label Flour, Sugar, and Spices
Labels prevent guesswork and make duplicate purchases less likely. They also show which ingredients are open and help you rotate older supplies first.
For flour and sugar, label each container with:
- Ingredient name: Flour – All-Purpose, Brown Sugar, or Granulated Sugar
- Brand or source: Optional, but useful if you keep multiple brands
- Date opened: Write it on the label or directly on the container
Spice labels need the ingredient name and date opened because spices lose freshness over time. Store spices so you can read the labels without removing every container. In a narrow pantry, use a dedicated drawer bin or a small rotating tray.
Keep the label format consistent. The exact wording matters less than using the same format for every ingredient. If you use one style for opened items and another for bulk items, you may eventually forget the difference.
Choose containers with lids you can open easily, even with messy hands. Label the side or lid you will actually see before pouring. A neatly labeled container is not useful if the label faces the wall or the lid is difficult to remove.
Use this simple format:
- Flour: “All-Purpose Flour (Opened: YYYY-MM-DD)”
- Sugar: “Brown Sugar (Opened: YYYY-MM-DD)”
- Spice: “Cinnamon (Opened: YYYY-MM-DD)”
In a high-humidity area, you can add a note such as “sealed” if you reseal spices between uses. Keep the system simple enough to maintain while baking.
Best Container Sizes for Dry Ingredients and Baking Mixes
Choose containers based on shelf space and how quickly you use the ingredient. Oversized containers may look uniform, but they waste space when they do not fit the shelf depth or hold ingredients you will not finish before they become stale.
For frequently used ingredients, use small-to-medium containers. Keep bulk or backup supplies in their original bags or in a separate sealed bin. This keeps the main baking area tidy without forcing every item into a matching container.
Use this approach:
- Daily baking dry goods: Choose containers that hold your typical “one bag” or “one month’s worth,” depending on how often you bake.
- Mixes: Use containers or bins that hold the number of cake mixes, brownie mixes, or pancake mixes you realistically use before expiration.
- Specialty flours and rarely used items: Use smaller containers, or transfer them to jars only when you want them visible.
If shelf depth is limited, measure the container footprint before considering its volume. A container that fits the shelf and has a readable label is more useful than a larger one that forces you to reorganize the cabinet.
These shapes work well in most small kitchens:
- Short, wide containers improve visibility for flour and sugar on a pantry shelf.
- Medium jars work for spices when they store upright and keep labels readable.
- Lidded bins work for baking mixes because irregular packages are easier to pull out together.
My rule is simple: buy containers you can fully empty and refill without awkward scooping. If a container is hard to pour from, you will stop using it consistently.
How to Organize Measuring Tools and Baking Pans
Scattered measuring tools create disproportionate frustration. When cups and spoons are spread across several drawers, you lose time searching and often leave the drawer messier than you found it.
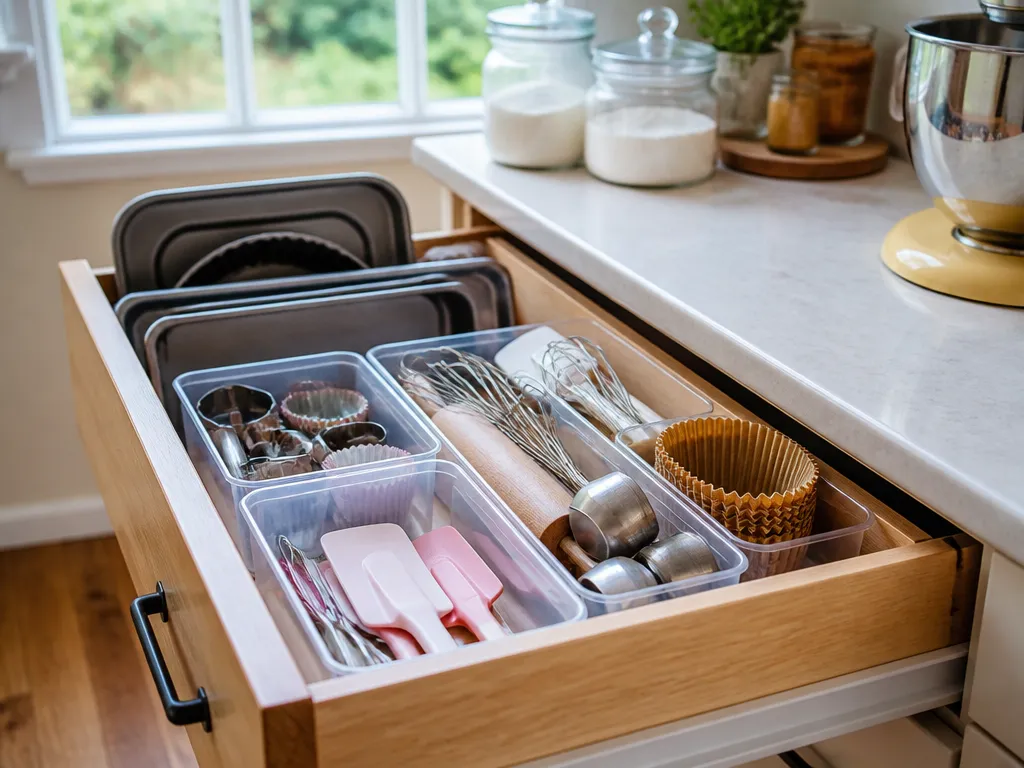
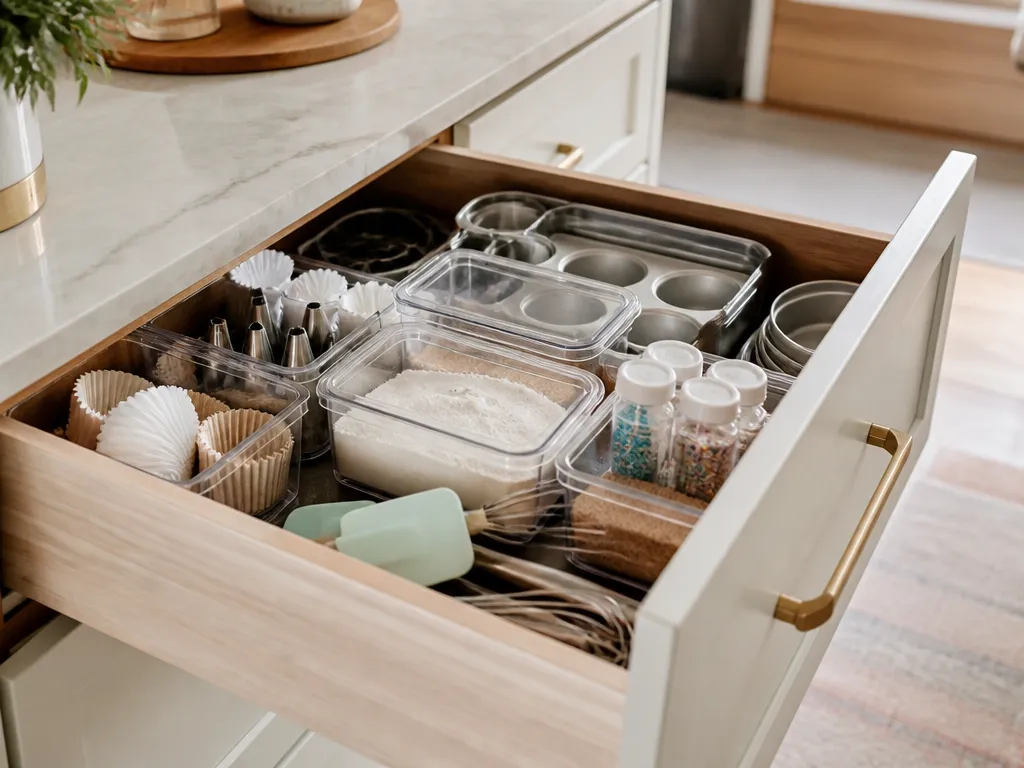
Keep measuring tools in one dedicated tray or organizer. Place that tray near your usual mixing area so you do not carry tools across the kitchen. Use dividers or a small compartment box for measuring spoons so they do not nest together and disappear. Store measuring cups upright or in a tray with separate spaces. A shallow drawer calls for a vertical-friendly organizer, while a deep drawer can hold a horizontal tray.
Store baking pans as a set. Group sheet pans, cake pans, and muffin tins together, using separators if they scrape, jam, or chip. If you own several similar pans, mark the bottom with painter’s tape so you can identify each one without labeling the cooking surface.
For example, if you have:
- One standard muffin tin
- One mini muffin tin
- One baking sheet
- One 8×8 or 9×9 pan
Group them so you can pull out the right combination without rebuilding the stack.
Use these pan-storage rules:
- Stack pans by size, with the most-used pan at the front or top.
- Add a thin, non-scratch separator between pans if they scrape.
- Keep liners and parchment in the same area as the pans.
- Leave enough clearance to remove one pan without emptying the whole cabinet.
How to Keep Baking Ingredients Fresh and Contained
Freshness depends mainly on limiting air and moisture. Containment also protects ingredients from oil drips, crumbs, pests, and damp air from nearby sinks.
Use airtight or tightly sealed containers for flour and sugar. These ingredients can absorb humidity, clump, develop off odors, or attract bugs when left in poorly sealed packaging. Keep spice containers closed between uses, and avoid grinding crumbs into the opening when measuring with a spoon. Wipe sticky residue from the outside before returning spices to the pantry.
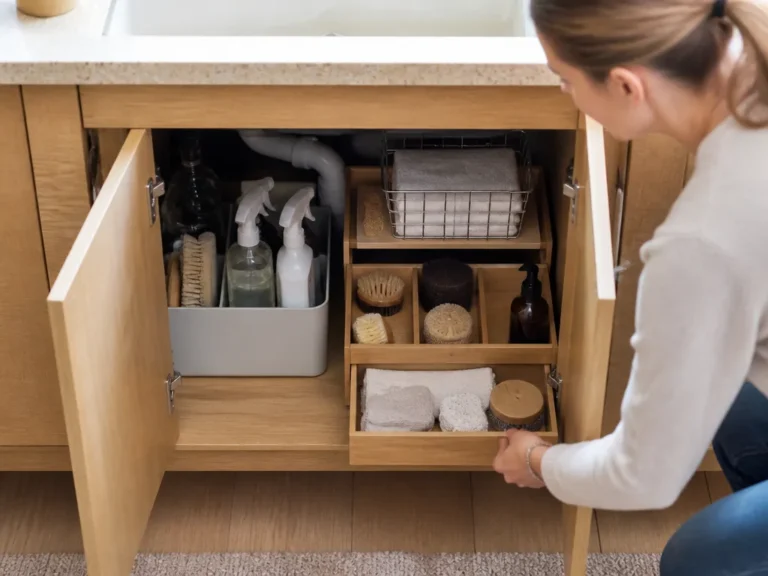
Contain liquids separately. Vanilla extract, oils, honey, and syrups can leak when lids loosen or bottles get bumped. Store them in a small bin with a rim or in a cabinet area away from dry ingredients. Avoid placing them under or near sinks, where temperature changes and vibration can make leaks more likely.
Prevent a small spill from spreading through the cabinet. Place an easy-to-clean tray liner or silicone mat beneath canisters. If a bag splits or a container leaks, the mess stays localized.
Adopt this short maintenance routine:
- Wipe container exteriors after refilling. Sticky residue attracts crumbs.
- Store open spices upright and sealed. Add the opened date to the label.
- Keep a dedicated backup bin. Extra bags stay contained instead of cluttering the front zone.
- Return the baking kit after each session. The system works only when tools go back to their assigned spot.
FAQ
What’s the fastest way to organize baking supplies in a small kitchen?
Complete a quick inventory first so you do not reorganize duplicates, then set up the baking kit and the storage zones described above.
How long does it take to set up the system?
Most kitchens can be set up in a couple of focused sessions. Plan for about 1 hour to inventory supplies and decide what stays, then 1-2 hours to place containers, labels, and tool trays. If you need organizers or containers, also allow time to measure your shelves and wait for delivery.
Will labeled containers really help with baking freshness?
They help by reducing exposure to air and moisture. Airtight or tightly sealed containers keep flour and sugar from clumping and help spices stay cleaner. An “opened” date also helps you rotate ingredients before they taste stale.
What’s the best way to organize measuring tools and pans?
Use the dedicated drawer and pan-storage areas established during setup, adjusting the layout to your drawer depth and available clearance.
What common mistake should I avoid when organizing baking supplies?
Avoid containers that do not fit your actual shelf space or drawer depth. If items are hard to reach, open, or pour from, you will stop using the system. Keep backup bags out of the front zone too, because loose extras quickly recreate the clutter you just removed.