How To Store Mug Collection Under Cabinet
Storing mugs under a cabinet clears counter space and keeps your daily cups within reach. The trade-off is limited height: mugs can rub against the cabinet, snag each other, or slide forward and chip. Sturdy rails, hooks, and racks solve those problems when you add padding, anchor the hardware properly, and leave enough room to grab each mug.
Plan for 1.5 to 2 inches of clearance per mug, with more space for oversized mugs. Add a front lip, back rail, or side barrier so cups cannot slide forward. Keep the storage line away from the backsplash splash zone when possible, and wipe the hardware monthly to control grease buildup.
Key Takeaways
- Choose an access style. Use vertical hooks, angled racks, or a shelf lip based on your mugs’ handle shapes and the available height.
- Mount to solid backing. Anchor brackets into studs or solid cabinet framing so the hardware does not loosen.
- Prevent rubbing. Use felt, silicone, or foam spacers where rims and handles touch the rack or each other.
- Leave hand clearance. Each mug should slide out without scraping the cabinet bottom or forcing you to bend your wrist.
Plan the Under-Cabinet Mug Storage
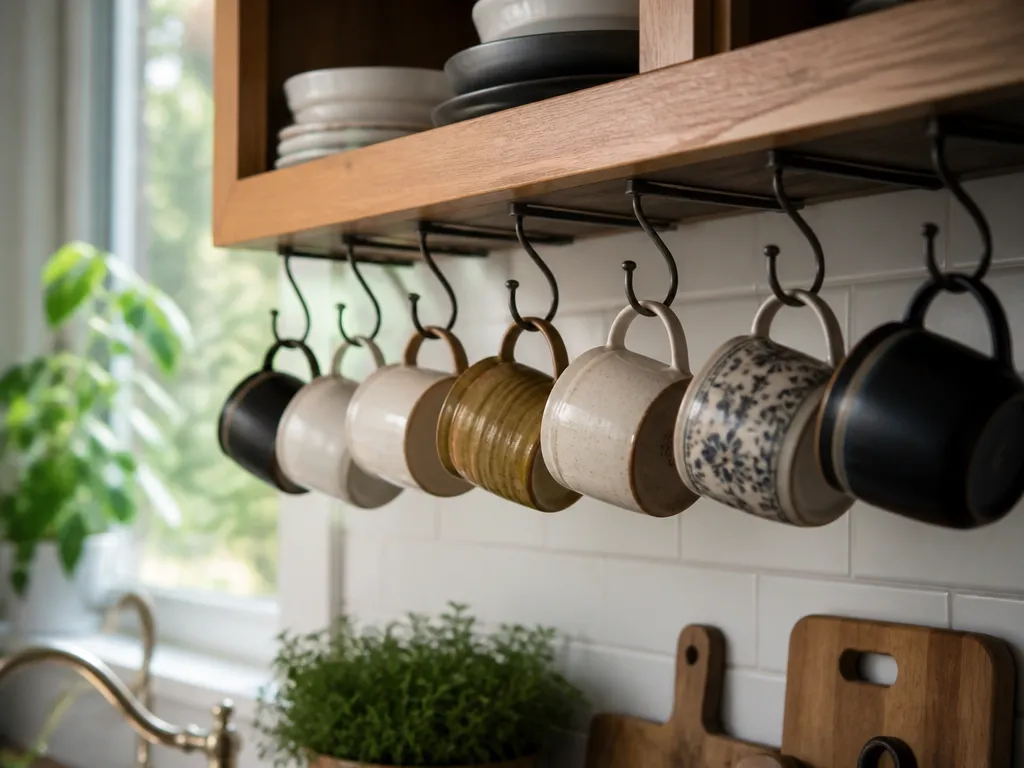
Start with the result you want: quick access, minimal chipping, and a clean setup that does not feel crowded. Mugs stored under cabinets face the same problems as mugs on an open shelf – grease buildup and banging when you pull one out.
Measure three things before buying hardware:
- The height from the cabinet underside to the counter or backsplash line.
- The horizontal span available for storage.
- The grab clearance needed in front of the mugs.
Count your mugs and group them by size. A group of 3.5-inch cups needs a different layout from a collection of oversized travel mugs with wide handles.
Quick Prerequisites
Gather these supplies before installing:
- A stud finder, or another way to confirm solid mounting points
- A drill and bit set, including pilot bits
- A level or straightedge
- Measuring tape
- Spacers such as felt squares, silicone tape, or stick-on door bumper pads
- Mounting hardware such as rails, hooks, or a rack kit
- A soft cloth and degreaser-safe cleaner for preparing the cabinet underside
Choose a Mug Storage System
Mugs need spacing and stability. Spacing prevents handle-to-handle contact and rim chips. Stability keeps cups from sliding forward when you pull out a neighbor or catch a handle.
Choose the way your mugs will sit under the cabinet before installing anything. Horizontal rails and racks work well for coffee mugs with sturdy handles, but narrow mugs or mugs with very large handles may need extra clearance. Vertical hooks are simple, although they can twist delicate ceramic and usually require more vertical space than a rack.
Three Mounting Options
- Under-cabinet rail or bar: Use rings, hooks, or a rack insert to support mugs.
- Hook panel: Hang mugs by their handles.
- Angled shelf or rack: Set cups inside a lip or shallow enclosure.
For most kitchens, a rail with a mug rack insert offers the best balance of containment and access.
Install the Under-Cabinet Mug Rack
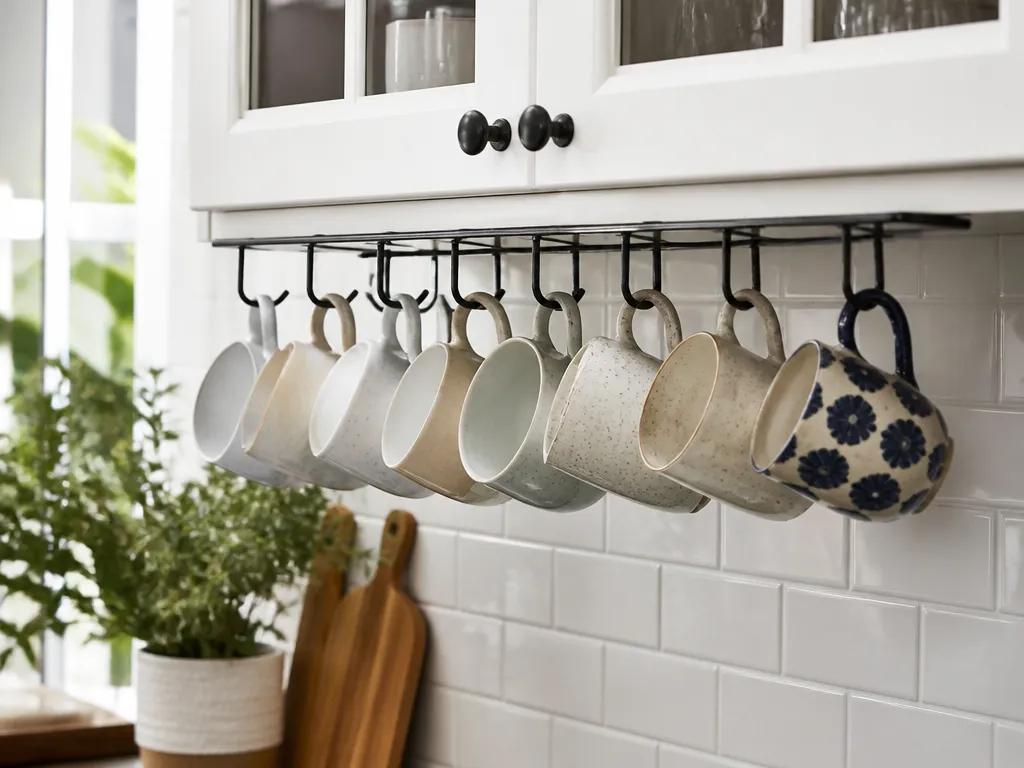
- Measure the underside space. Check the height, width, and clearance needed for your hand and mug removal. You should be able to grasp a handle without scraping the cabinet bottom.
- Sort mugs by frequency of use. Put daily mugs nearest the front edge. Place rarely used mugs deeper or along the sides if the layout has multiple rows.
- Dry-fit the layout. Use painter’s tape to mark bracket locations and mug positions on the underside. Hold each mug in place and pull it out to check whether handles catch.
- Prepare the mounting surface. Wipe the cabinet underside with a degreaser-safe cleaner. Let it dry completely so cooking film does not weaken the connection beneath the hardware.
- Mark and drill the mounting points. Use a stud finder to locate solid mounting spots. If studs are unavailable, choose hardware suited to the cabinet construction and keep the load lighter.
- Install the rail or rack level. Mount the main support first, then attach the side rails or front lip. Check the full span with a level.
- Add contact padding. Apply felt squares to rack supports or line the rack with silicone or foam tape. Concentrate on points where rims and handles touch metal or another mug.
- Test the loaded rack. Begin with three mugs and perform ten grab-and-place motions. Watch for rubbing, rattling, and forward sliding as you remove each cup.
Layouts for Different Mug Collections
If the cabinet underside is about 18 inches deep and your mugs have large handles, use an angled rack with a front lip. The lip stops forward creep, while the angle presents the mugs so you can find each handle quickly.
For a small collection of 6 to 10 mugs in a low-clearance space, use a compact rail with spaced hooks that hold the mugs by their handles. Add a thin felt ring to each hook to prevent ceramic-on-metal contact.
Prevent Chipping, Sliding, and Rattling
Spacers and anti-slip controls protect mugs during repeated use. Small vibrations and impacts occur each time you pull out a cup, especially when the rack is too tight or shallow.
Load direction matters too. Mugs that can slide toward the front edge will eventually collide. A front stop lip, shallow back rail, or rack with side containment keeps the cups in place during removal.
Apply These Controls First
- Contain the mugs during removal. Keep them from creeping into one another.
- Pad contact points. Use felt or silicone to prevent rim and handle wear on metal supports.
- Stagger the handles. Alternate handle positions left-right-left to reduce direct contact.
- Center the heaviest mugs. When a rack spans multiple supports, place heavier cups near the strongest mounting points.
Make Daily Access Easy
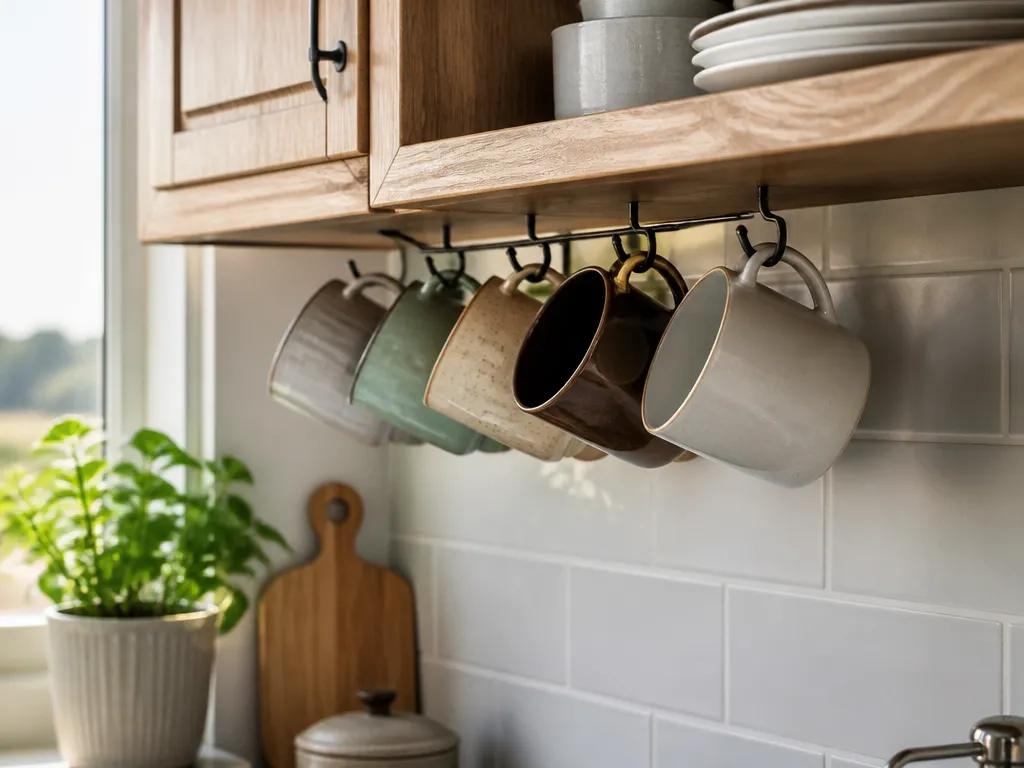
Good storage should be easy to use repeatedly, not merely capable of holding every mug. You should be able to grab a cup without turning your wrist awkwardly or moving several other mugs first.
Design for one-handed removal. If a handle catches on another handle or on the rack’s underside lip, you will eventually return to stacking mugs in a cabinet. Keep the most-used cups in the easiest positions and leave a clear path for your hand.
Use a Spacing Rule That Prevents Chips
Leave enough space for mugs to sit without touching unless the rack is fully padded. A tight arrangement becomes less forgiving as ceramic heats and cools, and repeated vibration makes small contact points worse over time.
Keep the Hardware Clean
Under-cabinet hardware collects kitchen film quickly. Wipe the cabinet underside and rack contact points monthly, especially along edges where grease and steam condense. Clean sooner if the surface feels sticky or shows visible residue. Use a cabinet-safe degreaser and dry the area thoroughly.
Avoid These Installation Mistakes
Loose mounting is the most serious problem. Even slight movement can turn the rack into a rattle system, and repeated rattling can chip mugs that seemed secure during the first week.
Do not treat “fits” as the only requirement. Your hand needs a clear path, and each handle needs room to move without bumping a rim or neighboring cup.
Common Problems and Better Fixes
- Skipping a level check: An uneven rack makes mugs slide together. Check it with a straightedge before drilling.
- Leaving contact points unpadded: Ceramic-on-metal contact can chip over time. Add felt or silicone wherever mugs touch.
- Overloading the rack with large mugs: Start with the largest handle and size the spacing around it.
- Mounting in the hottest splash zone: Grease will build up faster. Reposition the storage slightly or increase the cleaning frequency.
- Using a thin, unsupported rail: A rail that bows under the load lets mugs shift and collide. Choose a rated support and anchor it properly.
Improve the Setup for Your Daily Mugs
Build the storage around your most-used mugs rather than the average mug in the collection. Put the top 3 to 5 daily cups in the easiest-to-grab positions so you do not have to reach into the deepest or most crowded area.
Standardize how the mugs sit. Random handle angles make the next cup harder to grab and increase the chance of contact. Point handles in a consistent direction and use a front lip to keep them aligned.
Small Upgrades That Help
- Mark placement zones: Use small pieces of painter’s tape to label daily, backup, and specialty mug positions while you establish the habit.
- Use removable padding: Stick-on felt or silicone tape is easier to replace than fixed padding on a worn rack.
- Add a drip edge: If mugs hold moisture after rinsing, a shallow drip lip can prevent water marks on the cabinet underside.
- Create two zones: With more than one row, keep the most-used row closest to the front edge.
FAQ
What’s the Easiest Way to Store Mugs Under a Cabinet?
For most kitchens, use an under-cabinet rail or angled rack. It keeps mugs contained while allowing you to grab them without lifting. Place the most-used cups closest to the front.
How Much Space Do I Need for Each Mug?
Plan for about 1.5 to 2 inches of space per mug in the rack direction, then add more room for oversized handles or thick stoneware. Dry-fit the layout with painter’s tape and test each mug individually before installing the hardware.
Will Under-Cabinet Mug Storage Trap Grease or Steam?
Yes. Under-cabinet areas can collect grease and steam residue, particularly near the backsplash splash zone. Padding reduces friction that can create scuffs and collect buildup.
How Do I Stop Mugs From Chipping on an Under-Cabinet Rack?
Test the loaded setup with repeated grabs instead of checking it only after placing the mugs. Watch for new contact marks, rattling, or movement and correct those problems before regular use.
What’s a Good Alternative If Under-Cabinet Storage Feels Too Tight?
Use inside-cabinet storage with a pull-out mug rack or cabinet door organizer if the underside is shallow or your mugs have very large handles. These options provide more room for handle movement and usually need less hand clearance. You can also keep daily mugs on a countertop stand and reserve the under-cabinet space for specialty mugs.
The best under-cabinet mug setup lets you grab a cup smoothly without sending it into its neighbors. Measure the underside height and width, then make a painter’s-tape mockup with three mugs in their exact positions before drilling.