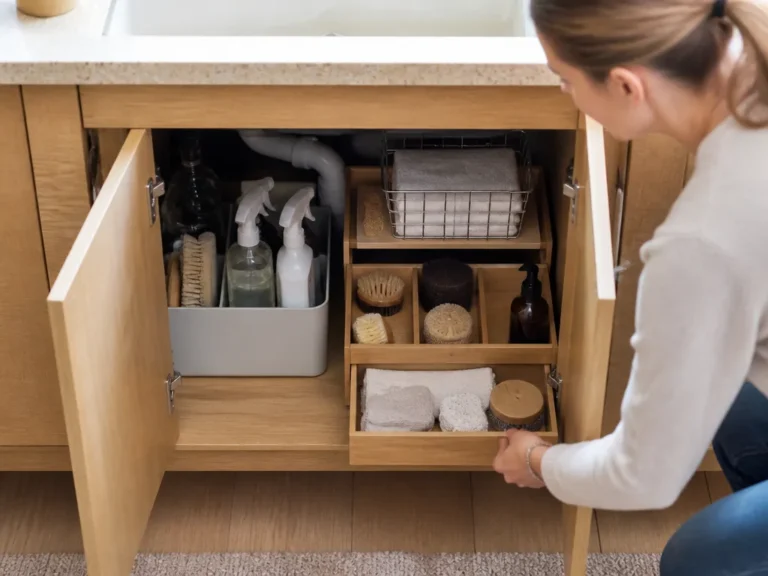
How To Create A Kitchen Inventory System
A kitchen inventory system saves you from “mystery ingredients” and surprise duplicates, but only if it is quick to use. You should be able to see what you have, what is running low, and what belongs on your grocery list. The simplest reliable system records each ingredient with a name, category, unit, quantity on hand, and reorder threshold, then gets updated weekly.
If you do not have time to count often, track only “on hand” and your low-stock trigger. Set reorder thresholds by category, such as rice, canned goods, or snacks, and review them weekly.
Key Takeaways
- Pick a tool first. Use a spreadsheet or app so updates take under 60 seconds per item.
- Standardize item names. Pick one naming rule so “parm” and “parmesan” never split totals.
- Track units consistently. Store everything by weight, volume, count, or “each,” not a mix.
- Set reorder points. Use a threshold per item so you know what to buy before you run out.
- Do one full count. Start with every shelf, drawer, and pantry zone, then tighten the list.
- Update weekly. Spend 10-20 minutes once per week so the system stays accurate.
Build a Kitchen Inventory System You Will Actually Use
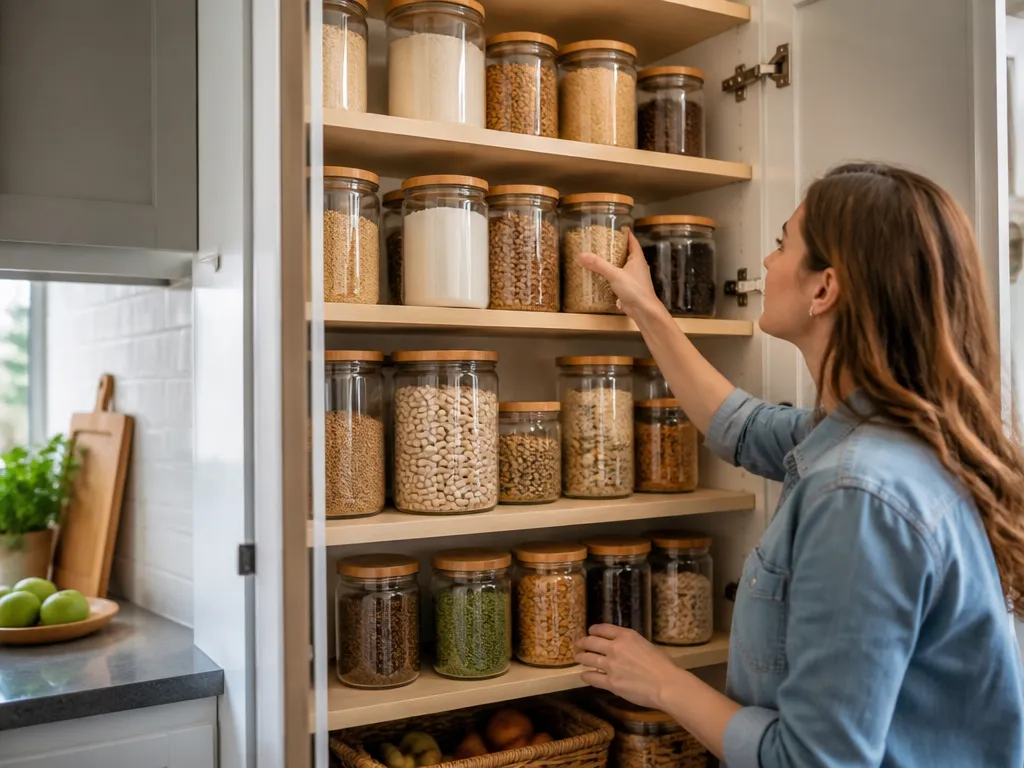
Your inventory should let you search for “cumin,” see how much you have, and know whether to buy more. That requires three things: quick data entry, consistent units, and a weekly review of low-stock items.
Treat the inventory as a shortcut for grocery decisions. Instead of guessing what is in the pantry, you keep a running picture of your “on hand” quantities. The process should stay light. Build a version you will use consistently, then adjust anything that creates friction.
Track the items that affect shopping and cooking most. Most households do well with consumables and staples – ingredients used regularly and pantry items that are easy to overlook. Skip items that are rarely used or difficult to measure. You might leave certain spices uncounted, for example, while recording “ground black pepper” as “~1 jar left.”
Set Up Your Kitchen Inventory Before You Count
Keep the inventory in one dedicated place so updates do not get delayed. You also need a consistent way to estimate quantities, whether you weigh them, measure them, count containers, or use a container-level estimate. Finally, choose basic categories so every item has a logical place.
Have a spreadsheet or app ready, along with a notebook or phone camera for quick capture while you clean up. Do not stop to decide the perfect row for every item. Record it quickly, then standardize the details later.
Choose one measurement style for each type of food:
- Count-based: eggs, cans, bottles, packages.
- Weight/volume-based: rice (cups or grams), flour (cups or grams), olive oil (mL or ounces).
- “Jar left” based: spices that are difficult to measure precisely.
If you use “jar left,” define what counts as low, such as “1 to 2 uses left” or “less than 1/4 jar.” The estimate does not need to be perfect. It needs to be consistent enough to guide your next grocery trip.
Choose an update trigger before you begin. A routine such as “Sunday morning pantry reset” or “after the big grocery run” gives you a reliable time to correct the list.
Choose Between a Spreadsheet and an App

A spreadsheet suits people who want control, search, and custom fields. An app suits people who want faster entry or scanning. Whichever you choose, include the same core fields: item name, category, unit, quantity on hand, and reorder threshold.
- Best for DIY accuracy: Spreadsheet, because you can customize columns and use filters.
- Best for speed: App, because quick entry and search reduce friction.
- Best if you hate setup: Either one, as long as it starts with “scan or search then update quantity.”
A spreadsheet is easy to customize and reuse. An app is useful only if it lets you edit units and track quantities, rather than functioning as a simple shopping list. Many grocery list apps remember what you want to buy but do not maintain a reliable picture of what you already have.
| Option | Key Spec/Price | Best For | What to verify |
|---|---|---|---|
| Spreadsheet (Google Sheets/Excel) | Usually free | People who want total control | You can filter by category and keep quantity + reorder threshold |
| Inventory app | Varies (some are paid) | People who want fast entry | You can store units and reorder thresholds, not only wishlists |
| Hybrid (Notes + spreadsheet) | Mostly free | People doing cleanup-first | You can batch updates after capturing items |
My recommendation: start with a spreadsheet if you want a durable system you can adjust. Choose an app only if it makes updates noticeably faster for you within the first week.
Set Categories, Units, and Reorder Thresholds
Use categories that match how you shop and cook. A practical starter set is Pantry staples, Baking, Spices & seasonings, Canned & jarred, Oils & vinegars, Snacks, Produce (optional), Frozen (optional), and Dairy (optional).
Choose one unit for each type of item and keep using it. If “rice” appears in cups in one row and pounds in another, the totals become harder to trust. You might store grains as cups, canned goods as “cans,” and spices as “jar (1 = full jar).”
Reorder thresholds turn the inventory into a decision tool. Set them according to how your household actually cooks rather than how much food you think an ideal pantry should contain.
Use these starting rules:

- Commonly used weekly items: threshold at “about 1 week left.”
- Monthly items: threshold at “about 1 month left.”
- Treat items or rarely used ingredients: threshold at “1 backup or none,” depending on how annoying it is to run out.
If you buy ground cumin once every 2-3 months and typically use half a jar before replacing it, you might set “low” at “1/3 jar left.” For canned tomatoes used in 2-3 recipes, a “2 cans left” threshold may be reasonable. The exact number matters less than matching your cooking cadence and applying the rule consistently.
In a spreadsheet, add a Status column based on quantity on hand versus reorder threshold. You can use a formula or compare the two values manually during your weekly update.
Standardize Names So Ingredients Do Not Split Into Duplicates
Use one naming format for every item. Otherwise, “olive oil,” “extra virgin olive oil,” “EV olive oil,” and “olive oil (glass)” may appear as separate entries, making it difficult to see how much you actually have.
For most households, use this format:
- Put the main ingredient name first.
- Add the form only when it affects how you use the item, such as ground versus whole or canned versus dry.
- Leave out brand names.
Good standardized names include:
- “Olive oil (extra virgin)”
- “Black pepper (ground)”
- “Cumin (ground)”
- “Tomatoes (crushed)”
- “Oats (rolled)”
- “Vanilla extract”
These names are more likely to create duplicates:
- “Pepper”
- “Black Pepper Shaker”
- “Cumin spice”
- “Tomato sauce”
- “Crushed tomatoes can”
Use the same unit label throughout the inventory. If spices are measured as “jar,” use “jar” for every spice. Do not use “tsp” for one item and “jar” for another unless you have a clear reason and a reliable way to convert between them.
Create a simple rename rule: whenever an entry looks inconsistent, rename it to the standard name and merge its quantity with the existing row. During the first week, you may need to do this often. That cleanup makes later updates much easier.
Use this naming checklist:
- Put one ingredient word or short phrase first.
- Add descriptors such as ground, crushed, or diced only when they change how you use the item.
- Store brand names nowhere or only in a notes column.
- Update the existing row instead of creating a new row for a known item.
Complete the First Inventory by Zone
The first count is the hardest part because hidden shelves, second pantries, and partial containers are easy to miss. Work zone by zone instead of trying to remember every item at once.
Use this order:
- Pantry shelves
- Door shelves
- Drawers
- Cooking bins
- Snack shelf
- Fridge shelves, if you are tracking them
- Freezer, if you are tracking it
Within each zone, work left-to-right and top-to-bottom. This approach takes a little discipline, but it gives you reliable coverage.
When you reach a baking drawer, empty it if necessary and rebuild it as you record the contents. Capture items quickly rather than deciding every quantity immediately. Use estimates such as “1 bottle” or “about half a jar” during the first pass, then refine them after the list is complete.
Use a two-pass system:
- Pass one: capture everything. Add every item you can find, even if the quantity is approximate.
- Pass two: tighten quantities and thresholds. Adjust “how much” and set reorder thresholds for items you actually run out of.
Some foods are difficult to measure precisely. Flour might be an “open bag” rather than a precise weight. Pick one estimating method, such as “bag level: full / half / quarter,” and use the same method in the spreadsheet.
For a household with multiple people, divide the work. One person can count and record while another reads labels and confirms sizes in ounces or milliliters. Decide how to handle partial containers before you begin. They can count as quantity on hand, but their unit must remain consistent.
After the count, search the spreadsheet for blank categories or missing units. Fix those entries immediately so weekly updates do not become repeated repair work.
Keep the Inventory Accurate With Weekly Updates
Set aside 10 to 20 minutes on one day each week. Check items at or below their reorder thresholds, then correct anything used heavily since the previous update. You do not need to recount every shelf. Focus on what changed.
A change-based update keeps the process short:
- List ingredients used during big cooking sessions.
- Reduce the quantity on hand for each item.
- Increase the quantity for anything purchased.
- Re-check low-stock items and update their quantities if needed.
If you used two cans of beans during the week, subtract 2 from “Beans (black) – cans on hand.” If you used oil but cannot measure the amount precisely, apply the same jar-level estimate you chose at setup.
Update purchases during a “receipt moment.” Add groceries immediately after shopping, even if the quantities are rough. Recording “2 cans of tomatoes” from a receipt takes less time than reconstructing the trip later. If you cannot update right away, take a photo of the receipt and enter it during the week.
When the numbers drift, look for the cause:
- Items were missed during the first inventory.
- Purchases or major cooking sessions were not recorded.
- Reorder thresholds do not match actual usage, so you stopped trusting the alerts.
Fix the underlying problem instead of counting more often. Review missed items and unrecorded changes before the next update.
Review thresholds once per month. If you run out of a low-stock item before the next shopping trip, lower its threshold or change the way you estimate quantity. If you repeatedly have too much of an item, raise the threshold. The inventory should fit your household’s habits.
FAQ
How do I create a kitchen inventory system if I do not want to weigh everything?
Use count-based and container-level units. Track items as “jar” with full, half, or quarter levels mapped to numbers; “bag” with full, open, or low levels; or “each” for bottles, cans, and boxes. Consistency matters more than precision because you need to update every item using the same rule.
What is the simplest setup for a small household?
Start with only 50 to 100 core items, including pantry staples, frequently used spices, and ingredients you regularly run out of. Add categories, then track quantity on hand and a reorder threshold for those items. During the weekly update, adjust only what changed.
How long does an initial full inventory usually take?
Plan for several hours if you are counting carefully, especially if you include the fridge and freezer. A quick capture pass followed by a quantity pass will help you finish faster without missing items. Aim for completeness first and precision second.
Is a kitchen inventory system worth it if I already keep a grocery list?
Yes. A grocery list records what you plan to buy, while an inventory records what you already have. Using both prevents duplicates and keeps the shopping list focused. The inventory tells you what belongs on the list.
What is the most common mistake people make with kitchen inventory systems?
They stop updating after the initial count, so the list becomes stale. A weekly change-based update keeps it useful.